
Accord SE Coupe L4-2156cc 2.2L SOHC MFI (1997)
Low Fuel Lamp/Indicator: Testing and Inspection
1. Park the car on level ground.
WARNING: Do not smoke while working on the fuel system. Keep open flame away from the work area. Drain fuel only into an
approved container.
2. Drain the fuel into an approved container.
Reinstall the drain bolt with a new washer.
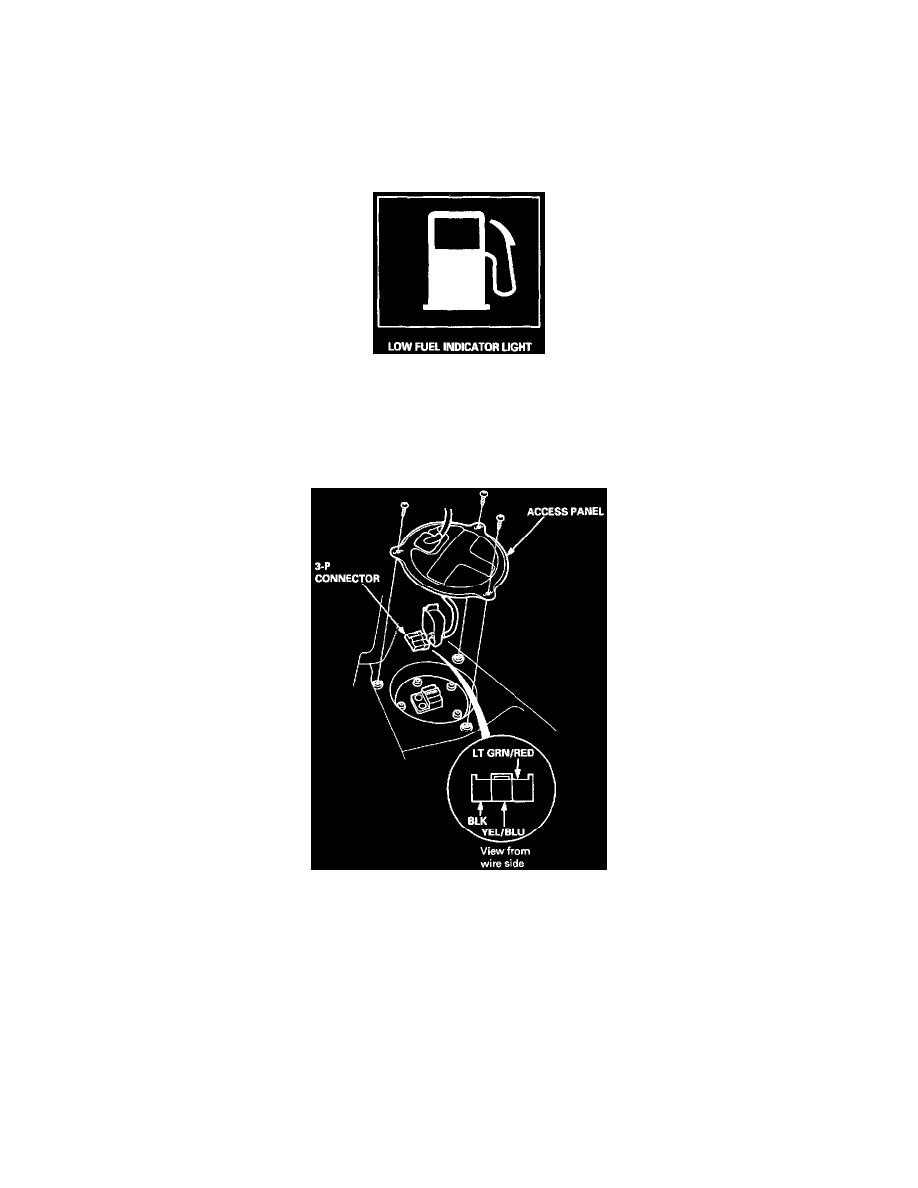
Low Fuel Indictor System - Indicator Light Test
3. Add less than 8.6 litre (2.2 U.S. Gal, 1.9 Imp. Gal) of fuel, and turn the ignition switch ON (II).
The low fuel indicator light should come on within four minutes.
^ If the light goes on within four minutes, go on to step 5.
^ If the light does not go on within four minutes, go on to step 4.
Low Fuel Indictor System - Indicator Light Test
4. Remove the fuel tank access panel, and disconnect the 3-P connector from the fuel gauge sending unit. Connect the LT GRN/RED terminal to the
BLK terminal with a jumper wire.
^ If the light comes on, the problem is the sending unit.
^ If the light does not come on, the problem is an open in the LT GRN/RED wire to the gauge assembly, no power to the gauge, a bad bulb, or
poor ground.
5. Add one more gallon (approx. 4 litre, 0.9 Imp. Gal) of fuel.
The light should go OFF within four minutes.