
Civic L4-1.3L Hybrid (2008)
Finishing the Job
Remove the vibration damper and the protective band (if used). Use a micrometer to measure the thickness of the brake disc. Make sure the thickness is
within the service manual specifications. Clean the brake disc with soapy water or brake cleaner, then wipe it dry. Use a vacuum cleaner to remove any
dust or chips, but do not use compressed air.
Unplug the tool bed feed motor from the drive motor assembly, and remove the mounting yoke from the brake disc. Remove the speed mount from the
steering knuckle.
Apply a small amount of Molykote 77 grease to the brake pad shims. Reinstall the caliper assembly. (If you did not use the power drive system, use the
brake pad spreader to push the pistons back into the caliper.)
Torque the nuts and bolts to the required specification (see the appropriate service manual).
Refinish the other front brake disc using the same guidelines.
Check the brake fluid level, then test-drive the vehicle to make sure the brake pedal is firm and does not pulsate. Lightly apply the brakes about 20 times
during the test-drive to seat the brake pads.
REAR BRAKE DISCS
It is possible to use an on-car lathe on some models if the rear caliper mounts are low enough to clear the vehicle body. A power driver is needed for
front drive models. Refinish rear brake discs on bench-mounted equipment if necessary.
Follow the same guidelines you used for refinishing front brake discs, noting these differences:
^
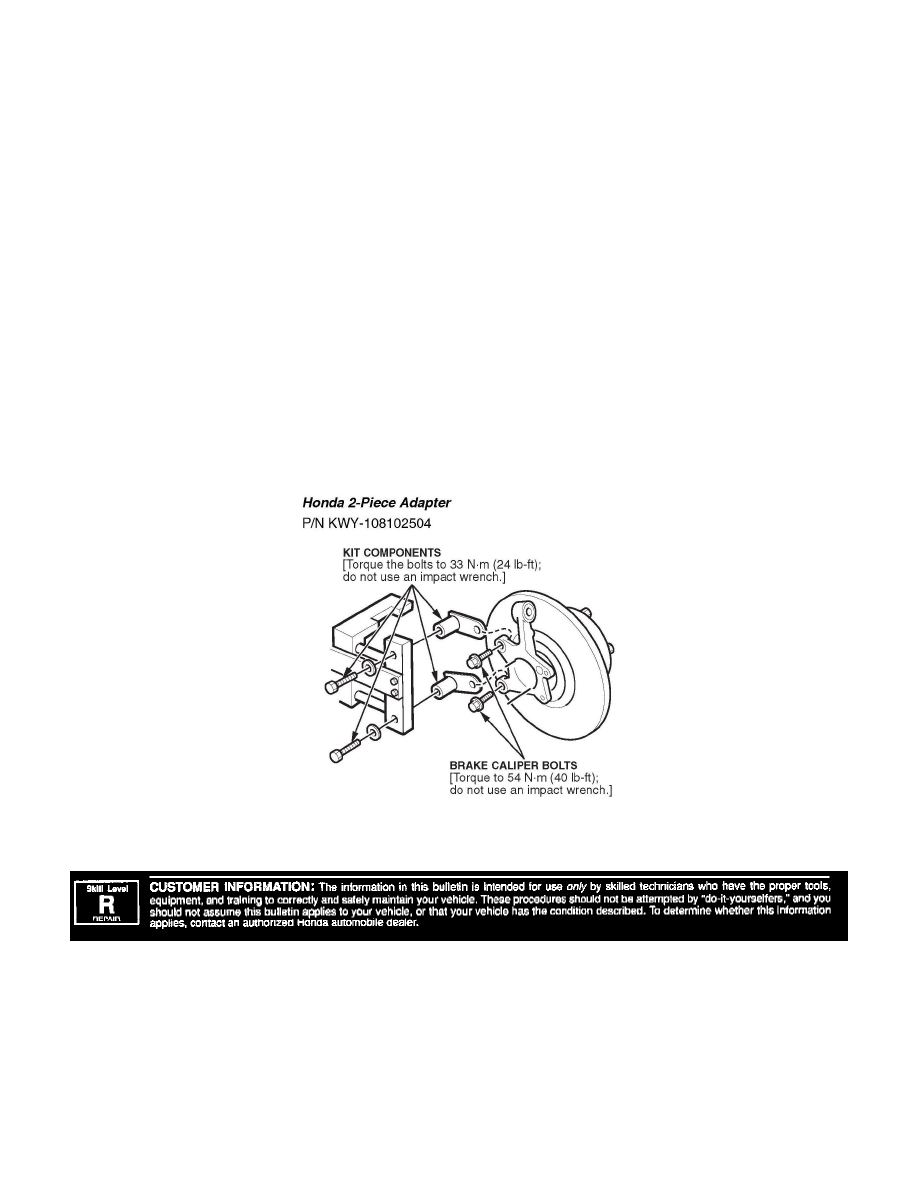
Mount the brake lathe to the rear knuckle with the Honda 2-Piece Adapter (P/N KWY-1 08102504). You can order the 2-piece adapter through the
Honda Tool and Equipment Program (see ORDERING INFORMATION).
Disclaimer