
Civic L4-1.3L Hybrid (2008)
Coolant: Service and Repair
Coolant Replacement
1. Start the engine. Set the heater temperature control dial to maximum heat, then turn the ignition switch to LOCK (0). Make sure the engine and
radiator are cool to the touch.
2. Remove the radiator cap.
3. Remove the five clips and the two bolts securing the engine undercover, then open the engine undercover.
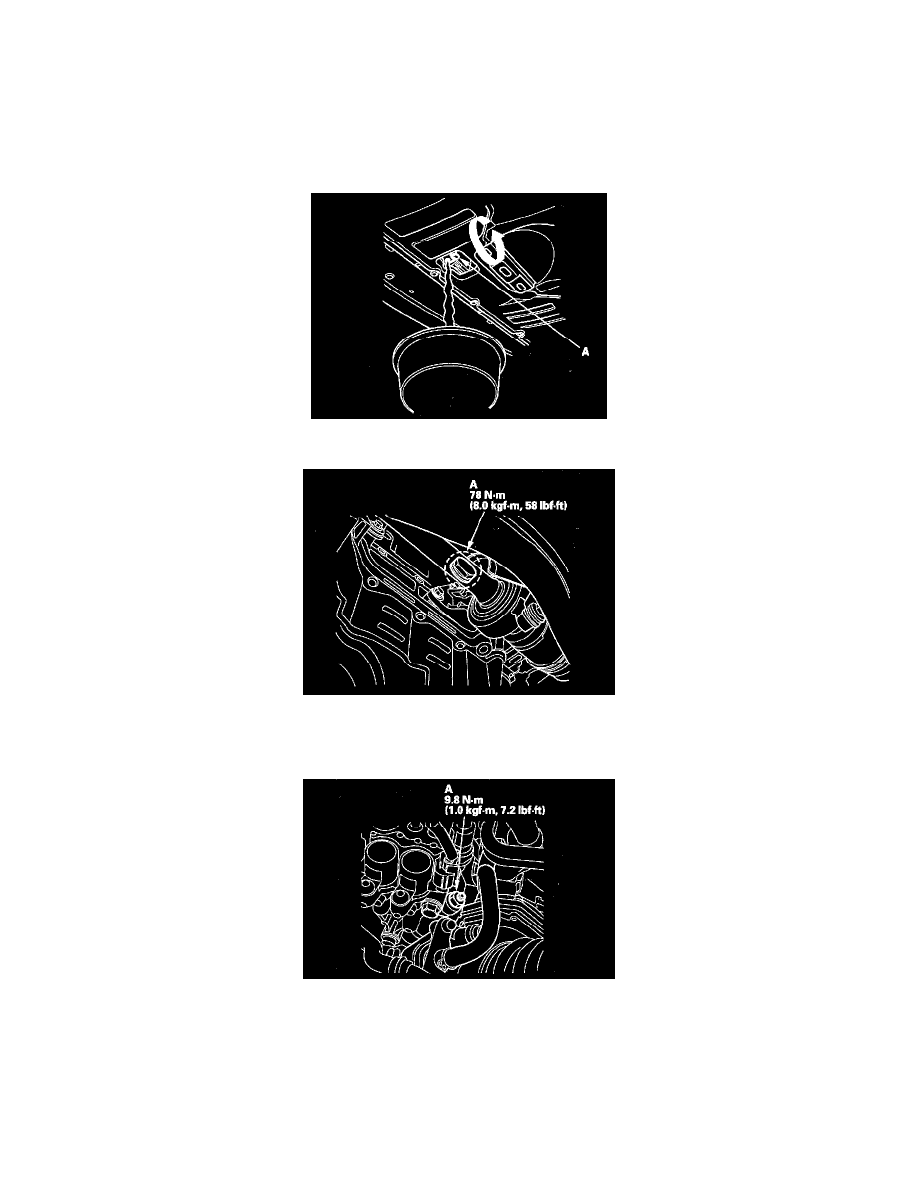
4. Loosen the drain plug (A), and drain the coolant.
5. Remove the drain bolt (A) from the rear side of the engine block.
6. After the coolant has drained, reinstall the drain bolt with a new washer.
7. Tighten the radiator drain plug securely.
8. Loosen the air bleed bolt (A) on the connecting pipe joint.
9. Pour Honda Long Life Antifreeze/Coolant Type 2 (P/N OL999-9001) into the radiator and coolant reservoir, and tighten the bleed bolt as soon as
coolant starts to run out in a steady stream.
10. Pour Honda Long Life Antifreeze/Coolant Type 2 into the radiator up to the base of the filler neck.
NOTE:
^
Always use Honda Long Life Antifreeze/Coolant Type 2. Using a non-Honda coolant can result in corrosion, causing the cooling system to
malfunction or fail.
^
Honda Long Life Antifreeze/Coolant Type 2 is a mixture of 50% antifreeze and 50% water. Do not add water.