
Civic L4-1.3L Hybrid (2008)
11. Install the parts in the reverse order of removal.
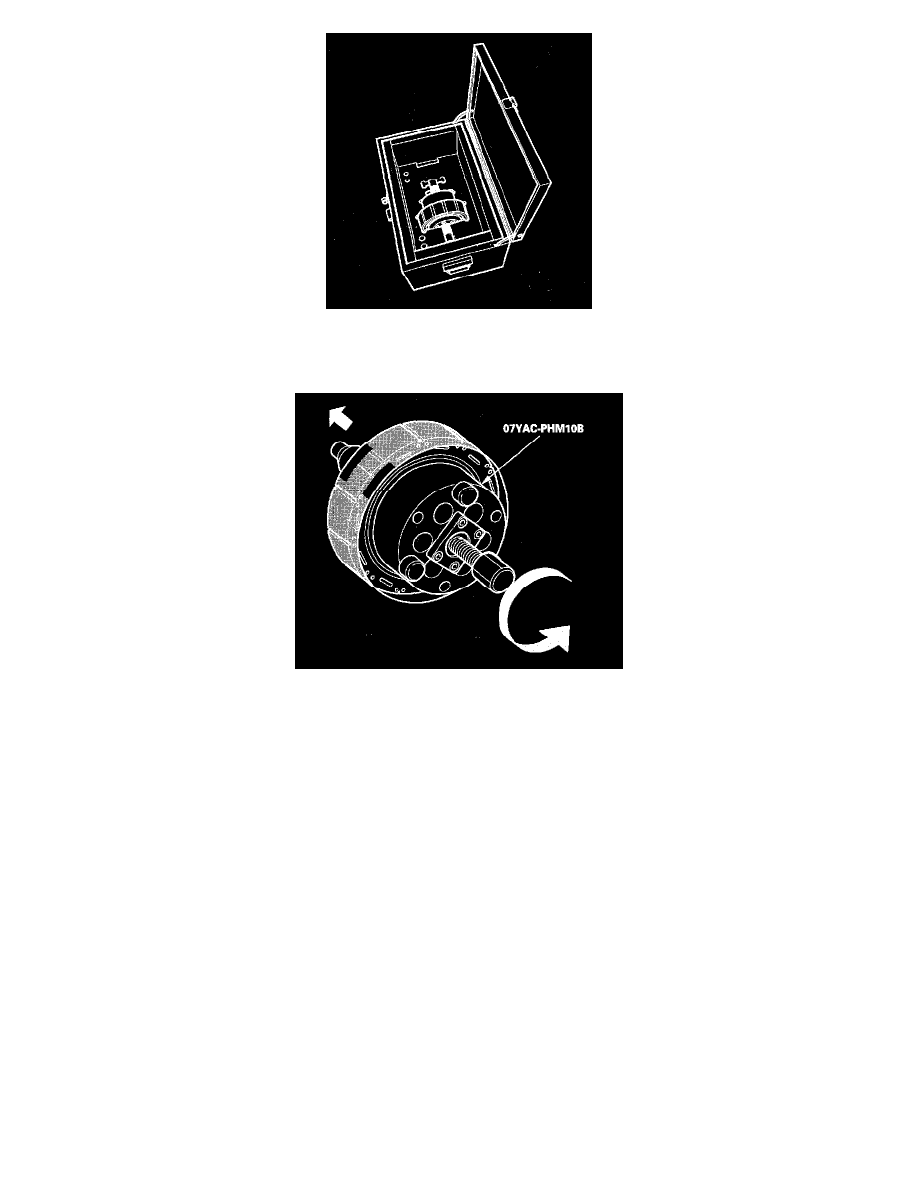
NOTE: Turn the handle of the rotor puller slowly when inserting the rotor into the stator. The rotor is drawn into the stator by magnetic force.
12. Remove the plastic film.
13. Reconnect the motor power cable to the motor stator.
14. Reinstall the sensor plate.
15. Reinstall the support.
16. Install the transmission.
17. Do the motor rotor position calibration.