
Civic L4-1.3L Hybrid (2008)
3. Remove the wire (B).
4. Lift the IPU wire harness (C).
5. Remove the PCU cover (A).
6. Remove the A/C compressor power cable connector (B), and the motor power cables (C), then wrap them with insulating tape.
NOTE: Check the position of the U phase, V phase, and W phase cables before you disconnect them.
7. Remove the BCM module.
8. Remove the DC-DC converter.
9. Remove the A/C compressor driver.
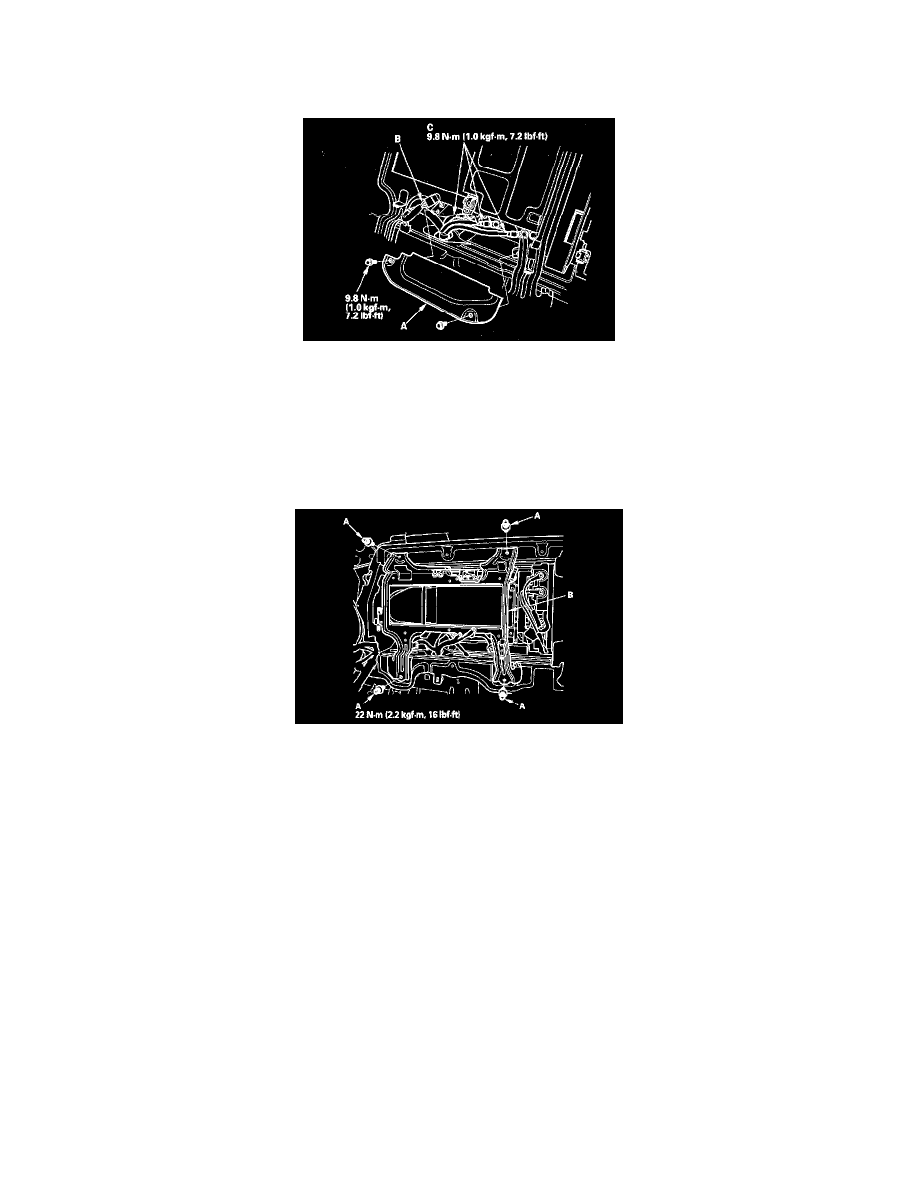
10. Remove the bolts (A), and the PCU (B).
11. Install the parts in the reverse order of removal.
12. Do the motor rotor position calibration.
Power Control Unit (PCU) Disassembly/Reassembly
Power Control Unit (PCU) Disassembly/Reassembly
NOTE: Put on gloves to protect your hands from electrical shock.
IMA components are located in this area. The IMA is a high-voltage system. You must be familiar with the IMA system before working on or around it.
Make sure you have read the IMA service precautions before doing repairs or service.
1. Remove the PCU assembly.
2. Remove the cover (A), MCM (B), busplate (C), and IPU air unit (D).