
Civic L4-1.3L Hybrid (2008)
7. Remove the brake disc.
8. Check the front hub for damage and cracks.
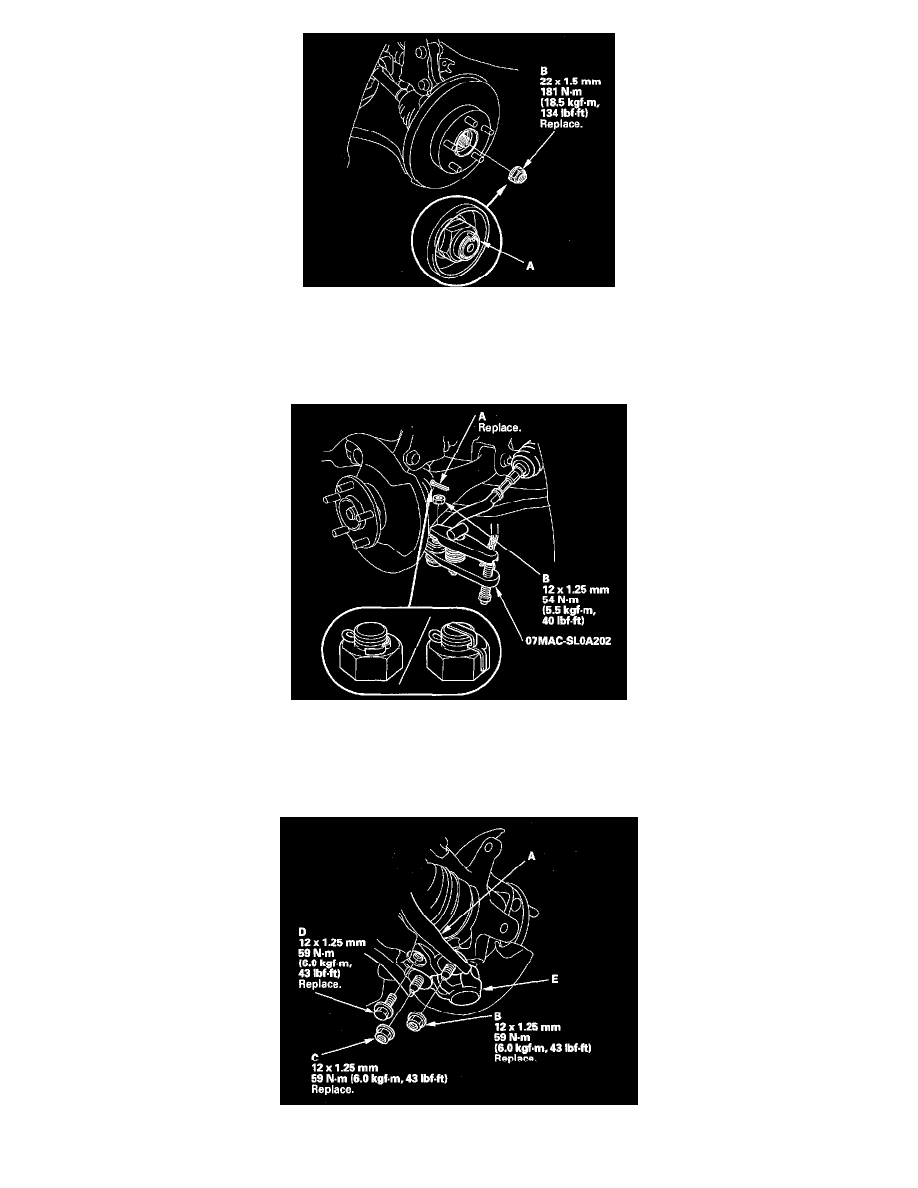
9. Remove the cotter pin (A) from the tie-rod end ball joint, then remove the nut (B).
NOTE: During installation, install the new cotter pin after tightening the nut, and bend its end as shown.
10. Disconnect the tie-rod end ball joint from the knuckle using the ball joint remover.
11. Remove the flange bolt and the self-locking nuts from the lower arm (A).
NOTE: During installation, install the new flange bolt and the new self-locking nuts. After lightly tightening all three fasteners, tighten them to the
specified torque in the following order; the nut on the front (B), the nut on the rear (C), then the bolt (D).
12. Disconnect the lower ball joint (E) from the lower arm.