
Civic L4-1.3L Hybrid (2008)
^
If the run channel is visibly damaged, replace it, then recheck the window speed.
^
If the run channel looks OK, go to step 3.
3. Reinstall the glass into the door without bolting it to the regulator, then manually slide it through its range of travel and check for excessive
resistance:
^
If the resistance is excessive, go to step 4. If the resistance is not excessive, go to step 5.
4. Inspect the run channel alignment, both inside and outside the door. Pay close attention just below the door skin; this is a common area for the run
channel to be pinched.
^
If the run channel is pinched, replace it, then adjust the run channels and the glass as needed.
^
If the run channel is not pinched, go to step 5.
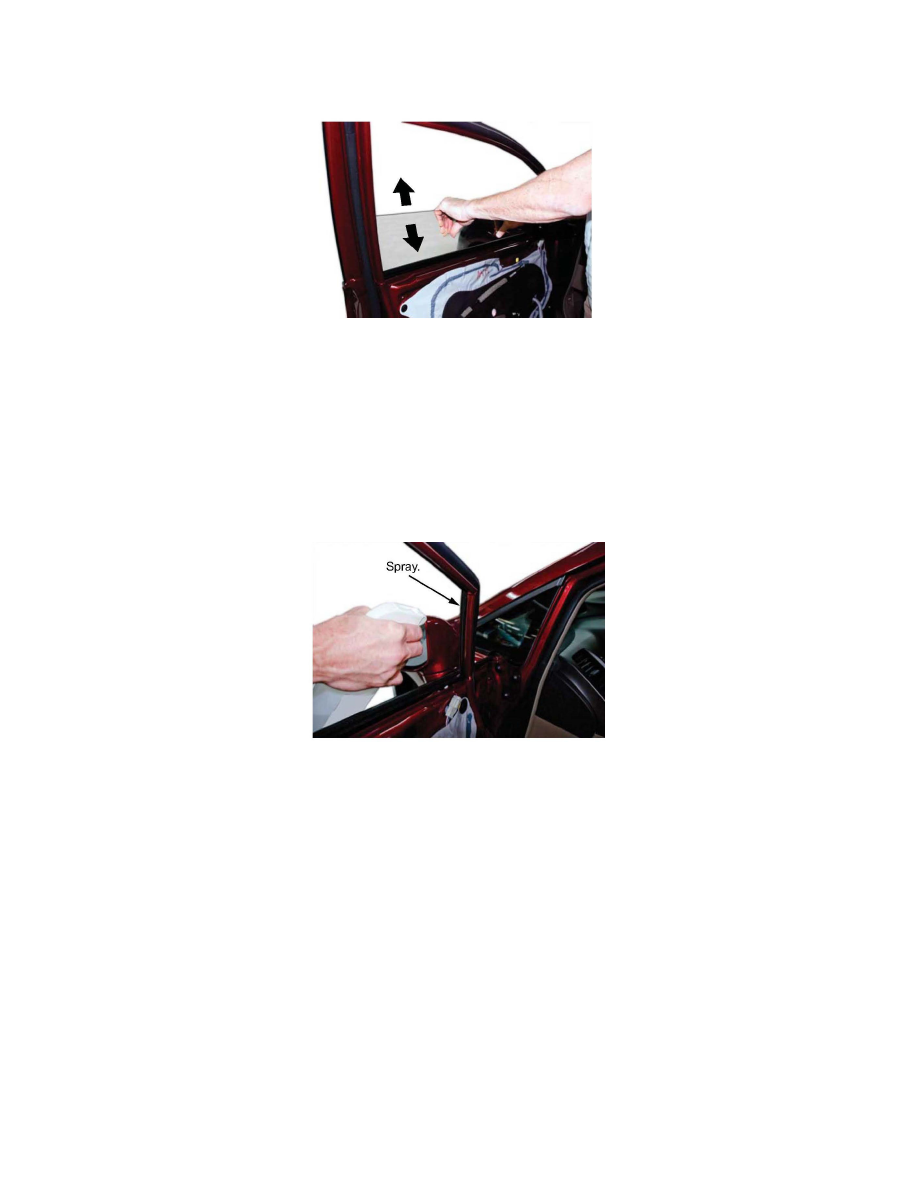
5. Clean the run channel using a soapy water solution, then apply Shin-Etsu grease. You may also need to clean the portion of the run channel within the
door.
SYMPTOM 3
During operation, the window squeaks, creaks, clunks, or clicks.
REQUIRED MATERIALS
Shin-Etsu Grease: P/N 08798-9013
REPAIR PROCEDURE
1. Compare the window's noise level to another like vehicle:
^
If the noise is the same, no repair is needed. Advise the customer that some noise is a normal characteristic.
^
If the noise is different from the other vehicle, go to step 2.