
Civic L4-1.8L (2006)
the terminal will accommodate.
NOTE: If the replacement terminal quantities are low, reorder them by using the terminal part number listed on the inside lid of the terminal
repair kit. Replacement terminals are available through your parts department using normal parts ordering procedures.
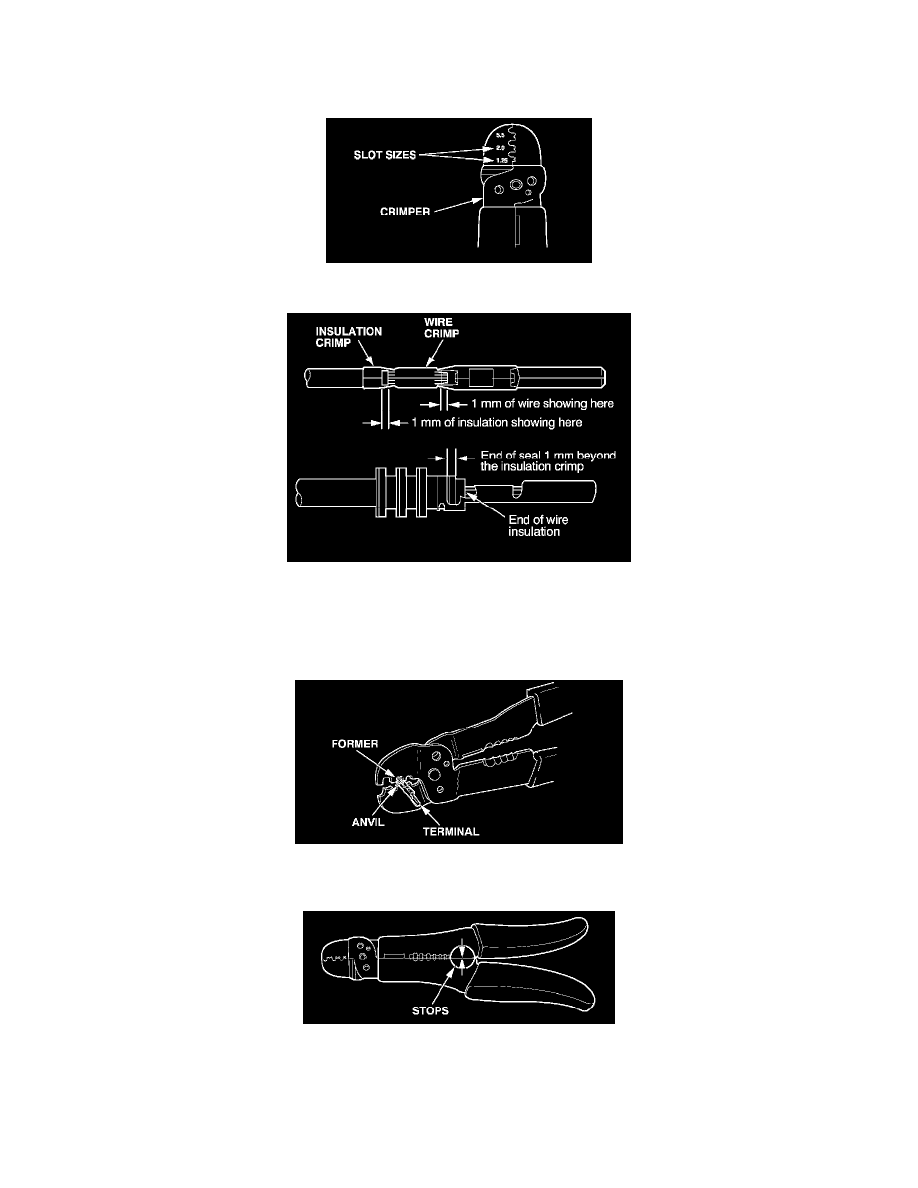
2. Depending on the size of the wire you are repairing, use the proper size slot in the crimping tool.
3. Strip the insulation off the end of the wire so the wire fits in the new terminal as shown. (If the wire has a wire seal, replace it with a new one from
the kit.)
NOTE: After stripping the end of the wire, make sure you did not cut any wire strands. If you did, cut the wire off even with the insulation, and
strip it again.
4. Position the terminal in the crimping tool slot with the solid portion of the terminal toward the anvil and the open section toward the former.
5. Insert the wire in the terminal to the position shown in step 3.
6. Squeeze the tool with both hands until the stops make contact.