Civic L4-1.8L (2006)

Fluid Pressure Sensor/Switch: Service and Repair
3RD Clutch Transmission Fluid Pressure Switch Replacement
3rd Clutch Transmission Fluid Pressure Switch Replacement
1. Lift the vehicle up on a hoist, or apply the parking brake, block the rear wheels, and raise the front of the vehicle. Make sure it is securely
supported.
2. Remove the splash shield.
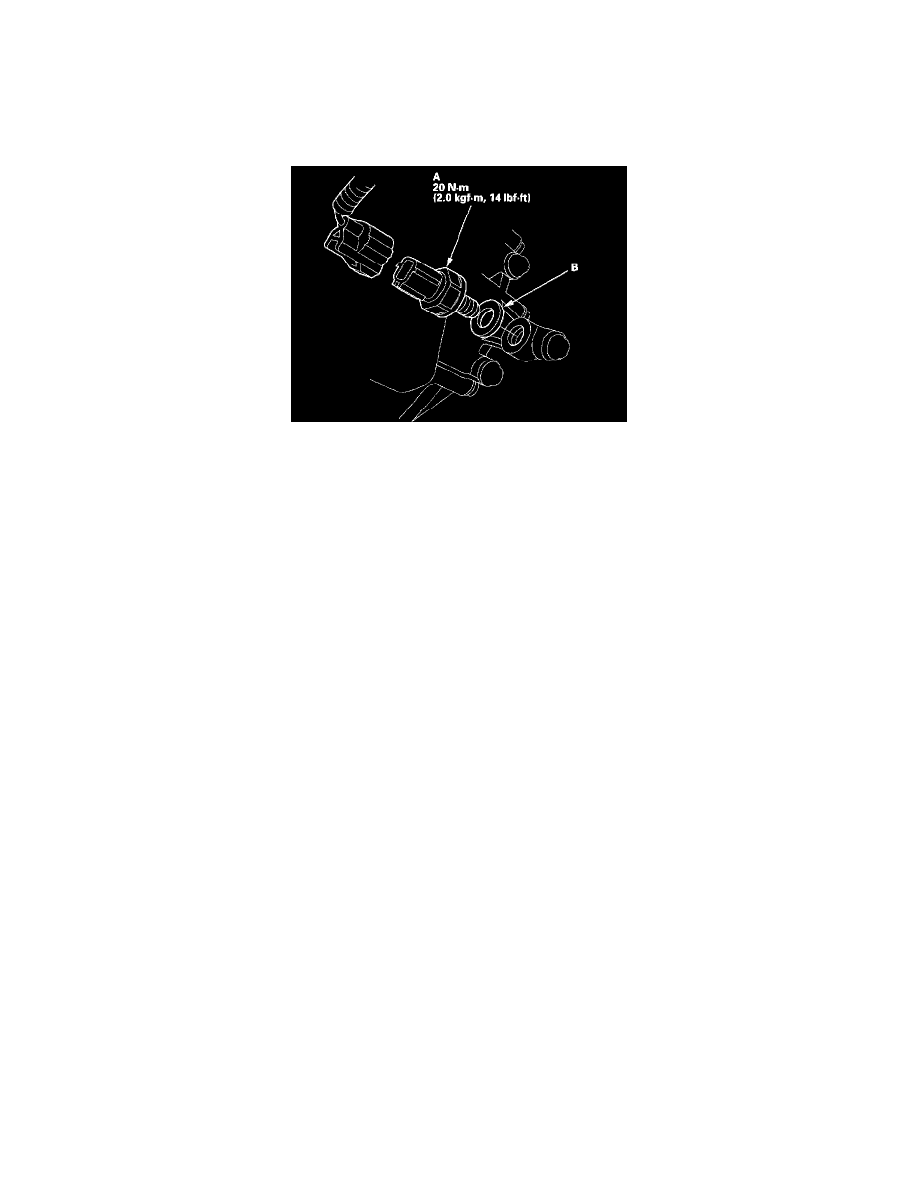
3. Disconnect the 3rd clutch transmission fluid pressure switch connector, then remove the 3rd clutch transmission fluid pressure switch (A).
4. Make sure there is no water, oil, dust, or foreign particles inside the connector.
5. Install the new 3rd clutch transmission fluid pressure switch with a new sealing washer (B), and tighten the metal part of the switch.
6. Connect the connector securely.
7. Install the splash shield.
