
Civic L4-1.8L CNG (2008)
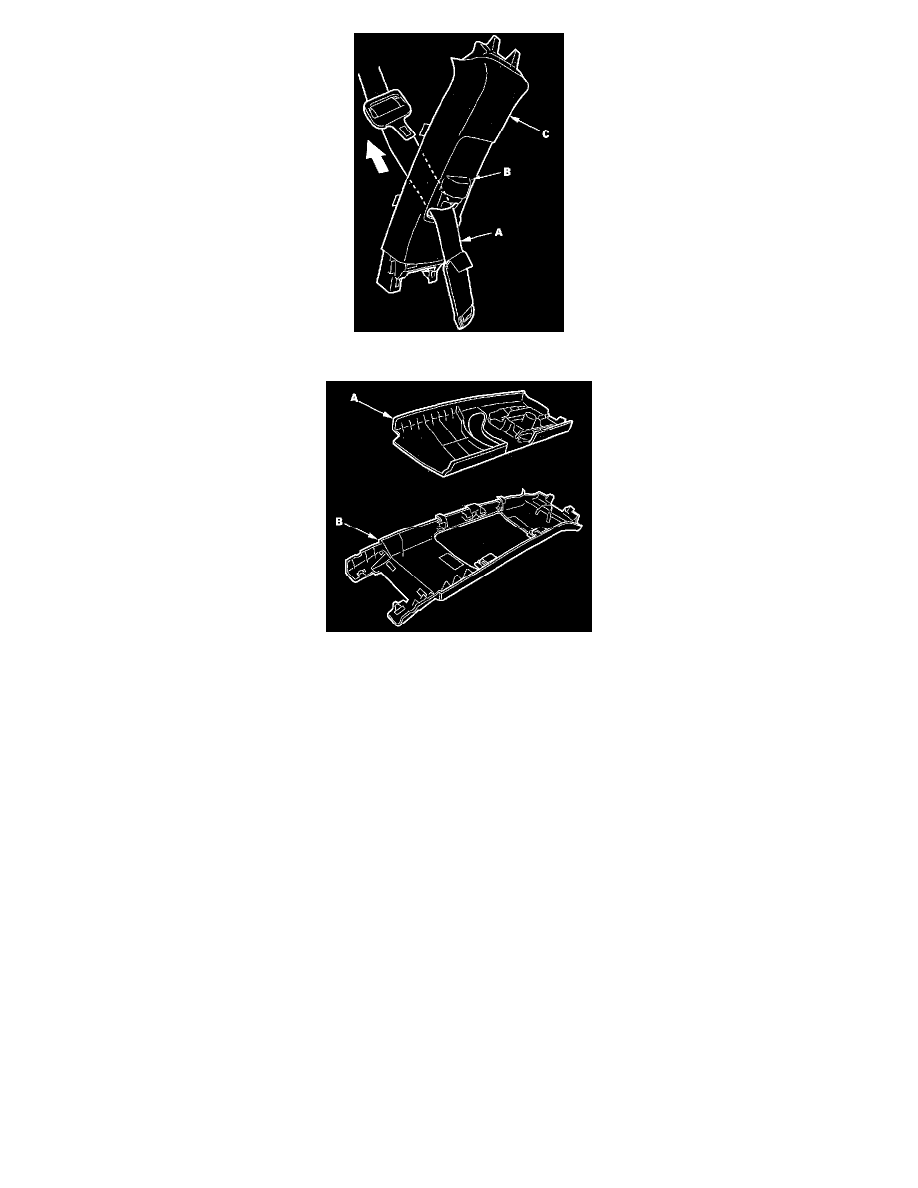
8. Remove the slider (A) from the B-pillar upper trim (B).
9. Install the trim in the reverse order of removal, and note these items:
-
Check if the clips (A) are damaged or stress-whitened, and if necessary, replace them with new ones.
-
If the side curtain airbag has deployed, replace the B-pillar upper and lower trim and all clips on the trim with new ones.
-
To prevent the side curtain airbags from deploying improperly and possibly causing injury, inspect the trim and replace it if it has any of these
types of damage:
-
Any cracks or deformations in the B-pillar upper trim (B) and the upper hooks (C), and any stress-whitening in the upper part of the trim
-
Any cracks or deformations in the B-pillar lower trim (D), and any breakages in the part (E) fitted with the B-pillar upper trim
-
Any cracks or stress-whitening in the clips seating surface (F)
-
Replace any damaged parts with new ones.
-
Make sure the top of the trim overlaps with the headliner correctly.
-
Make sure the pin (G) on the front seat belt shoulder anchor adjuster (H) and the hole (I) on the back of the slider are engaged when installing
the B-pillar upper trim.
-
Make sure the trim hook is installed into the side curtain airbag B-pillar bracket securely.
-
Push the clip and hooks into place securely.
-
Before installing the anchor bolt, make sure there are no twists or kinks in the seat belt.