
Civic L4-1.8L CNG (2008)
4. Turn the ignition switch OFF, and disconnect the negative cable from the battery.
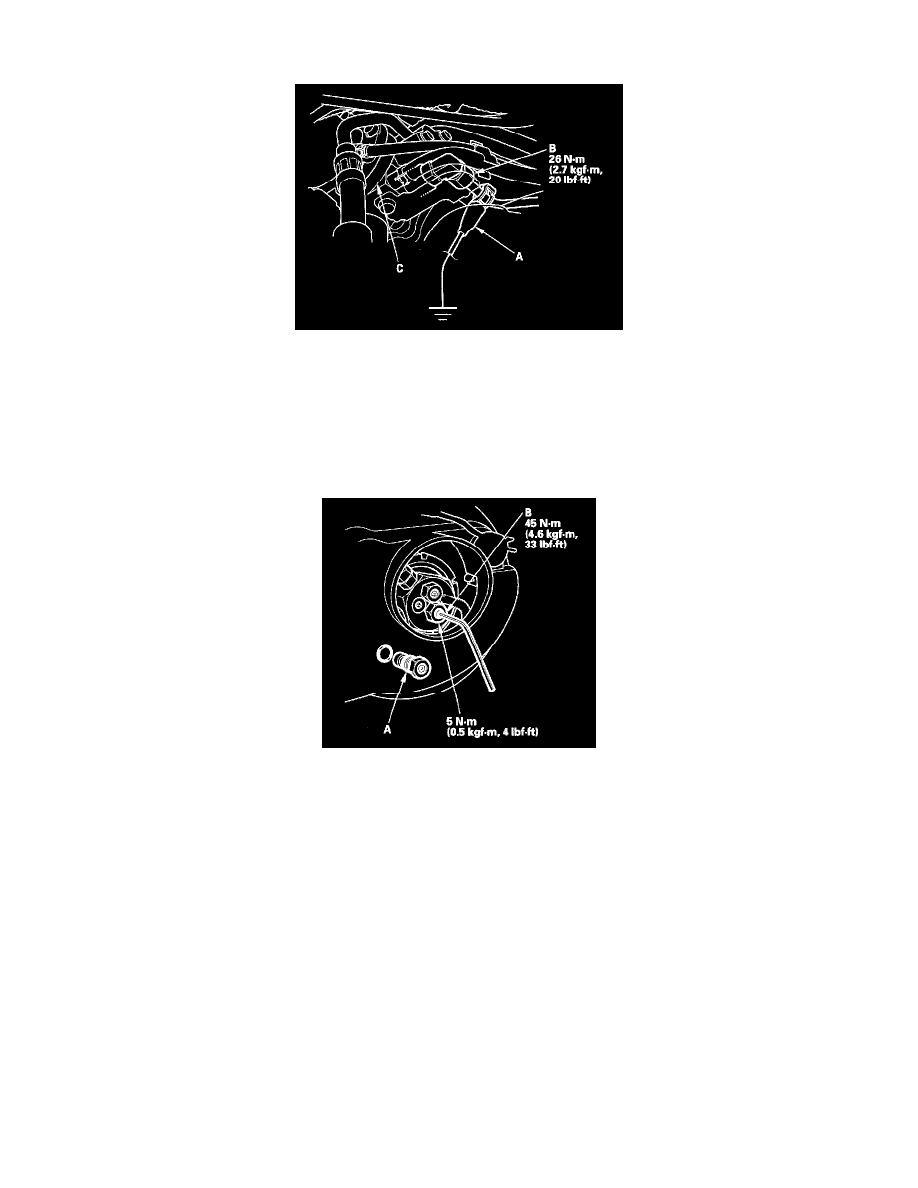
5. Connect a ground wire (A) (available from AH special tools department) to the fuel line to eliminate any static electricity.
6. Disconnect the fuel supply pipe (B) from fuel pressure regulator P1 (C). Be careful not to lose the O-rings.
NOTE: Always use two wrenches when removing or installing the fuel pipe nut.
7. Connect the vent tube to the fuel supply pipe.
8. Secure the other end of the vent tube to the highest possible location.
9. Remove the fuel pipe duct, and slowly remove the manual lock-down valve (A). Install the manual override vent tool (B) (available from AH
special tools department) in its place.
10. Slowly turn the tool's Allen bolt clockwise until it stops. This opens the line between the fuel tank and the manual shut-off valve.
11. Open the manual shut-off valve so fuel can vent from the fuel tank. The fuel tank is empty when the hissing sound goes away.
12. Remove the manual override vent tool.