Civic CVCC L4-1342cc 1.3L EV1 (1984)

driveshaft.
11.
Slide the installer onto the bolt and position it over the end of the lower arm. Attach the installer with the flat washer and special nut.
12.
Hold the nut with a 24 mm box end wrench and turn the bolt clockwise to pull the bushing into the rear beam.
NOTE:
^
Be sure the felt pen mark on the bushing is aligned with the notch on the holder before tightening the bolt.
^
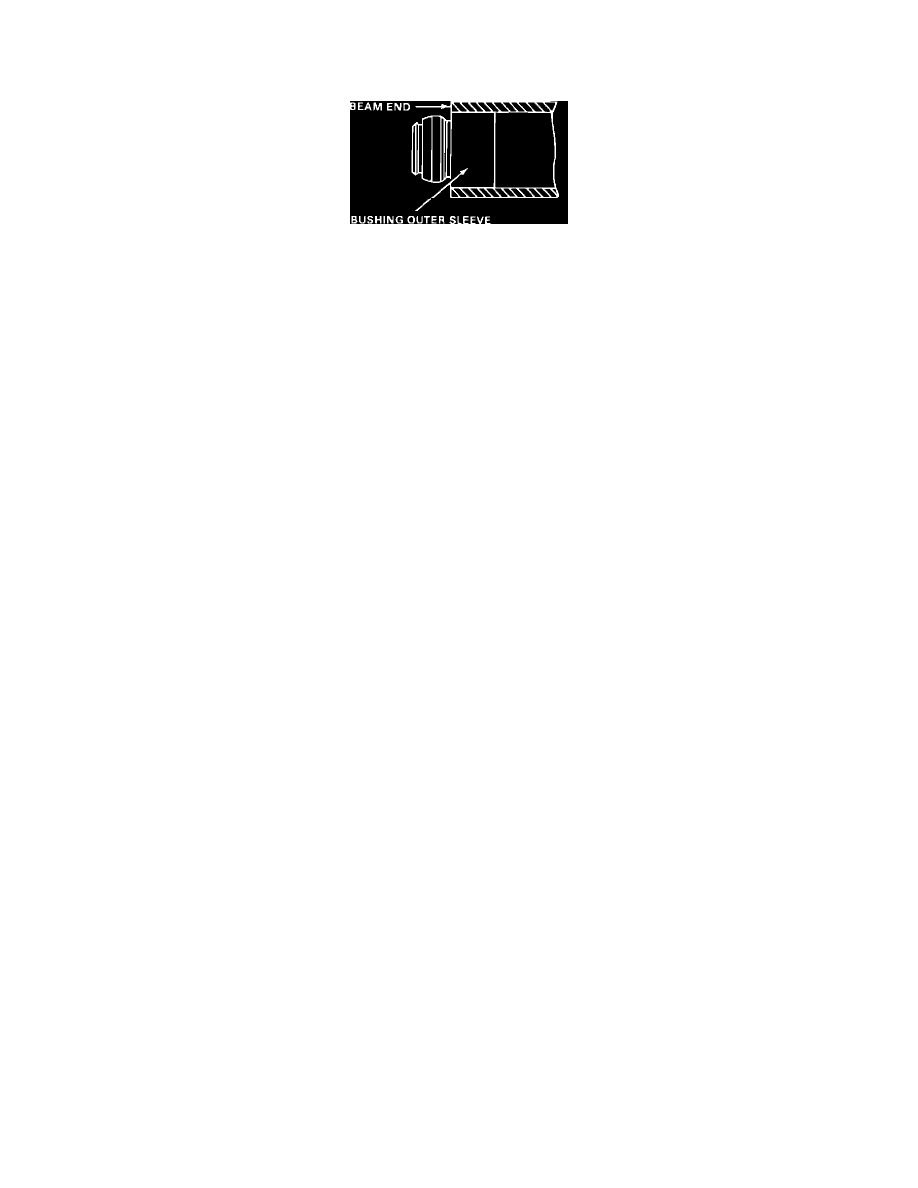
The bushing is set to the correct depth when its steel outer sleeve is flush with the end of the beam.
13.
Remove the tools from the rear beam.
14.
Remove any tools that were used to hold the engine out of the way and reassemble all engine components. (See step 2.)
15.
Attach the lower arm to the radius arm and reinstall the torsion bar and torque tube according to the procedures in the Service Manual.
