
Civic CVCC L4-1488cc 1.5L EW1, EW3 (1985)
Valve Clearance: Adjustments
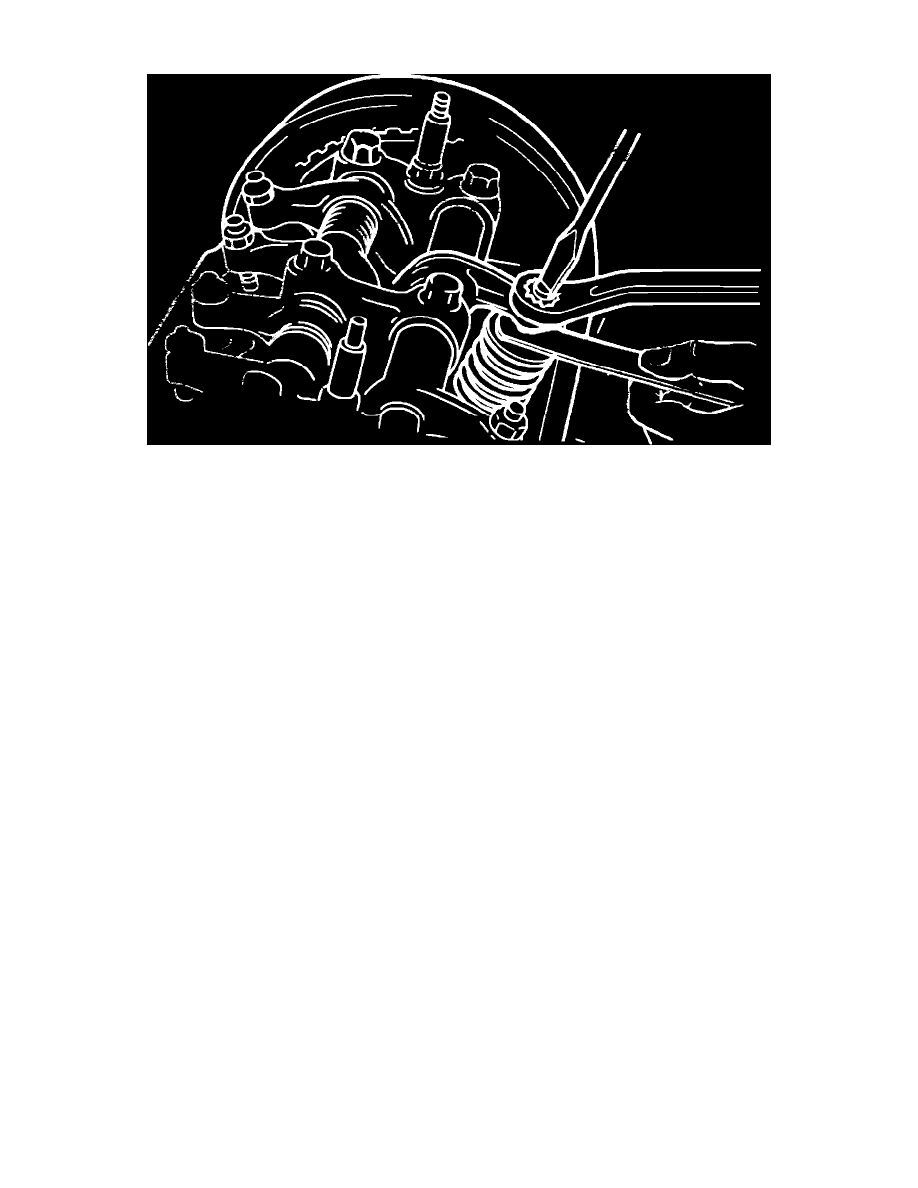
Fig. 13 Typical valve adjustment
Valves should be adjusted with engine cold.
1.
Set No. 1 piston at top dead center with mark on camshaft pulley at top and TDC groove on back of pulley aligning with cylinder head surface.
Also, distributor rotor should point toward No. 1 plug wire terminal.
2.
Loosen valve adjuster locknut, then adjust valve clearance by rotating adjusting screw while measuring with a feeler gauge, Fig. 13.
3.
Valve clearance should be as follows:
a. Accord and 1985-87 Prelude: Intake & auxiliary (as equipped), .005-.007 inch; exhaust, .010-.012 inch.
b. Civic & CRX exc. 1987-88 CRX HF: Intake and auxiliary (as equipped), 0.005 - 0.007 inch; exhaust, 0.007 - 0.009 inch.
c. 1987 CRX HF: All, .007-.009 inch.
d. 1988 CRX HF: Intake, .005-.007 inch; exhaust, .007-.009 inch.
e. 1988 Prelude: Intake, .003-.005 inch; exhaust, .006-.008 inch.
4.
Torque intake and exhaust valve locknut to 14 ft. lbs. and, if equipped, auxiliary valve locknut to 10 ft. lbs.
5.
Rotate crankshaft 180 degrees counterclockwise. TDC groove on camshaft pulley should align with index mark on timing belt cover, and
distributor rotor should point toward No. 3 plug wire terminal. Check clearance on No. 3 cylinder and adjust as in steps 2 through 4.
6.
Rotate crankshaft 180 degrees counterclockwise. TDC groove should align with cylinder head surface, and distributor rotor should point toward
No. 4 plug wire terminal. Check clearance on No. 4 cylinder and adjust as in steps 2 through 4.
7.
Rotate crankshaft 180 degrees counterclockwise. Mark on pulley should be visible, and distributor rotor should point toward No. 2 plug wire
terminal. Check clearance on No. 2 cylinder and adjust as in steps 2 through 4.