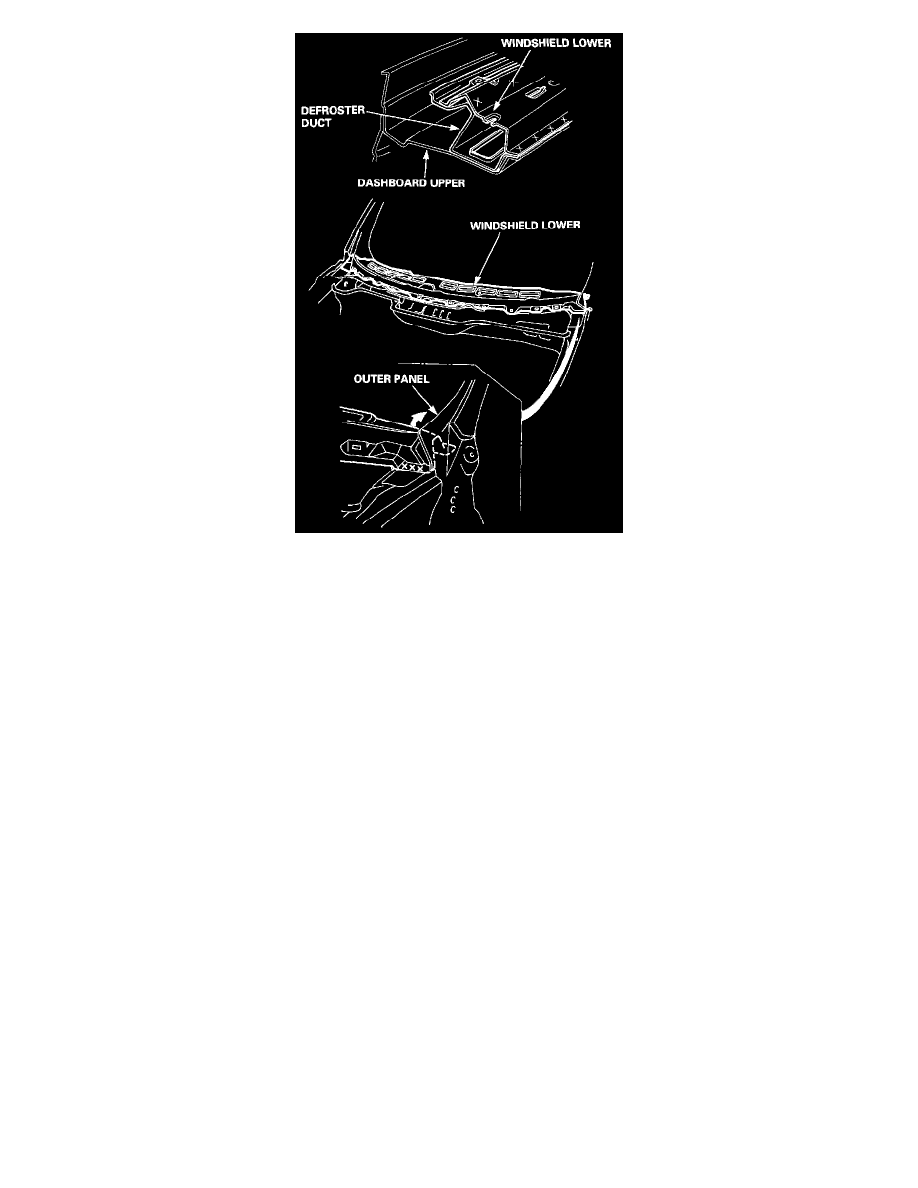
Civic CX Hatchback L4-1590cc 1.6L SOHC MFI (1997)

2. Cut the windshield lower and separate the welded flange.
-
Center punch around the spot weld imprints.
-
Drill holes with a spot cutter through the nuggets.
-
Peel off the welding flange using a chisel.
-
Level off and finish the burrs of the pried-off spot welds with a sander
WARNING: To prevent eye injury, wear goggles or safety glasses whenever sanding, cuffing or grinding.
3. Set the new windshield lower.
-
Apply an undercoat and body paint to the inside.
WARNING:
-
Ventilate when spraying paint. Most paint contains substances that are harmful if inhaled or swallowed. Read the paint label before
opening the paint container.
-
Avoid contact with skin. Wear an approved respirator, gloves, eye protection and appropriate clothing when painting.
-
Paint is flammable. Store it in a safe place, and keep it away from sparks, flames or cigarettes.
-
Sand off the undercoat down to the metal from both flanges to be welded.
-
Clamp the new windshield lower in place with vise- grips and squill vises.
NOTE: Apply the spot sealer to the welding surface when spot welding.
-
Install the new windshield and check for proper installation and alignment.
