
Civic CX Hatchback L4-1590cc 1.6L SOHC MFI (1997)
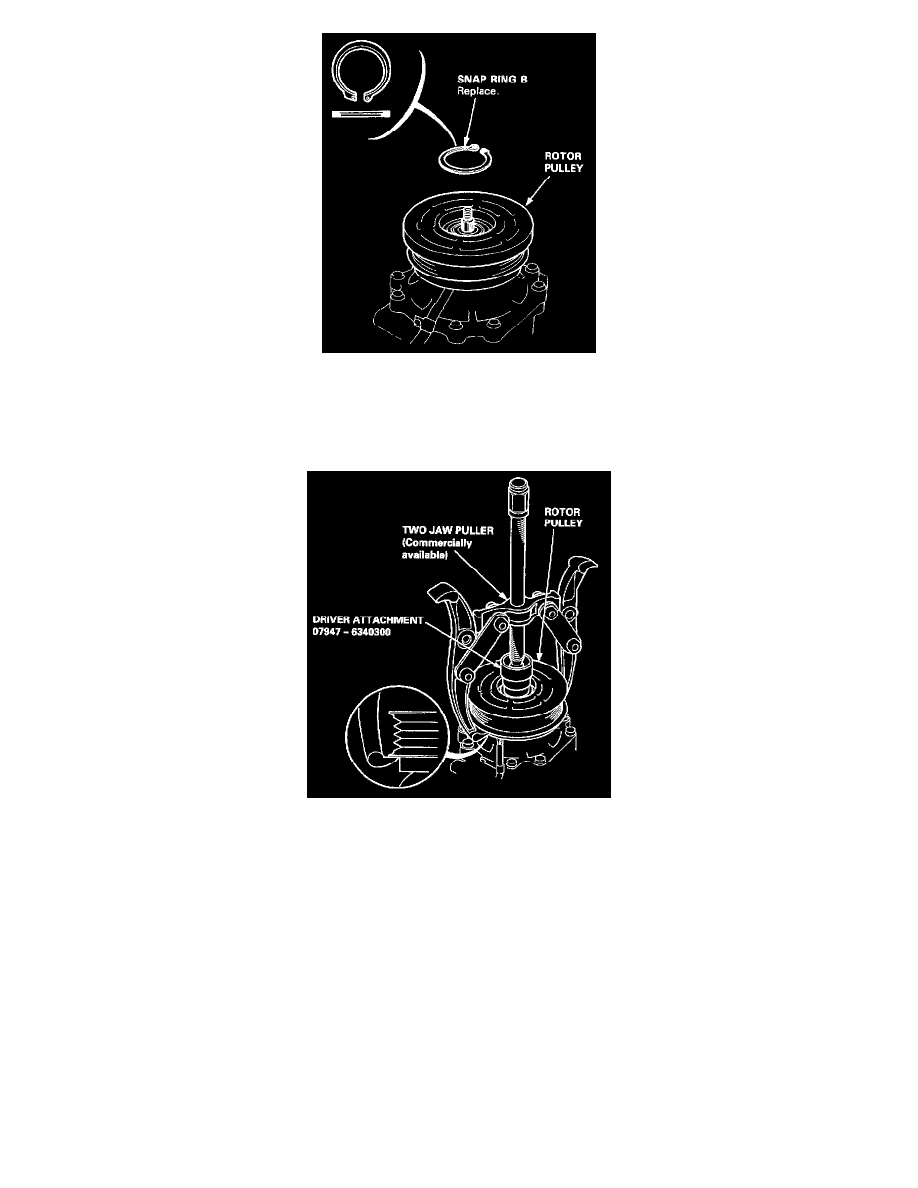
3. Remove snap ring B with snap ring pliers.
NOTE:
-
Be careful not to damage the rotor pulley and compressor during removal/installation.
-
Once snap ring B is removed, replace it with a new one.
4. Remove the rotor pulley from the shaft with a puller and the special tool.
NOTE: Place the claws of the puller on the back of the rotor pulley, not on the belt area; otherwise the rotor pulley can be damaged.
5. Remove the screw from the field coil ground terminal then disconnect the field coil connector. Remove snap ring A with snap ring pliers, then
remove the field coil.
NOTE:
-
Be careful not to damage the field coil and compressor during remove/installation.
-
Once snap ring A is removed, replace it with a new one.
-
When installing the field coil, align the boss on the field coil with the hole in the compressor.