
Civic Si L4-2.0L (2004)
Crankshaft: Service and Repair
Crankshaft Installation
Installation
Special Tools Required
^
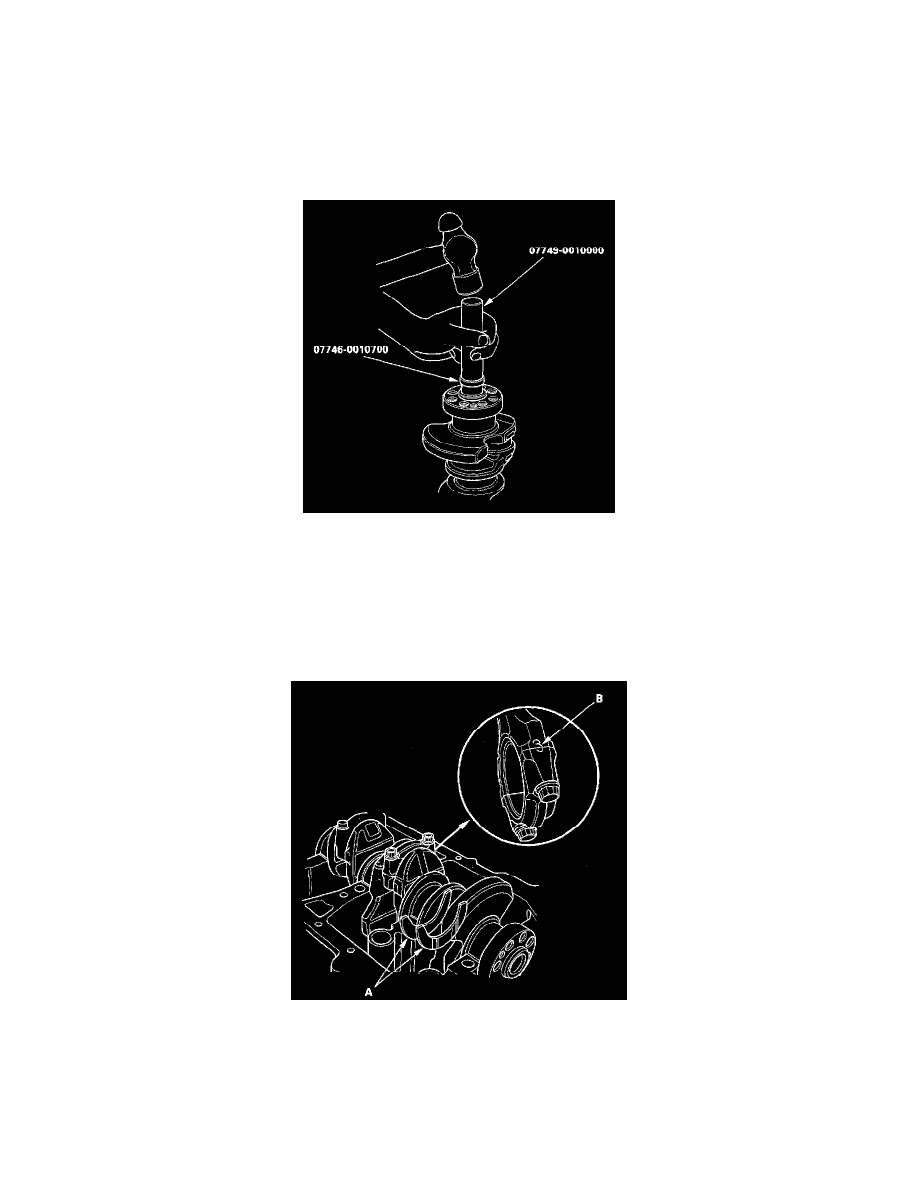
Driver 07749-0010000
^
Attachment, 24 x 26 mm 07746-0010700
^
Oil seal driver attachment 96 07ZAD-PNAA100
1. Install the crankshaft end bushing with the special tools when replacing the crankshaft. Drive in the crankshaft end bushing until the special tools
bottom against the crankshaft.
2. Check the connecting rod bearing clearance with plastigage.
3. Check the main bearing clearance with plastigage.
4. Inspect the connecting rod bolts.
5. Install the bearing halves in the cylinder block and connecting rods.
6. Apply a coat of engine oil to the main bearings and rod bearings.
7. Hold the crankshaft so rod journal No. 2 and rod journal No. 3 are straight up, and lower the crankshaft into the block.
8. Install the thrust washers (A) in the No. 4 journal of the cylinder block.
9. Apply engine oil to the threads of the connecting rod bolts.
10. Seat the rod journals into connecting rod No. 1 and connecting rod No. 4. Line up the mark (B) on the connecting rod and cap, then install the caps
and bolts finger-tight.
11. Rotate the crankshaft clockwise, and seat the journals into connecting rod No. 2 and connecting rod No. 3. Line up the mark on the connecting rod
and cap, then install the caps and bolts finger-tight.
12. Tighten the connecting rod bolts to 20 Nm (2.0 kgf-cm, 14 ft. lbs.).