
Civic VP Sedan L4-1590cc 1.6L SOHC MFI (1999)
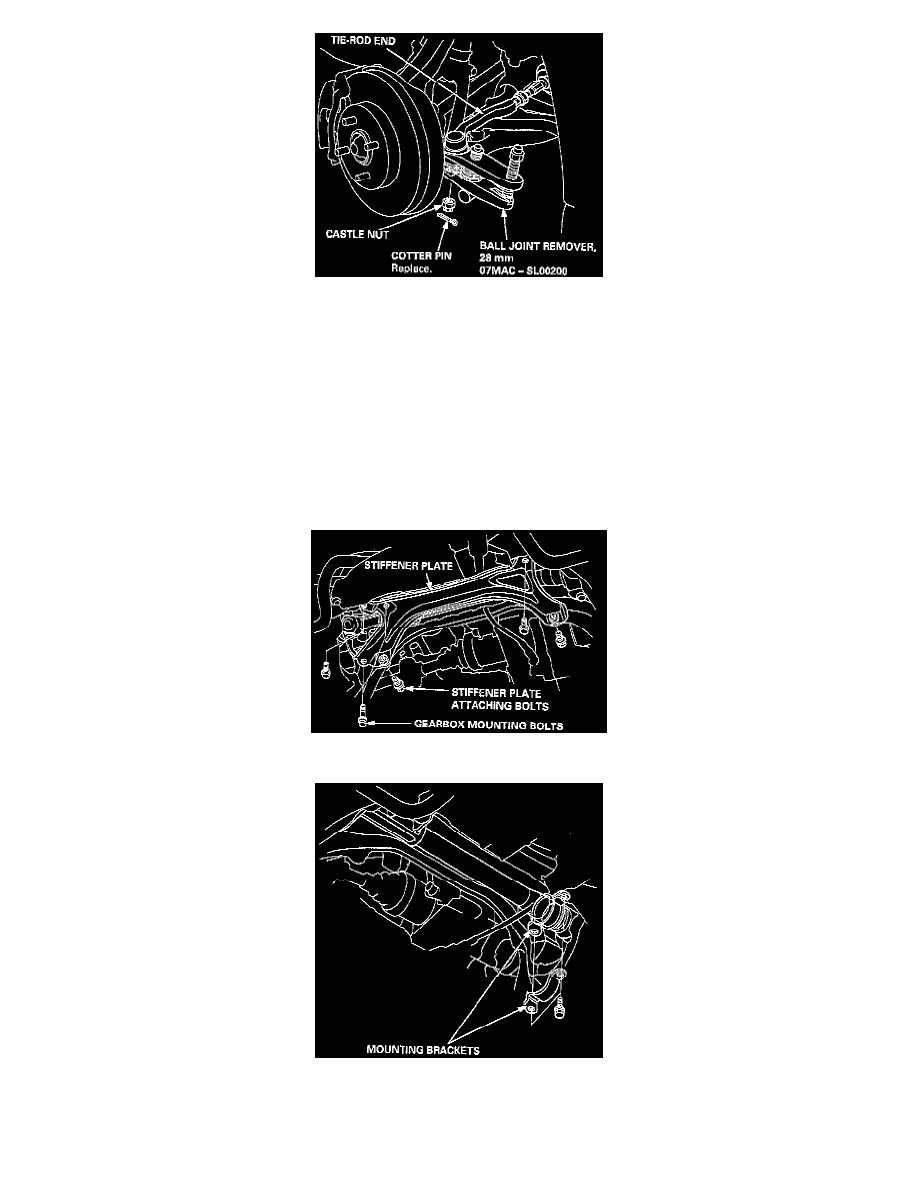
6. Remove the cotter pin from the castle nut and remove the newt
7. Install the 10 mm hex nut on the ball joint. Be sure that the 10 mm hex nut is flush with the ball joint pin end, or the threaded section of the ball
joint pin might be damaged by the ball joint remover.
NOTE: Remove the ball joint using the special tool. Refer to section 18 for how to use the ball joint remover.
8. Separate the tie-rod ball joint and knuckle using the special tool.
CAUTION: Avoid damaging the ball joint boot.
9. Remove the left tie-rod end, then slide the rack all the way to the right.
10. Separate the exhaust pipe A or TWC.
11. Disconnect the shift linkage.
12. Remove the stiffener plate.
13. Remove the mounting bracket.
14. Pull the steering gearbox all the way down to clear the pinion shaft from the bulkhead, then remove the pinion shaft grommet.