
Civic VP Sedan L4-1590cc 1.6L SOHC MFI (1999)
Valve Body: Service and Repair
Lower Valve Body Replacement
REPLACEMENT
WARNING: Make sure lifts, jacks, and safety stands are placed properly.
CAUTION: While removing and installing the lower valve body assembly, be sure not to allow dust and other foreign particles to enter into the
transmission.
1. Raise the front of the vehicle, and support it with safety stands.
2. Set the parking brake, and block both rear wheels securely.
3. Remove the drain plug, and drain the Continuously Variable Transmission (CVT) fluid. Reinstall the drain plug with a new sealing washer.
CAUTION: Keep all of other foreign particles out of the transmission.
4. Disconnect the 8P connector from the solenoid harness connector.
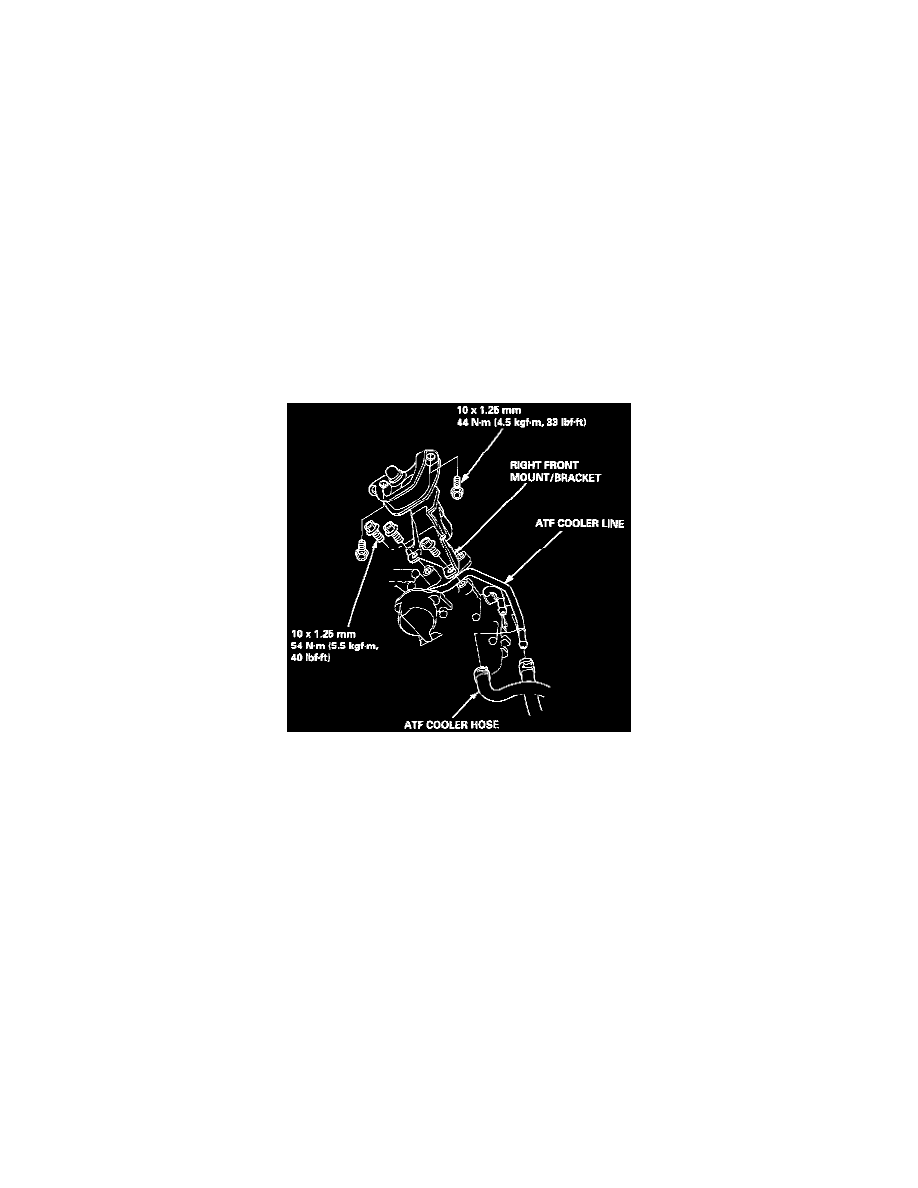
5. Remove the Automatic Transmission Fluid (ATF) cooler hoses at the ATF cooler lines. Turn the ends of the ATF cooler hoses up to prevent ATF
from flowing out, then plug the ATF cooler hoses.
CAUTION: Keep all of other foreign particles out of the transmission.
6. Remove the right front mount/bracket.
7. Remove the ATF cooler outlet line.
8. Remove the ATF cooler line bracket bolt.
9. Remove the ATF pan (fourteen bolts).
10. Remove the ATF strainer (two bolts).
11. Remove the one bolt securing the solenoid harness connector.