
CR-V 2WD L4-2.4L (2003)
Alternator Control System Test
1. Check for proper operation of the electrical load detector(ELD) by checking the malfunction indicator lamp (MIL).
2. Disconnect the engine wire harness 8P connector from the starter sub-harness 8P connector.
3. Start the engine, and turn the headlights (high beam) ON.
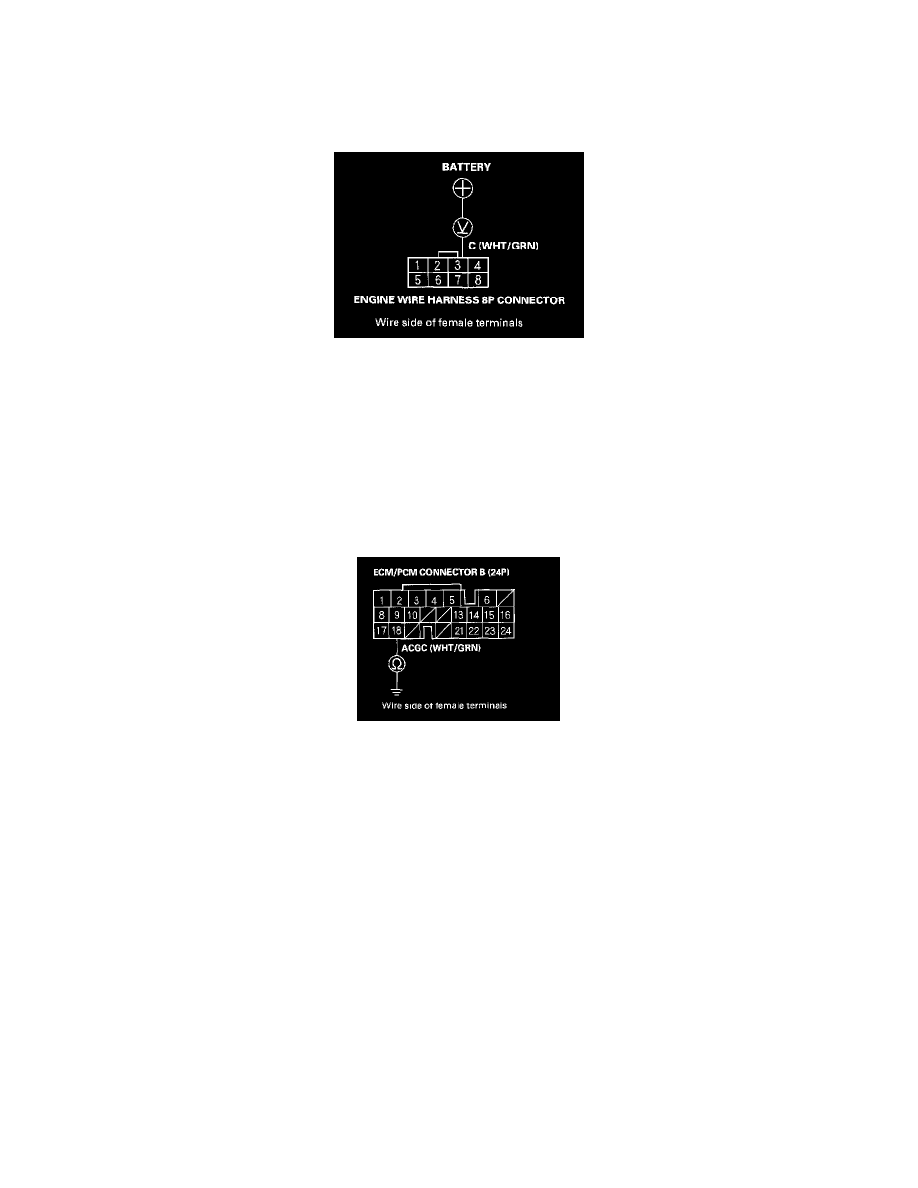
4. Measure voltage between the engine wire harness 8P connector terminal No.3 and the positive terminal of the battery.
Is there 1 V or less?
YES - Go to step 8.
NO - Go to step 5.
5. Turn the headlights and ignition switch OFF.
6. Disconnect the negative cable from the battery.
7. Disconnect engine control module (ECM)/ powertrain control module (PCM) connector B (24P).
8. Check for continuity between ECM/PCM connector terminal B18 and body ground.
Is there continuity?
YES - Repair short in the wire between the alternator and the ECM/PCM.
NO - Check that the terminals are firmly seated at the connector. If OK, substitute a known-good ECM/PCM, and recheck.
If the prescribed voltage is now available, replace the original ECM/PCM.
9. Turn the headlights and ignition switch OFF.
10. Disconnect ECM/PCM connector B (24P).