
CR-V LX 2WD L4-1972cc 2.0L DOHC MFI (1998)
22. Use the special tool as shown on page 18-11 to separate the ball joint and lower arm. If necessary, apply penetrating type lubricant to loosen the
ball joint.
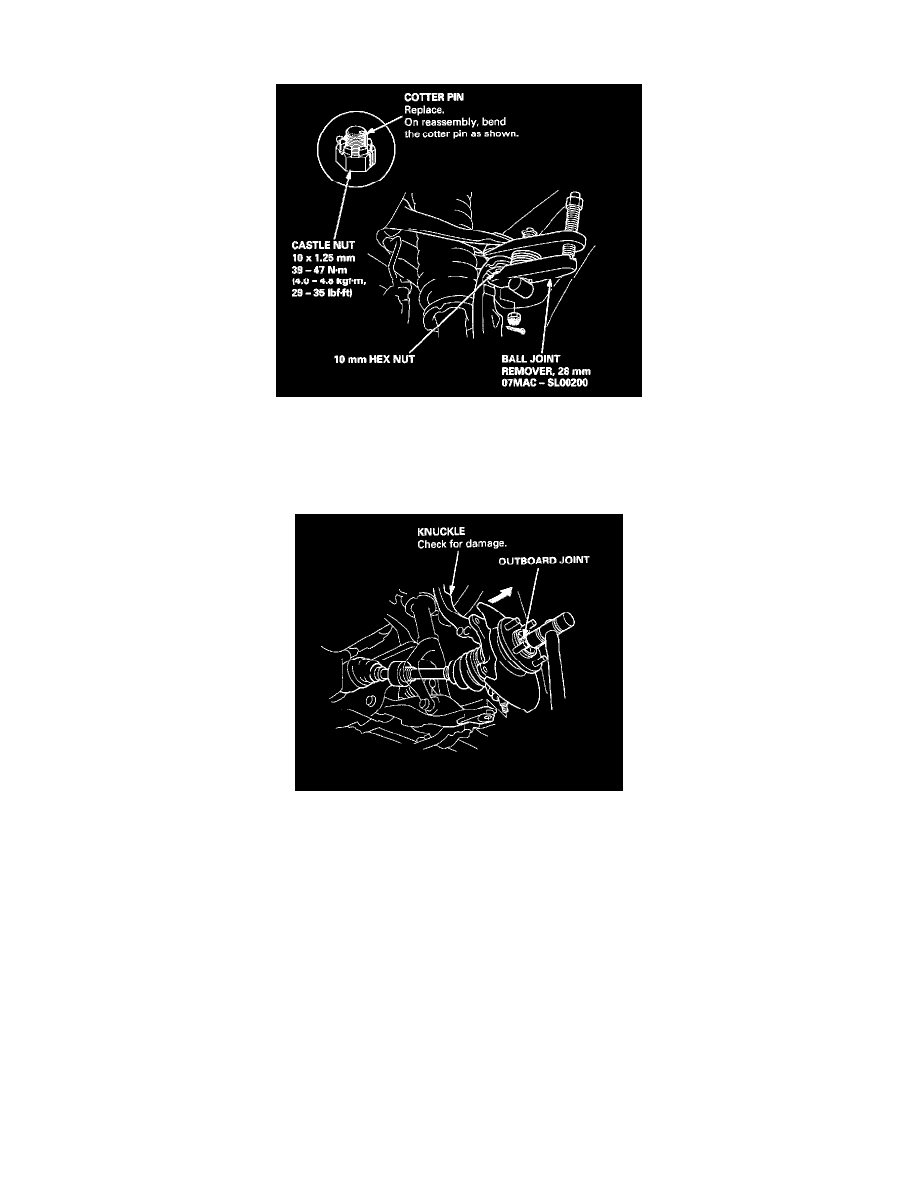
23. Remove the cotter pin from the upper ball joint castle nut. and remove the nut.
24. Install the 10 mm hex nut on the ball joint. Make sure the hex nut is flush with the ball joint pin end, or the threaded section of the ball joint pin
might be damaged by the ball joint remover.
25. Use the special tool as shown on page 18-11 to separate the ball joint and knuckle. If necessary, apply penetrating type lubricant to loosen the ball
joint.
26. Pull the knuckle outward, and remove the driveshaft outboard joint from the knuckle by tapping the driveshaft end with a plastic hammer, then
remove the knuckle.