
CR-V LX 4WD L4-2.4L (2002)
8.
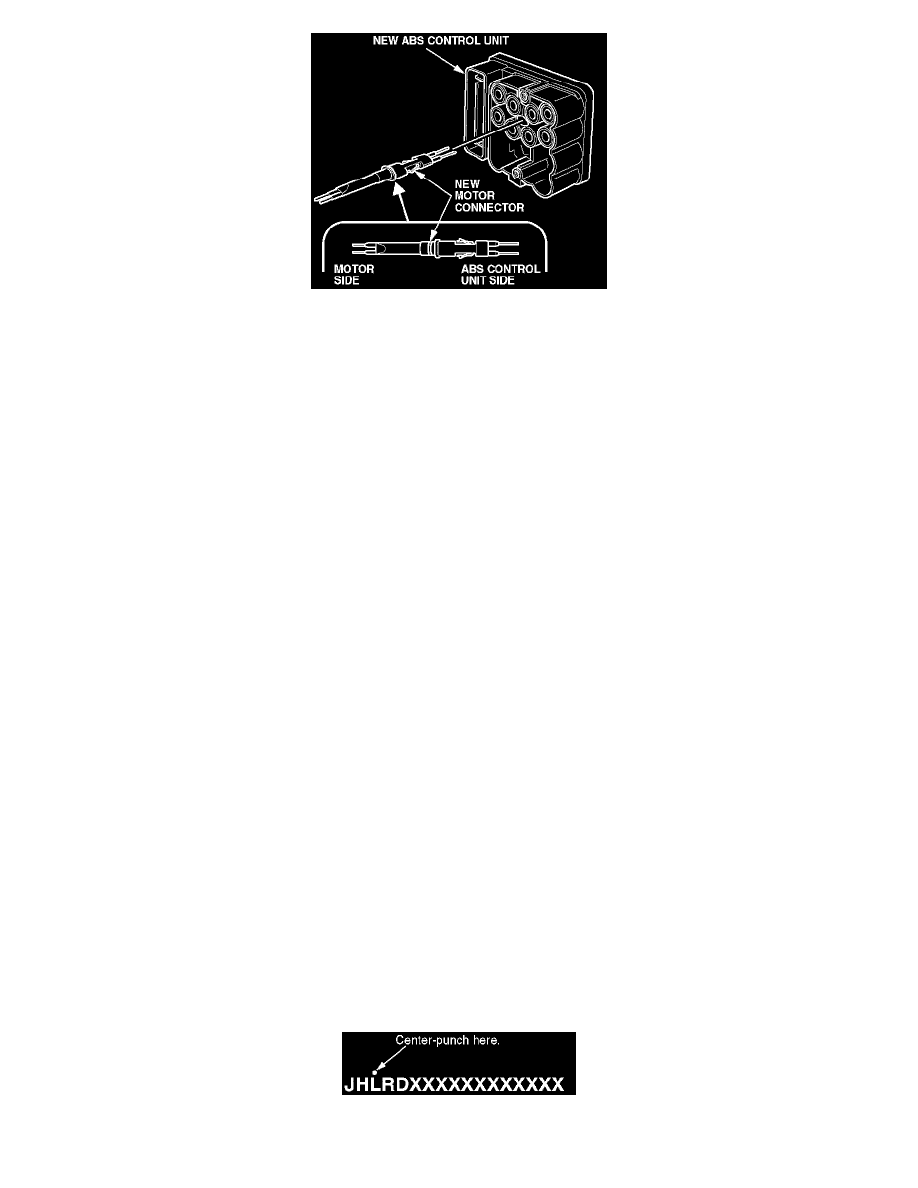
Remove and discard the old motor connector. Insert the new motor connector into the new control unit. Make sure it is seated securely.
9.
Install the new ABS control unit onto the solenoid body with the motor connector going through the body.
10.
Install the motor onto the solenoid body. Make sure the motor connector pins are connected to the sockets on the motor.
11.
Reinstall the two T25 Torx bolts. Torque them to 5.4 N.m (4 lb-ft).
12.
Install the ABS modulator-control unit onto the bracket, then tighten the two 6 mm shoulder bolts and the 6 mm bolt. Torque them to 9.3 N.m (7
lb-ft).
13.
Align the connecting surface of the ABS control unit 47P connector, then connect and lock the connector.
14.
Connect the six brake lines. Torque them to 15 N.m (11 lb-ft).
15.
Bleed the brake system, starting with the front wheels (see page 19-9 of the 2002 CR-V Service Manual).
16.
Install the power steering reservoir tank.
17.
Connect the battery negative cable.
18.
Start the engine, and check that the ABS indicator and the brake system indicator go off.
19.
Reinitialize the driver's window auto-up feature:
^
Make sure the driver's window is fully closed.
^
Push down and hold the window switch until the window is fully open.
^
Pull back and hold the window switch until the window is fully closed, then hold the switch for at least 2 more seconds.
20.
Do the idle learn procedure:
^
Make sure all electrical items (A/C, audio unit, defogger, lights, etc.) are turned off.
^
Let the engine warm up to its normal operating temperature (the cooling fan cycles twice).
^
Let the engine idle with the throttle closed for 10 minutes.
21.
Enter the audio system anti-theft code and the radio station presets. Set the clock.
22.
Test-drive the vehicle, and check that the ABS indicator and the brake system indicator do not come on.
23.
Center-punch a completion mark above the third character of the engine compartment VIN.