CR-V LX 4WD L4-2.4L (2002)

7. Install a new desiccant bag, a new filter, and new 0-rings in the receiver dryer.
NOTE:
Apply a thin coat of refrigerant oil to the 0-rings before installation.
8. Reinstall the A/C condenser and the upper mounting brackets, and torque the bolts to 9.8 N.m (7.2 lb-ft).
9. Reconnect the discharge line and the condenser line with new 0-rings, then torque the bolts to 9.8 N.m (7.2 lb-ft).
10. Reinstall the alternator.
11. Reinstall the drive belt.
12. Reinstall the auto-tensioner.
13. Reinstall the front bumper, and replace any damaged mounting clips.
14. Reconnect the battery cables to the battery, then do the battery reconnection procedure.
15. Recharge the A/C system with a recovery/ recycling/recharge station. Recharging includes these steps:
^
Evacuate the system.
^
Charge the system with the specified amount of R-134a refrigerant. Do not overcharge the system.
^
Check for refrigerant leaks.
^
Check the A/C performance.
^
Do the ECM/PCM idle learn procedure.
^
Do the power window control unit reset procedure.
^
Enter the anti-theft codes for the audio system, then enter the customer's audio system presets.
REPAIR PROCEDURE B (A/C SERVICE KIT B)
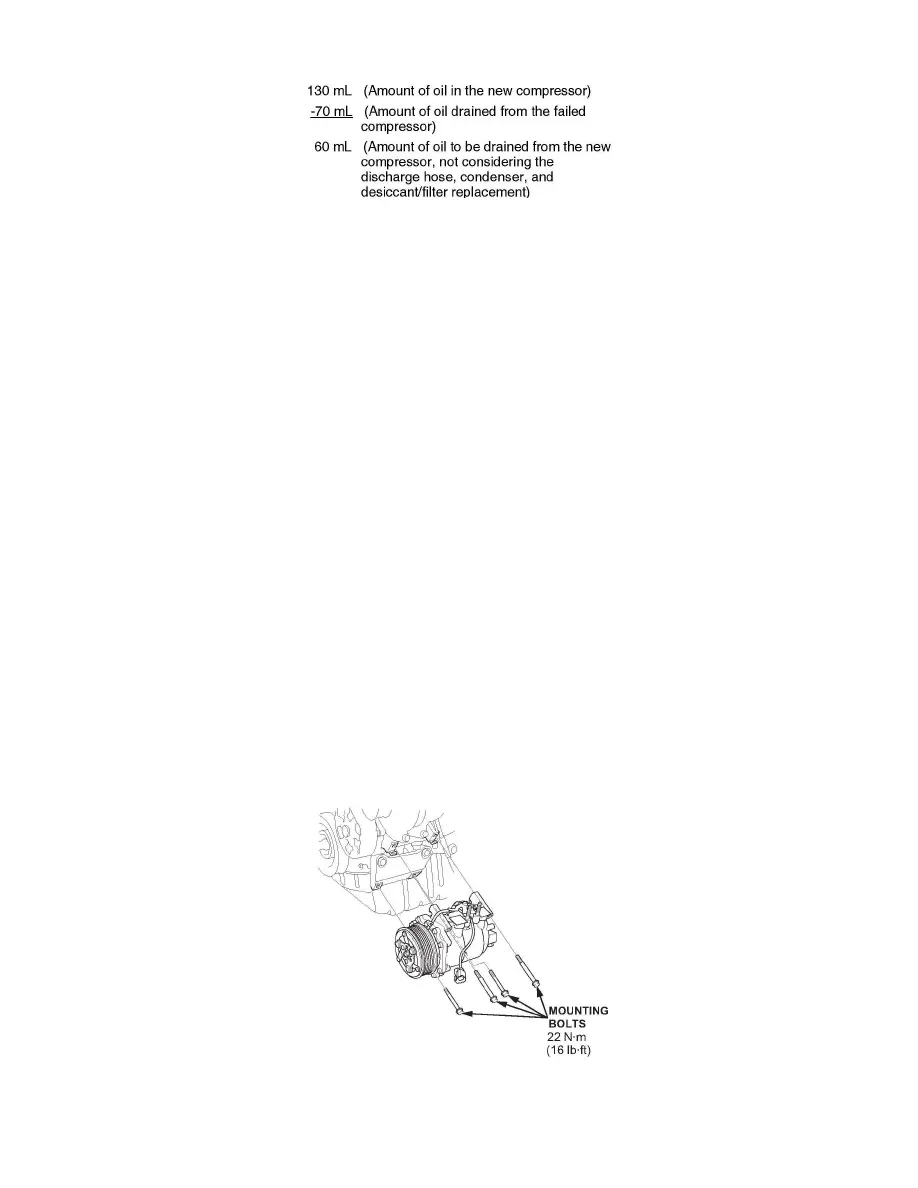
1. Disconnect the connector, then remove the A/C compressor (four bolts). Be careful not to damage the radiator fins.
2. Check the NC compressor clutch as described in the service manual.
