
CR-V LX 4WD L4-2.4L (2002)
16. Carefully pull out the evaporator.
17. Remove the bolts from the expansion valve.
18. Install the new expansion valve and new 0-rings on the new evaporator, then torque the bolts to 9.8 N.m (7.2 lb-ft).
19. Install a new evaporator, then reinstall the ECM/PCM bracket and the expansion valve cover.
20. Reinstall the blower unit.
21. Reinstall the ECM/PCM.
22. Reinstall the dashboard undercover.
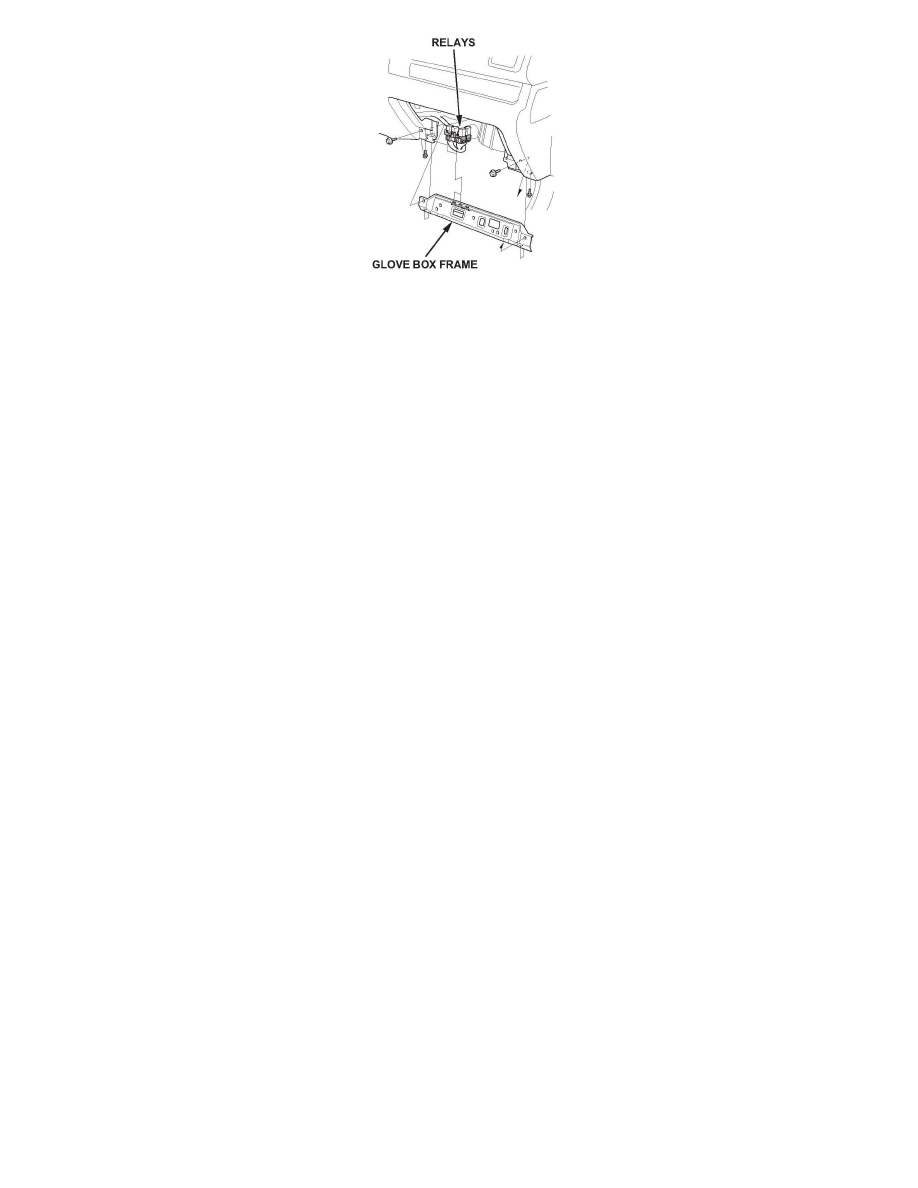
23. Reinstall the relays.
24. Reinstall the kick panel and the glove box.
25. Install a new suction line and a new receiver line.
Torque the line nuts to 9.8 N.m (7.2 lb-ft).
26. Install a new desiccant bag, a new condenser, a new condenser line, a new discharge hose, and new 0-rings. Torque the condenser bracket bolts to
9.8 N.m (7.2 lb-ft). Torque the condenser discharge lines to 9.8 N.m (7.2 lb-ft).
NOTE:
Apply a thin coat of refrigerant oil to the 0-rings before installation.
27. Install a new receiver line A and a new receiver line B.
28. Install a new clutch and coil (if needed) or the original to a new A/C compressor. Install the compressor, then torque the bolts to 22 N.m (16 lb-ft).
29. Install a new suction hose and a new discharge hose with new 0-rings to the compressor, and torque the line nuts to 9.8 N.m (7.2 lb-ft)
30. Reinstall the alternator, and torque its mounting bolts to 22 N.m (16 lb-ft).
31. Reinstall the auto-tensioner.
32. Reinstall the drive belt.
33. Reinstall the radiator.
34. Reinstall the front bumper.
35. Reconnect the battery.
36. Recharge the A/C system with a recovery/ recycling/recharge station. Recharging includes these steps:
^
Evacuate the system.
^
Charge the system with the specified amount of R-134a refrigerant. Do not overcharge the system.