
CR-V LX 4WD L4-2.4L (2002)
Overdrive Switch: Service and Repair
O/D Switch Test/Replacement
1. Remove the driver's dashboard lower cover, the instrument panel.
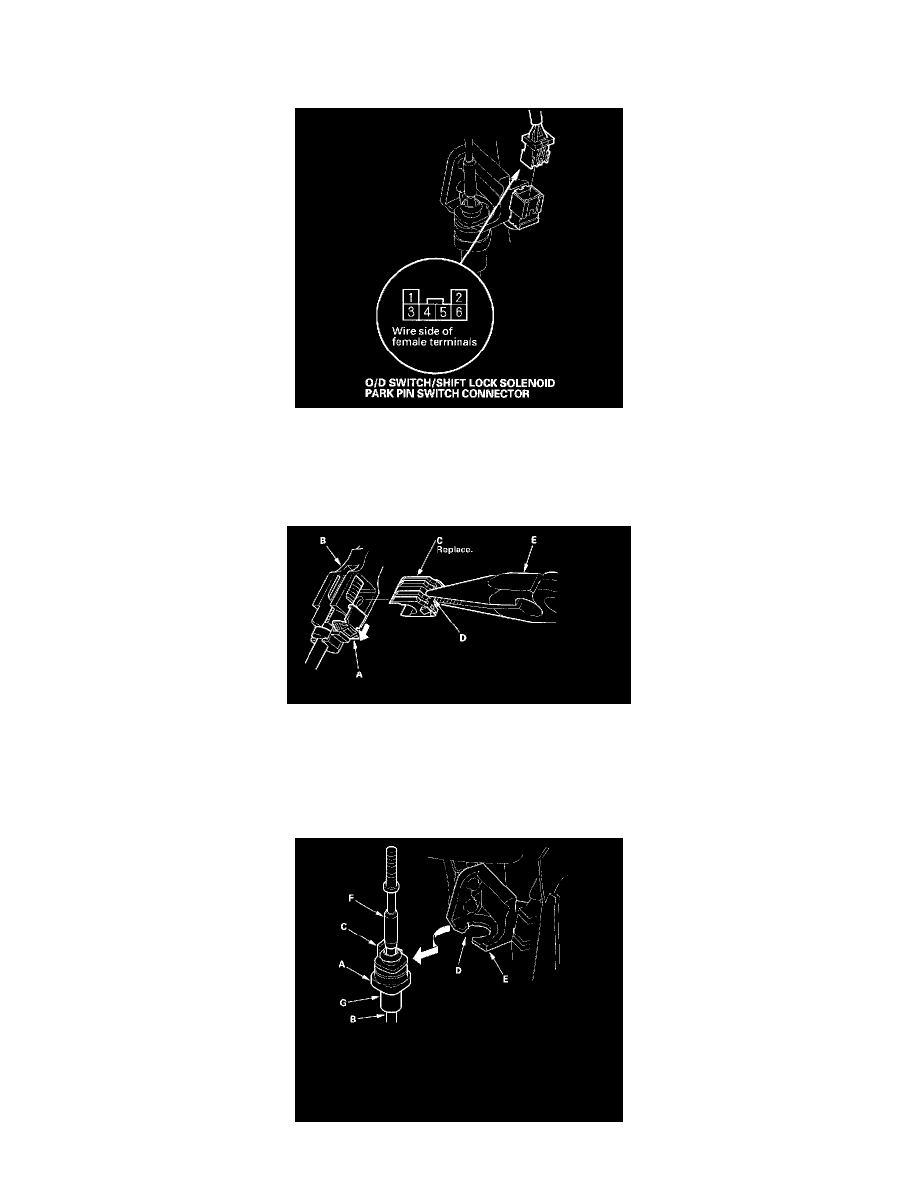
2. Disconnect the O/D switch/shift lock solenoid/park pin switch connector.
3. Check for continuity between the No. 5 and No. 6 terminals of the O/D switch/shift lock solenoid/park pin switch connector while pushing the O/D
switch, and when the switch is released.
4. If the O/D switch is OK, connect the connector and install the removed parts. If the switch is faulty, go to step 5 for the O/D switch replacement.
5. Shift the shift lever to the R position.
6. Slide the lock tab (A) down on the shift cable and holder (B).
7. Grasp the shift cable lock (C) in the middle (D) with needle-nose pliers (E), then remove it from the shift cable end and shift cable end holder.
NOTE: Do not pry the shift cable lock with a screwdriver, it may damage the shift cable end holder.
8. Separate the shift cable end from the shift cable end holder.