CR-V LX 4WD L4-2.4L (2002)

Liftgate Window Glass Weatherstrip: Service and Repair
Hatch Glass Weatherstrip Replacement
NOTE:
-
Put on gloves to protect your hands.
-
Take care not to scratch the tailgate.
1. Remove the tailgate side trim from both sides.
2. Remove the high mount brake light.
3. Disconnect the rear window defogger connectors, and release the wire harnesses from both sides.
4. Remove the hatch glass support strut brackets from both sides of the tailgate.
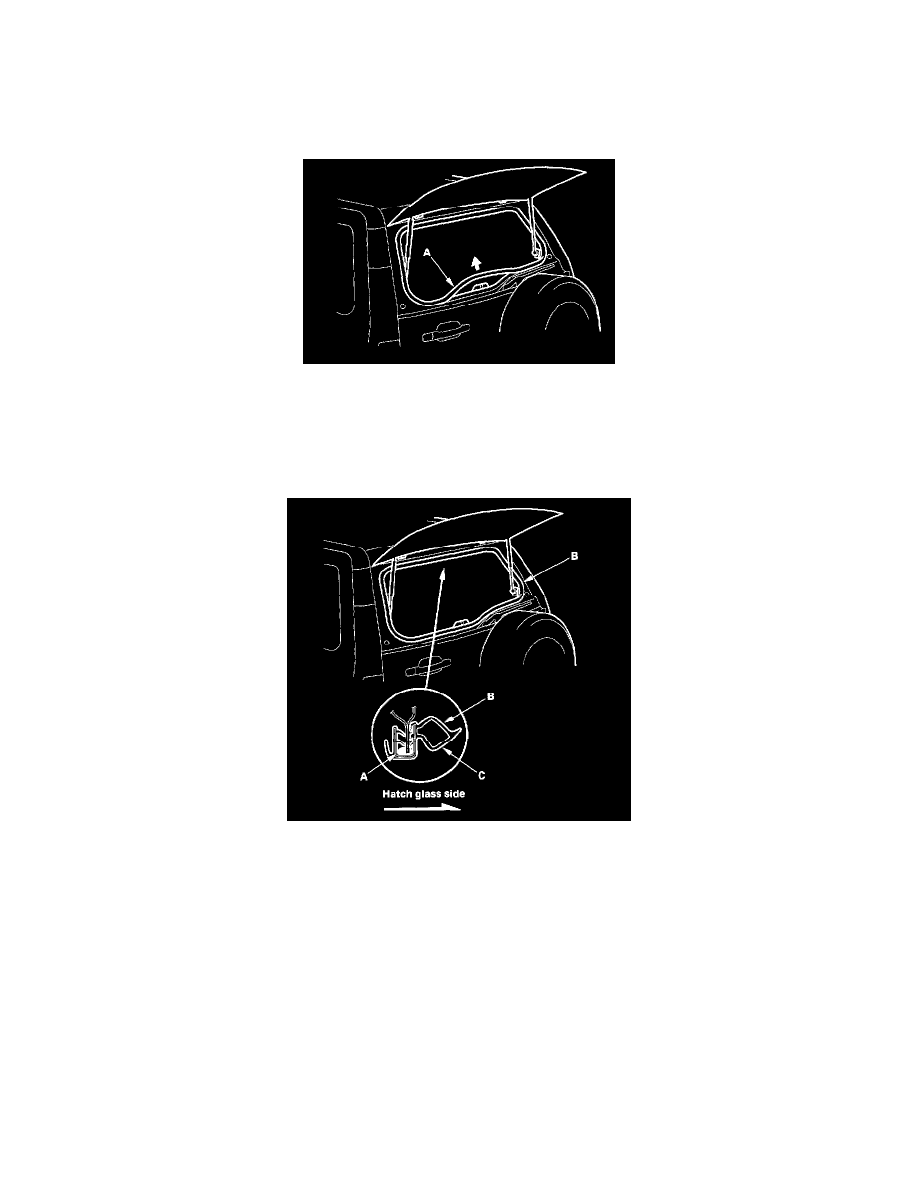
5. With an assistant, holding the hatch glass, remove the hatch glass weatherstrip (A) by pulling out on it.
6. Clean the bonding surface around the hatch glass opening flange with alcohol.
7. Apply sealant (Cemedine P/N 08712-0004, or equivalent) (A) in the groove around the hatch glass weatherstrip (B).
8. Locate the painted alignment mark (C) on the hatch glass weatherstrip. Align the painted mark with the alignment tab in the center of the hatch
glass opening, and install the weatherstrip. Make sure it's seated completely and facing in the direction shown. Make sure there are no wrinkles in
the weatherstrip.
9. Check for water leaks.
