
CR-V SE 4WD L4-1972cc 2.0L DOHC MFI (2001)
Headliner: Service and Repair
Headliner Removal and Installation
CAUTION: When prying with a flat-tip screwdriver, wrap it with protective tape to prevent damage.
NOTE:
-
Take care not to bend and scratch the headliner.
-
Be careful not to damage the dashboard and other interior trim.
1. Remove:
-
Front and rear door side trim
-
Front pillar trim
-
Center pillar lower trim panel
-
Center pillar upper trim
-
Rear seat
-
Cargo area floor and cargo storage bin
-
Rear trim panel
-
Rear side trim panel
-
Rear hatch glass support strut
-
Quarter pillar trim panel
-
Ceiling light, interior light and trunk light
-
Rearview mirror
-
Child seat tether anchors ('01 model)
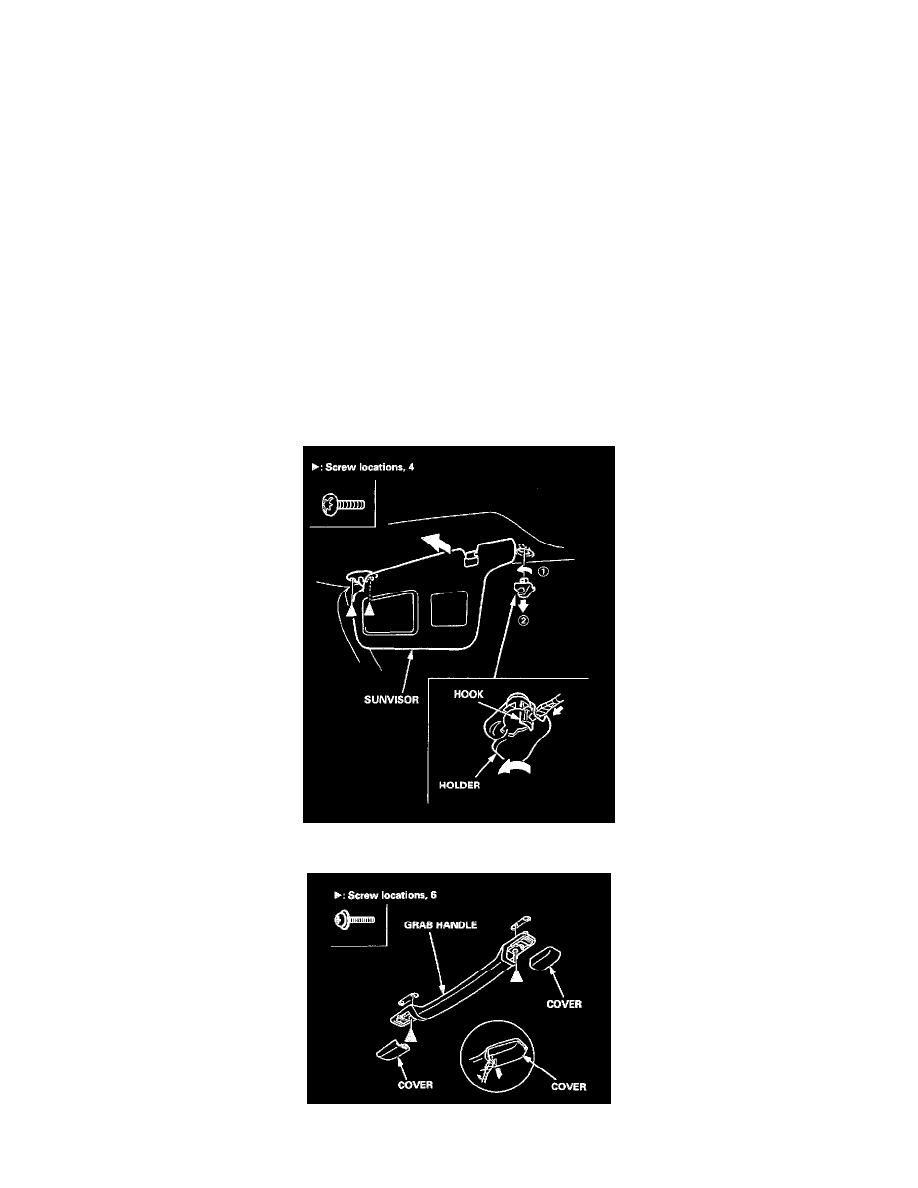
2. Remove the sunvisor and holder from each side.
3. Remove the grab handles from the front and rear passenger's sides.