CR-V SE 4WD L4-1972cc 2.0L DOHC MFI (2001)

Camshaft: Testing and Inspection
INSPECTION
1. Loosen the adjusting screws.
2. Remove the camshaft holders.
3. Mark the rocker arms, then remove them.
4. Reinstall the camshaft and holders. Tighten the camshaft holder bolts in a crisscross pattern, beginning with the inner bolts.
9.8 Nm (1.0 kgf.m, 7.2 ft. lbs.)
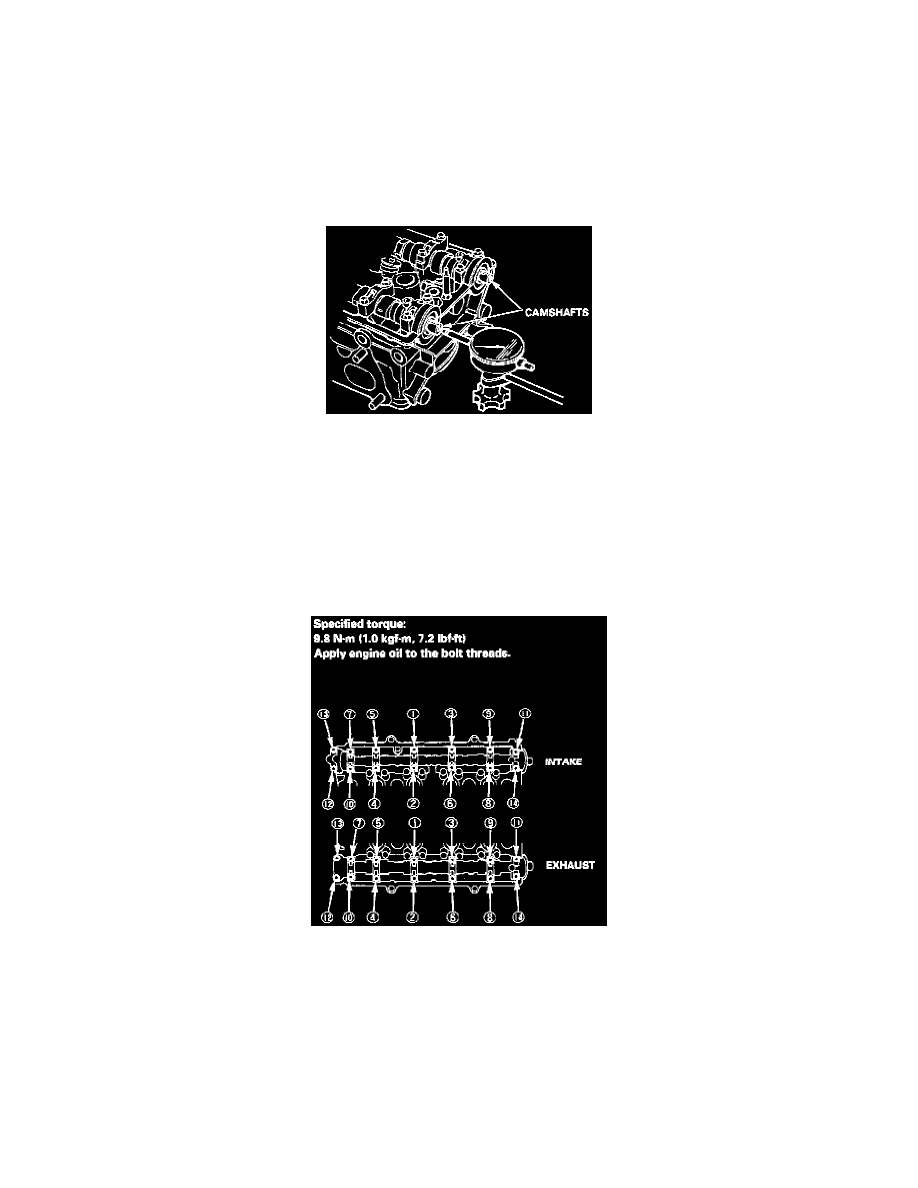
5. Seat the camshafts by pushing them toward the distributor end of the head with a screwdriver.
6. Zero the dial indicator against the end of the camshaft, push the camshaft back and forth and read the end play.
Camshaft End Play:
Standard (New): 0.05-0.15 mm (0.002 - 0.006 inch)
Service Limit: 0.5 mm (0.02 inch)
7. Unscrew the camshaft holder bolts two turns at a time, in a crisscross pattern. Then remove the camshaft holder bolts from the cylinder head.
8. Lift the camshafts out of the cylinder head, wipe them clean, then inspect the lift ramps. Replace the camshaft if any lobes are pitted, scored, or
excessively worn.
9. Clean the camshaft journal surfaces in the cylinder head, then set the camshaft back in place. Place a Plastigage strip across each journal.
10. Install the camshaft holders, and torque the bolts to the values and in the sequence shown in the illustration.
NOTE: Do not rotate the camshafts during inspection.
