
CR-V SE 4WD L4-1972cc 2.0L DOHC MFI (2001)
Low Fuel Lamp/Indicator: Testing and Inspection
Indicator Light Testing
NOTE: Refer to the low fuel indicator circuit diagram.
1. Check the No.25 METER (7.5 A) fuse in the under-dash fuse/relay box before testing.
2. Park the vehicle on level ground.
WARNING: Do not smoke while working on the fuel system. Keep open flame away from the work area. Drain fuel only into an
approved container.
3. Drain the fuel into an approved container. Then install the drain bolt with a new washer.
4. Add less than 8 l (2.1 U.S. Gal, 1.8 Imp. Gal) of fuel, and turn the ignition switch ON (II). The low fuel indicator light should come on within 4
minutes.
-
If the light comes on within 4 minutes, go to step 8.
-
If the light does not come on within 4 minutes, go to step 5.
5. Remove the seat cushion.
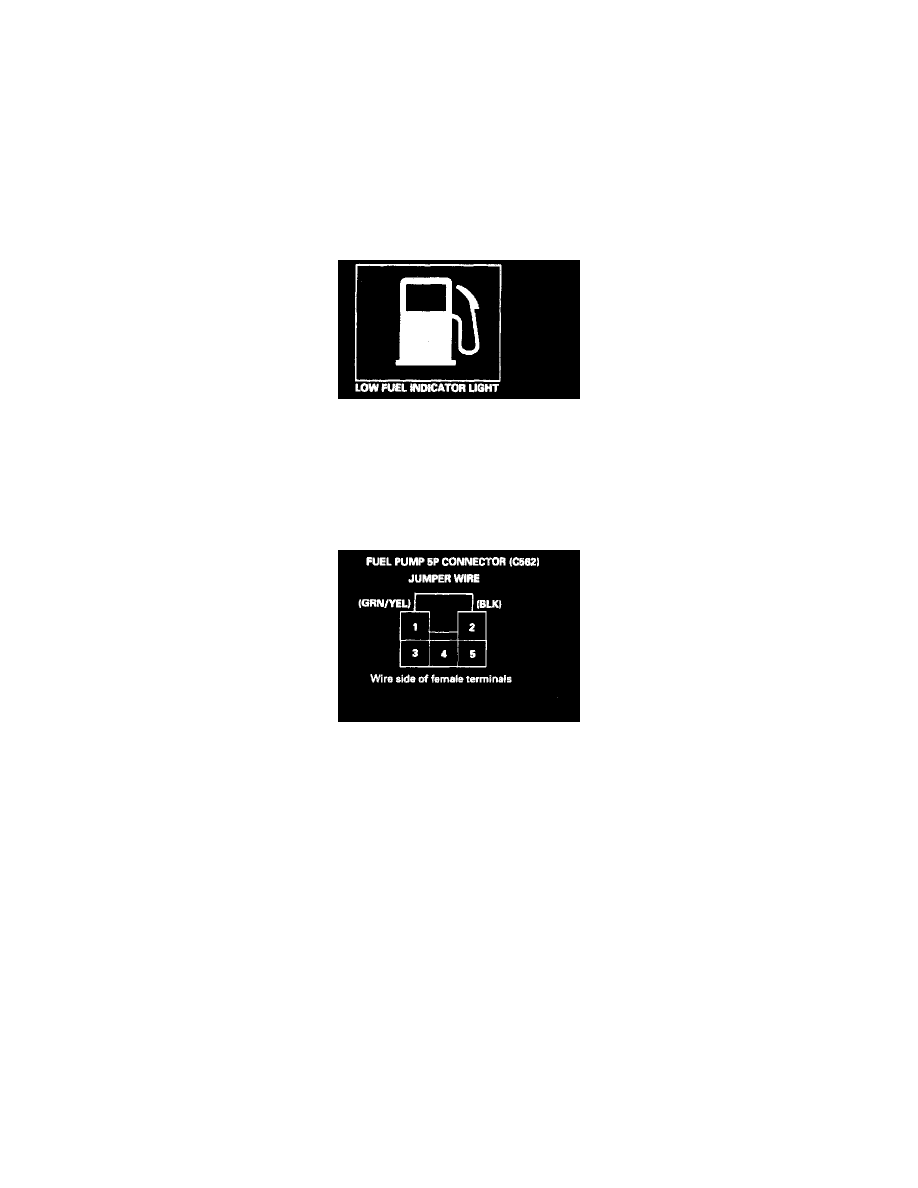
6. Remove the fuel tank access panel from the floor, and disconnect the 5P connector from the fuel pump.
7. Connect the No.1 and No.2 terminals with a jumper wire.
-
If the light comes on, check the sending unit.
-
If the light does not come on, check for:
-
an open in the GRN/YEL wire between the fuel unit and fuel gauge assembly.
-
blown bulb.
-
poor ground (G552).
8. Add 4 l of fuel (1.1 U.S. Gal, 0.9 Imp. Gal). The light should go off within 4 minutes.
-
If the light does not go off, check for:
-
a short in the GRN/YEL wire between the fuel gauge sending unit and fuel gauge assembly.
-
faulty gauge assembly.
-
If the light goes off, the low fuel indicator light is OK.