
Del Sol L4-1.5L SOHC (1993)
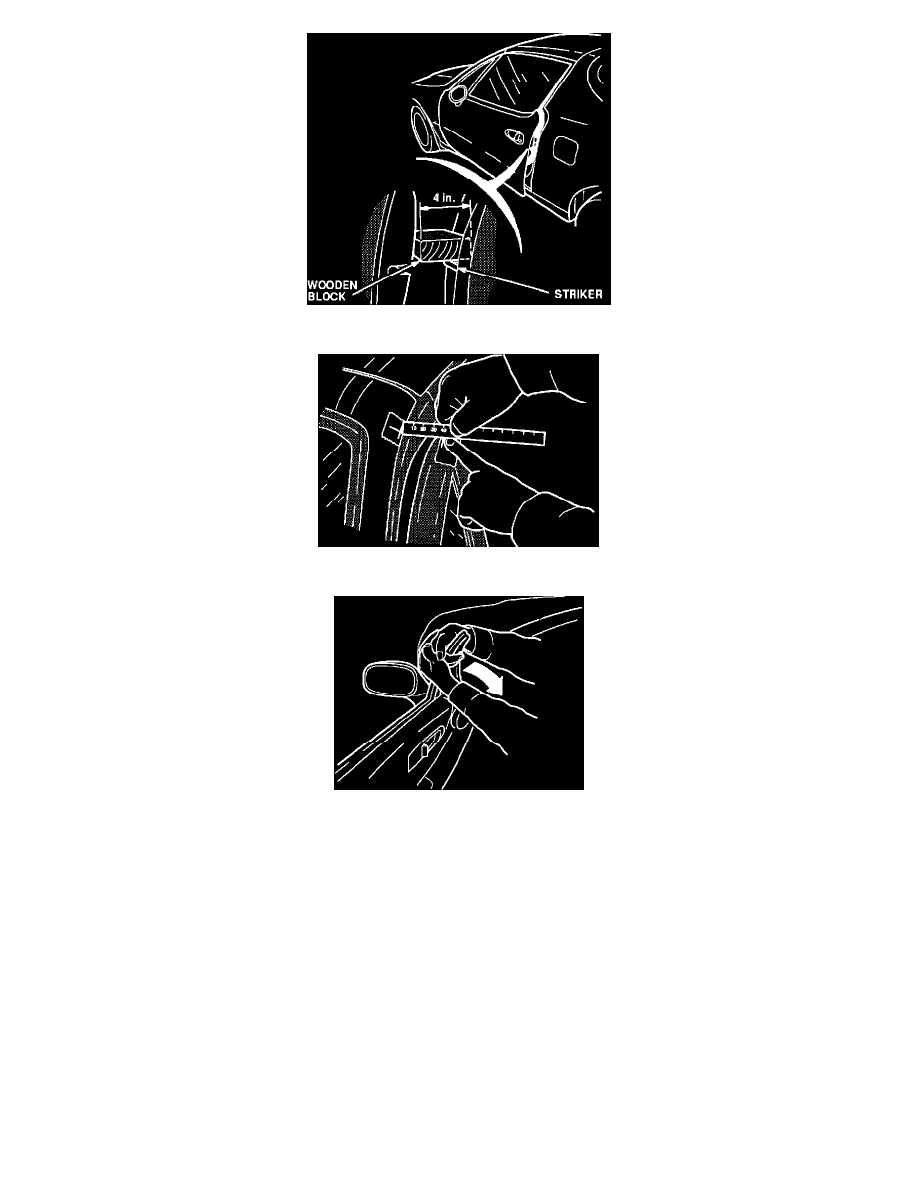
38.
Open the door, and place a 4-inch piece of wood on top of the striker; then carefully close the door until it touches the wood.
39.
Measure and record the distance from reference mark to reference mark.
40.
Adjust the window camber inward 1 mm from the measured distance by carefully bending the quarter glass frame. Sit in the seat, and support the
inside of the door with your knee; then pull the top of the quarter glass window frame toward you with firm, slow pressure.
41.
Re-position the wooden block on the striker, and measure the distance. The distance should be 1 mm less than the original measurement.
42.
Once the distance is correct, water test the area to check for leaks.
Final Adjustments After Repair and Warranty Claim Info
FINAL ADJUSTMENTS AFTER REPAIR
If some water leaks persist after performing all the necessary repairs, perform the final adjustments for the following areas:
A slight leak at the top of door glass, at the run channel -
1.
Increase the glass height 0.5 - 1.0 mm (see step 11).
2.
Increase the quarter glass window camber 0.5 - 1.0 mm (see step 38).
A slight leak from the A pillar weatherstrip and roof side seal area -