
Del Sol L4-1.5L SOHC (1993)
2.
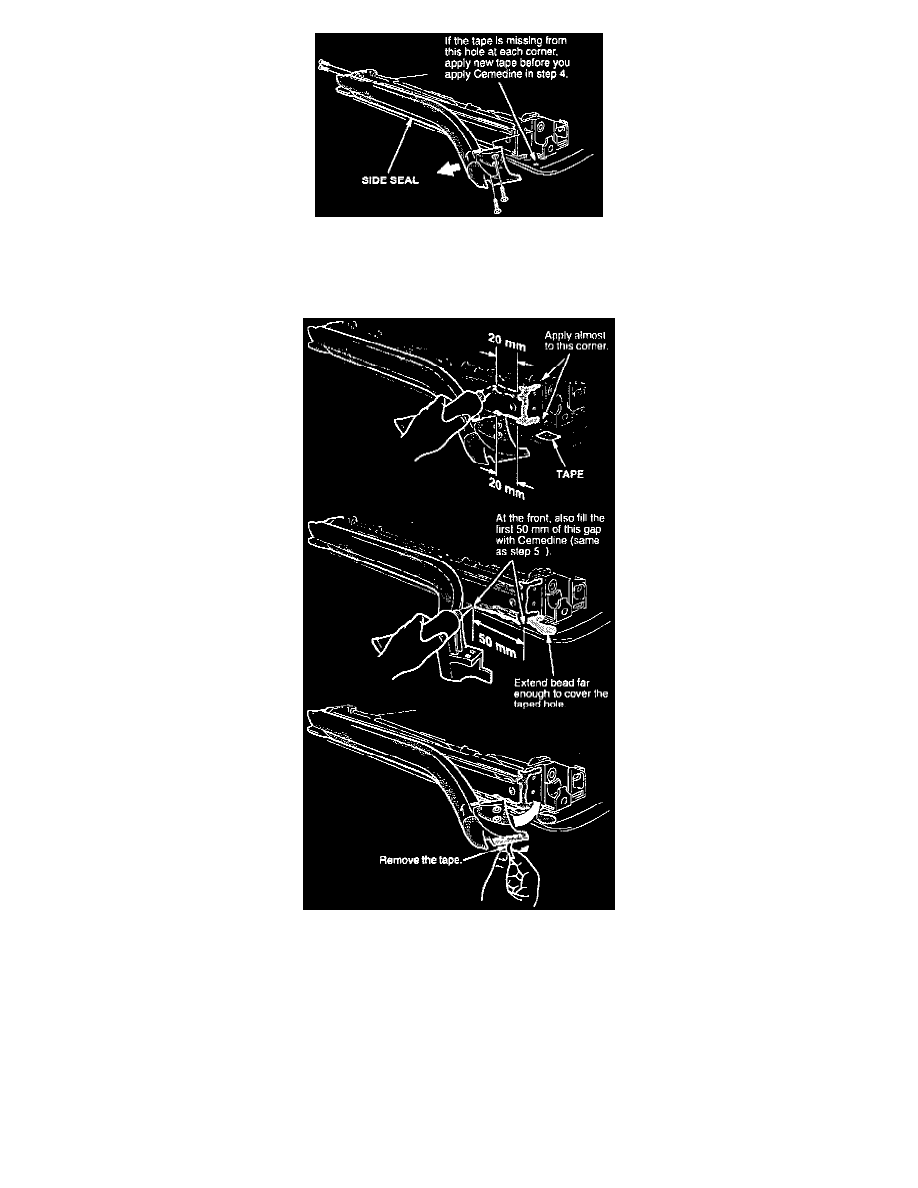
Remove the two screws at each end of the roof side seals, and carefully pry the seals away from their retainers. Remove all traces of old sealant
from the roof and the retainers, first with a plastic scraper, and then with 3M Adhesive Cleaner on a shop towel.
3.
Before applying any Cemedine, install each new side seal in its retainer. Make certain that the end of each seal fits flush, with no gaps or bulges.
4.
Carefully pull the end of one seal away from its retainer about 100 mm. and apply an 8 mm bead of Cemedine to the side of the retainer and the
end of the roof frame as shown.
5.
Remove the white tape from the butyl adhesive on the end of the seal as shown above, arid reinstall that end; do not press on the seal yet to make
the adhesive stick.
6.
Repeat steps 4 and 5 on each of the three remaining side seal ends.
7.
Loosely install the screws in the end of each side seal. Then push each seal all the way in (to take up the slack in the screw slots), and hold it in
place while you tighten the screws.
8.
Set the roof in place on the car. Then go to A2, Side Seal Front End Fit Adjustment, and check the fit between the ends of both side seals and the
"A" pillar seal.