
Del Sol L4-1.5L SOHC (1993)
Impact Sensor: Testing and Inspection
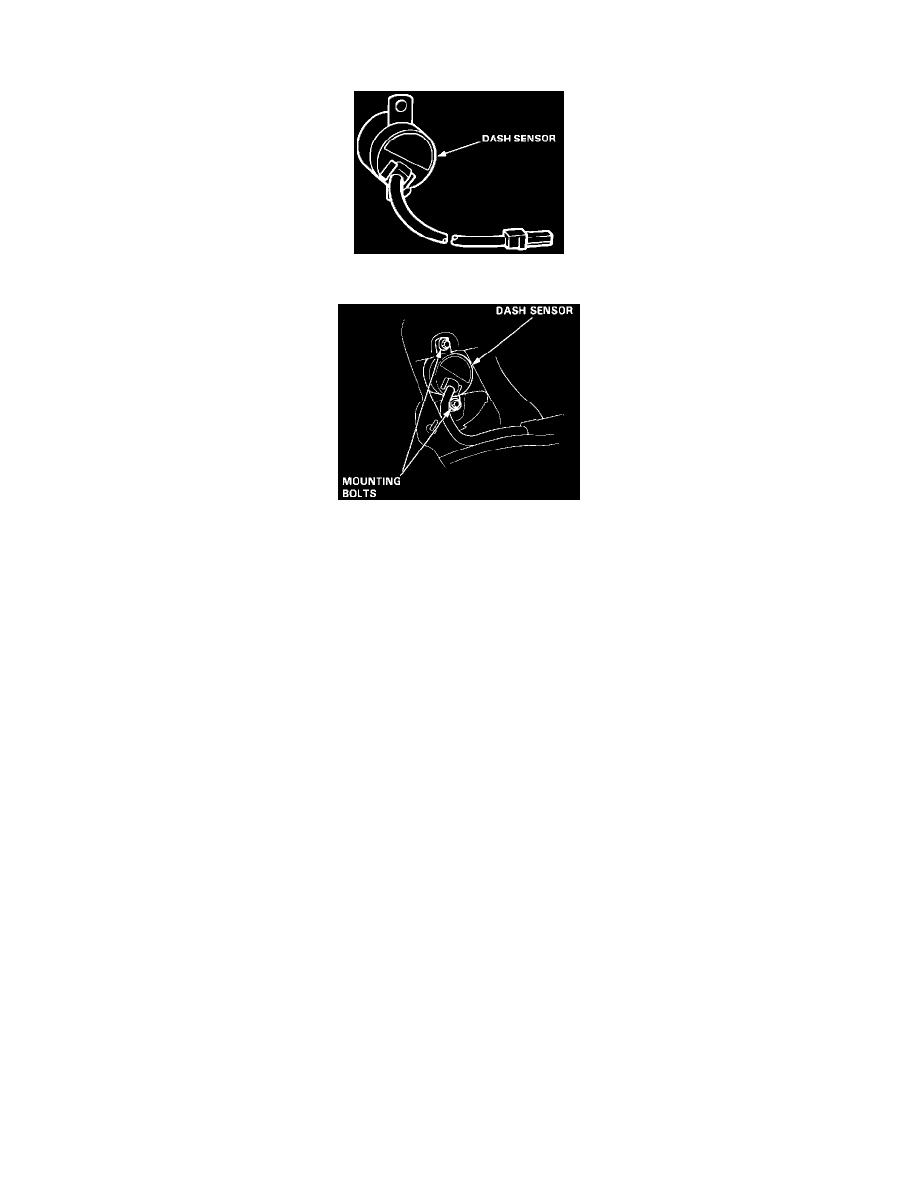
Dash Sensor Inspection
Dash Sensor
Dash Sensor Mounting
CAUTION: Take extra care when painting or doing body work in the area below the dashboard. Avoid direct exposure of the sensors or wiring to heat
guns, welding, or spraying equipment.
WARNING:
^
Disconnect both the negative and positive battery cables.
^
Install the short connector(s) before working below the dashboard near or the dash sensors.
^
After any degree of frontal body damage, inspect both dash sensors. Replace a sensor if it is dented, cracked, or deformed.
^
Be sure the sensors are installed securely.
After a collision in which the airbags were deployed, inspect the following:
1. Inspect the dash sensors for physical damage. If the sensors are damaged, replace them.
2. Inspect all the SRS wire harness. Replace, don't repair, any damaged harness.
3. Inspect the cable reel for heat damage. If there is any damaged, replace the cable reel.
4. Remove the glove box and the access panel. Remove the passenger side airbag assembly.
5. Check for cracks around the passenger side airbag opening. If any cracks are found, replace the dashboard.
6. After the car is completely repaired, turn the ignition switch ON. If the SRS indicator light comes ON for about six seconds and then goes OFF,
the SRS system is OK.If the indicator light does not function properly, refer to the On Board Diagnosis section.