
Element 2WD L4-2.4L (2003)
Jumper Wire
Use a jumper wire to bypass an open circuit. A jumper wire is made up of an in-line fuse holder connected to a set of test leads. It should have a five
ampere fuse. Never connect a jumper wire across a short circuit. The direct battery short will blow the fuse.
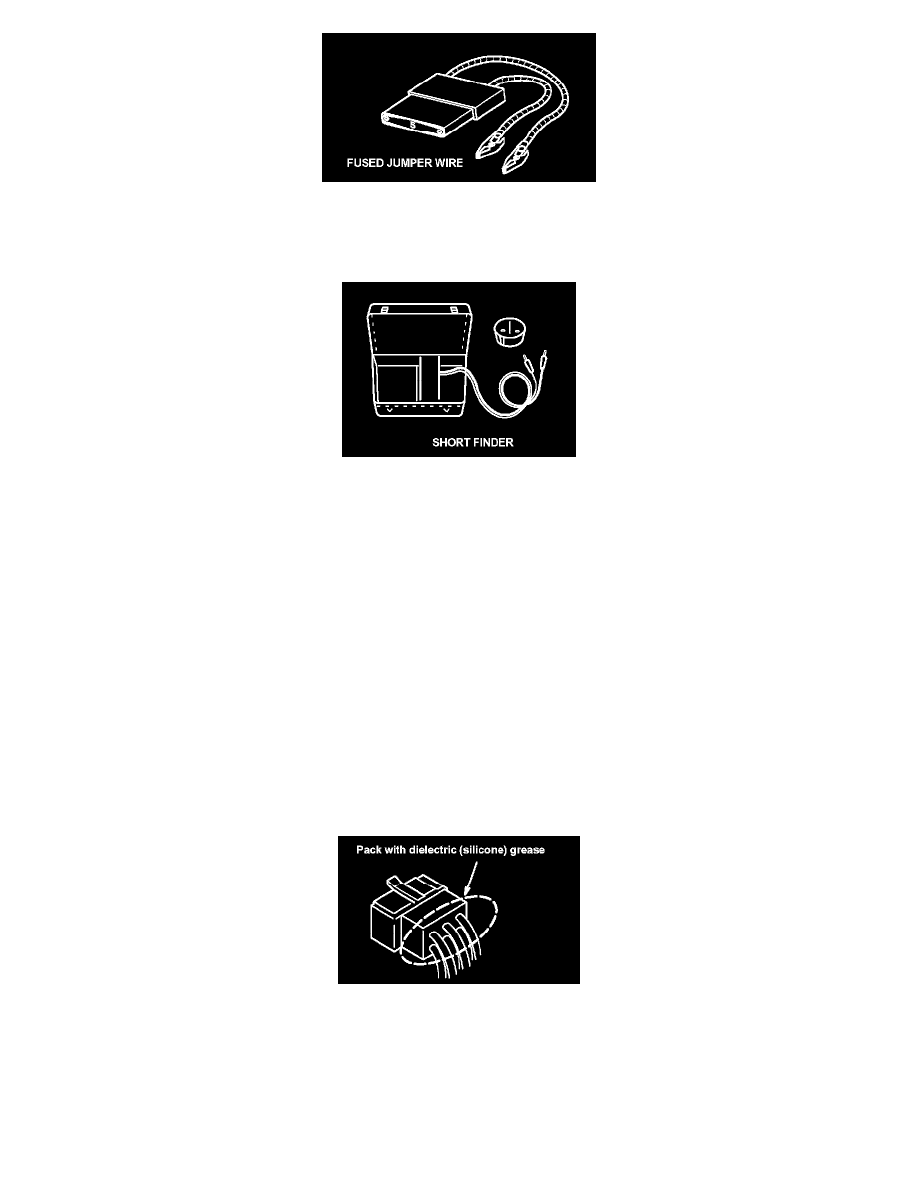
Short Finder (Short Circuit Locator)
Short finders are available to locate shorts to ground. The short finder creates a pulsing magnetic field in the shorted circuit which you can follow to the
location of the short.
To order any test equipment shown above, contact your local tool supplier. For a list of suppliers and tool numbers, refer to Honda Required Special
Tools and Equipment Service Bulletin.
Troubleshooting Precautions
Troubleshooting Precautions
Before Troubleshooting
1. Check the main fuse and the fuse box.
2. Check the battery for damage, state of charge, and clean and tight connections.
CAUTION:
-
Do not quick-charge a battery unless the battery ground cable has been disconnected, or you will damage the alternator diodes.
-
Do not attempt to crank the engine with the ground cable disconnected or you will severely damage the wiring.
While You're Working
1. Make sure connectors are clean, and have no loose terminals or receptacles.
2. Make sure that connectors without wire seals are packed with dielectric (silicone) grease. Part Number: 08798-9001.
3. When connecting a connector, push it until it "clicks" into place.
CAUTION:
-
Do not pull on the wires when disconnecting a connector. Pull only on the connector housings.
-
Most circuits include solid-state devices. Test the voltages in these circuits only with a 10-megaohm or higher impedance digital multimeter.
Never use a test light or analog meter on circuits that contain solid-state devices. Damage to the devices may result.
Troubleshooting Tests