
Element 2WD L4-2.4L (2003)
12.
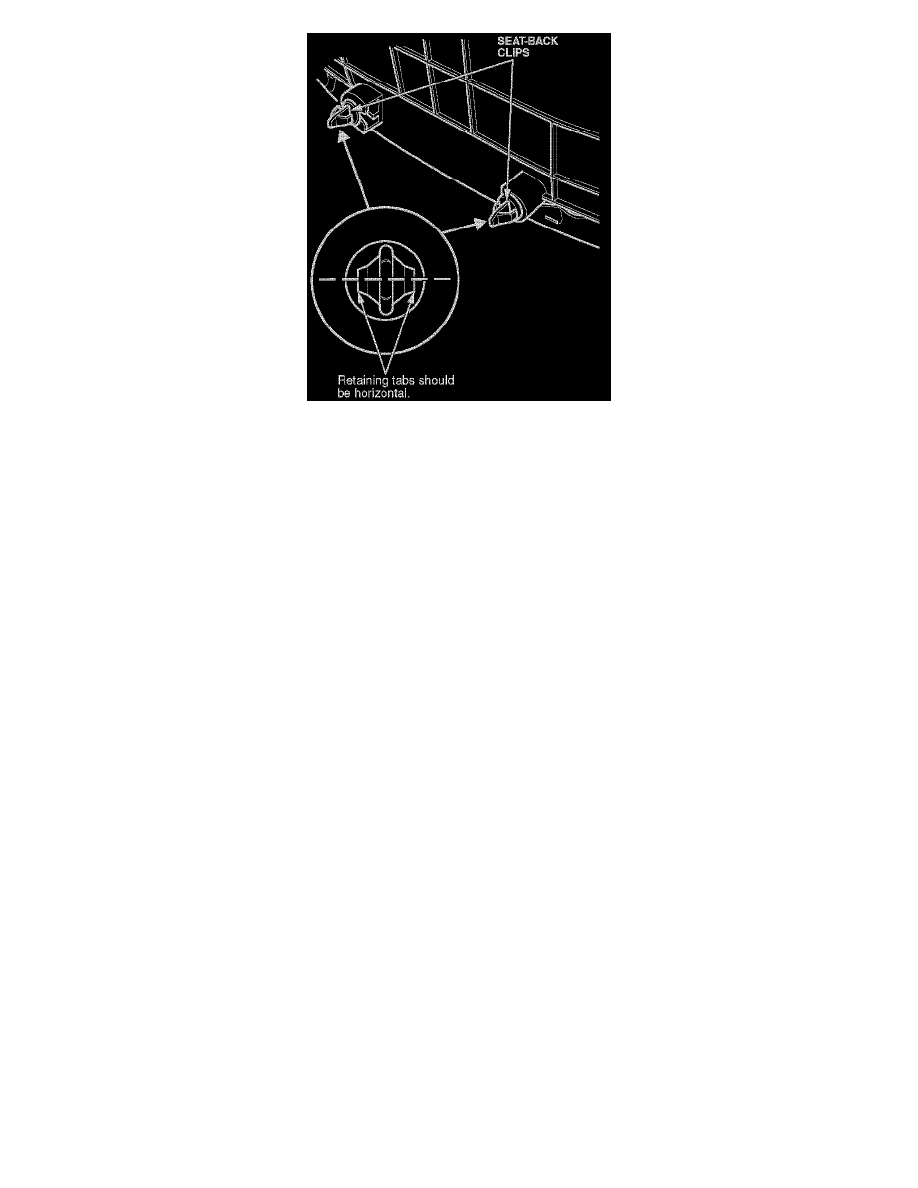
On Accords and Pilots, install the new seat-back clips on the seat-back panel. Turn the clips so their retaining tabs are horizontal.
13.
On Accords and Pilots, install the seat-back panel.
14.
On all models except Accords and Pilots, zip the seat-back cover closed.
15.
Initialize the OPDS unit.
^
To initialize with the HDS, go to Initializing the OPDS Unit: HDS Method.
^
To initialize with the SCS service connector, go to Initializing the OPDS Unit: Manual Mode.
Initializing the OPDS Unit: HDS Method
NOTE:
Non-Honda seat covers will interfere with the performance of the OPDS and are not recommended.
1.
Adjust the front passenger's seat-back to an upright position, then remove anything on or near the seat.
2.
Turn the ignition switch to LOCK (0).
3.
Connect the HDS to the vehicle's DLC (data link connector).
4.
Turn the ignition switch to ON (II), then turn on the HDS.
5.
At the screen prompts, enter the VIN and the odometer reading. Also verify the correct date and time.
6.
From the System Selection menu, select SRS.