
Element 2WD L4-2.4L (2003)
Shift Indicator: Service and Repair
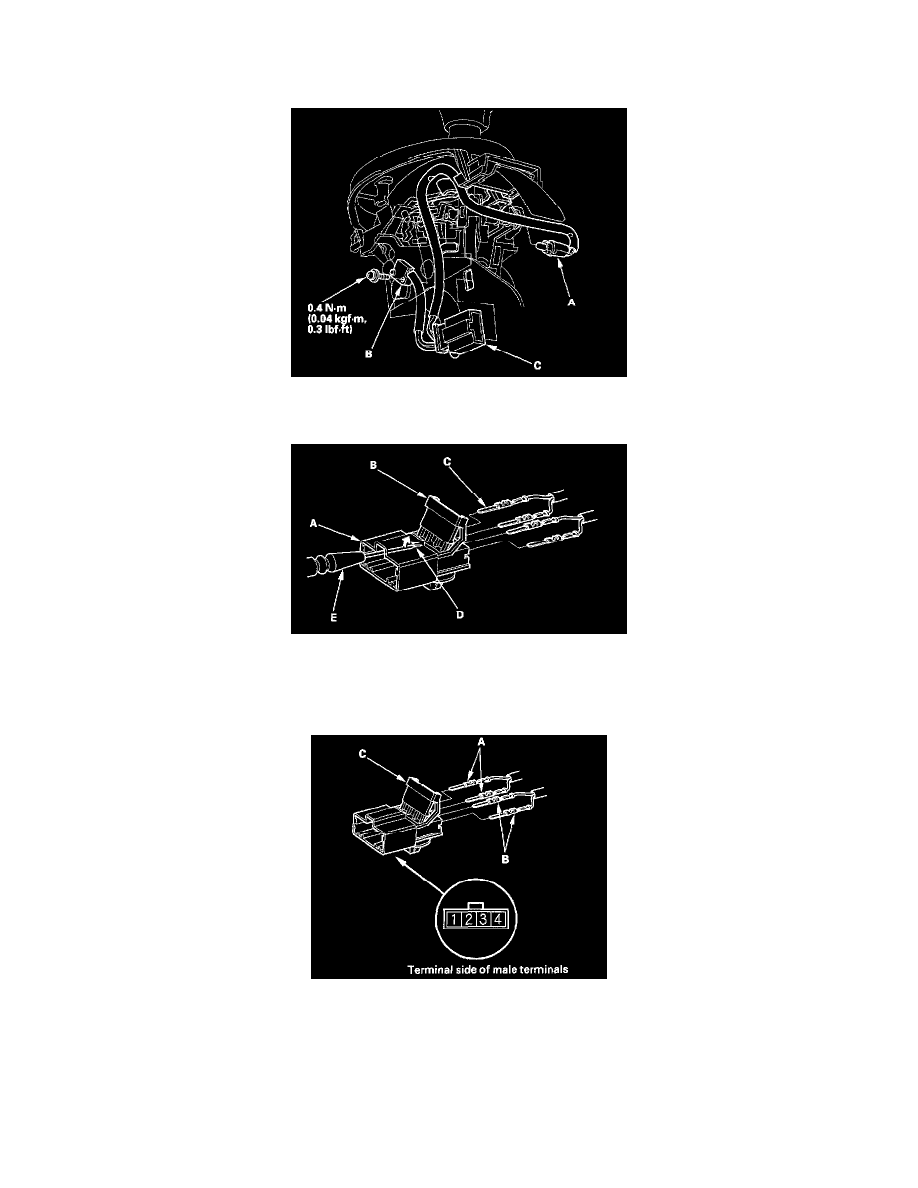
A/T Gear Position Indicator Panel Light Harness Replacement
1. Remove the shift fever assembly.
2. Remove the A/T gear position indicator panel light socket (A), and remove the bulb from the socket.
3. Remove the park pin switch (B) and the switch connector (C).
4. Pry the lock tabs on the back of the park pin switch connector (A), and remove the back cover (B).
5. Remove the terminal (C) from the connector by pushing the lock tab (D) up in the connector using a thin blade screwdriver (E). Remove all four
terminals.
6. Replace the A/T gear position indicator panel light harness with the new one.
7. Install GRN harness terminals (A) of the park pin switch in the No. 1 and No. 2 cavities. Either park pin switch harness terminal can be installed in
No. 1 and No. 2.
8. Install the RED/BLK harness terminals (B) in the No. 3 and No. 4 cavities. Either A/T gear position indicator panel light harness terminal can be
installed in No. 3 and No. 4 cavities.
9. Make sure that the all four terminals lock securely, then install the back cover (C) securely in place.
10. Install the park pin switch. Apply non-hardening thread lock sealant to screw threads, and secure the switch with the screw.
11. Install the A/T gear position indicator panel light bulb in the socket.
12. Install the A/T gear position indicator panel light socket, and install the connector.
13. Install the shift lever assembly.