
Element 2WD L4-2.4L (2003)
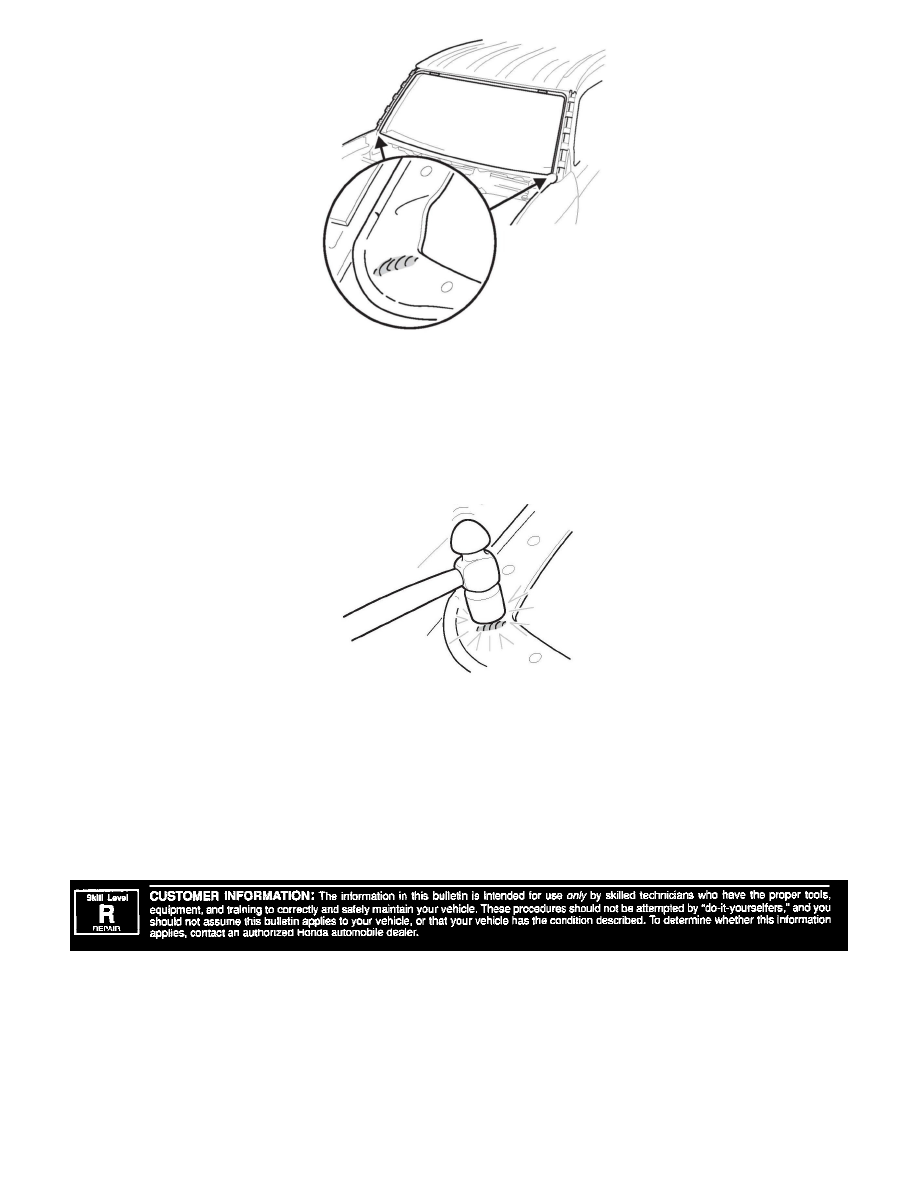
3.
Inspect the mounting flange for any high spots, especially at the base of the A-pillar where the dashboard attaches.
NOTE:
You may need to remove some of the adhesive to inspect the area.
^
If you find any high spots, go to step 4.
^
If you don't find any high spots, go to step 5.
4.
Using a hammer, carefully flatten the high spots so they are even with the rest of the area. If needed, apply touch-up paint to the flattened areas.
NOTICE
To prevent damage to the A-pillar and the surrounding area, do not use too much force with the hammer.
5.
Install the new windshield:
^
Refer to pages 20-38 thru 20-42 of the service manual, steps 10 thru 25, or
^
Online, enter keyword WINDSHIELD, select Windshield Replacement from the list, and do steps 10 thru 25.
Disclaimer