
Element 4WD L4-2.4L (2004)
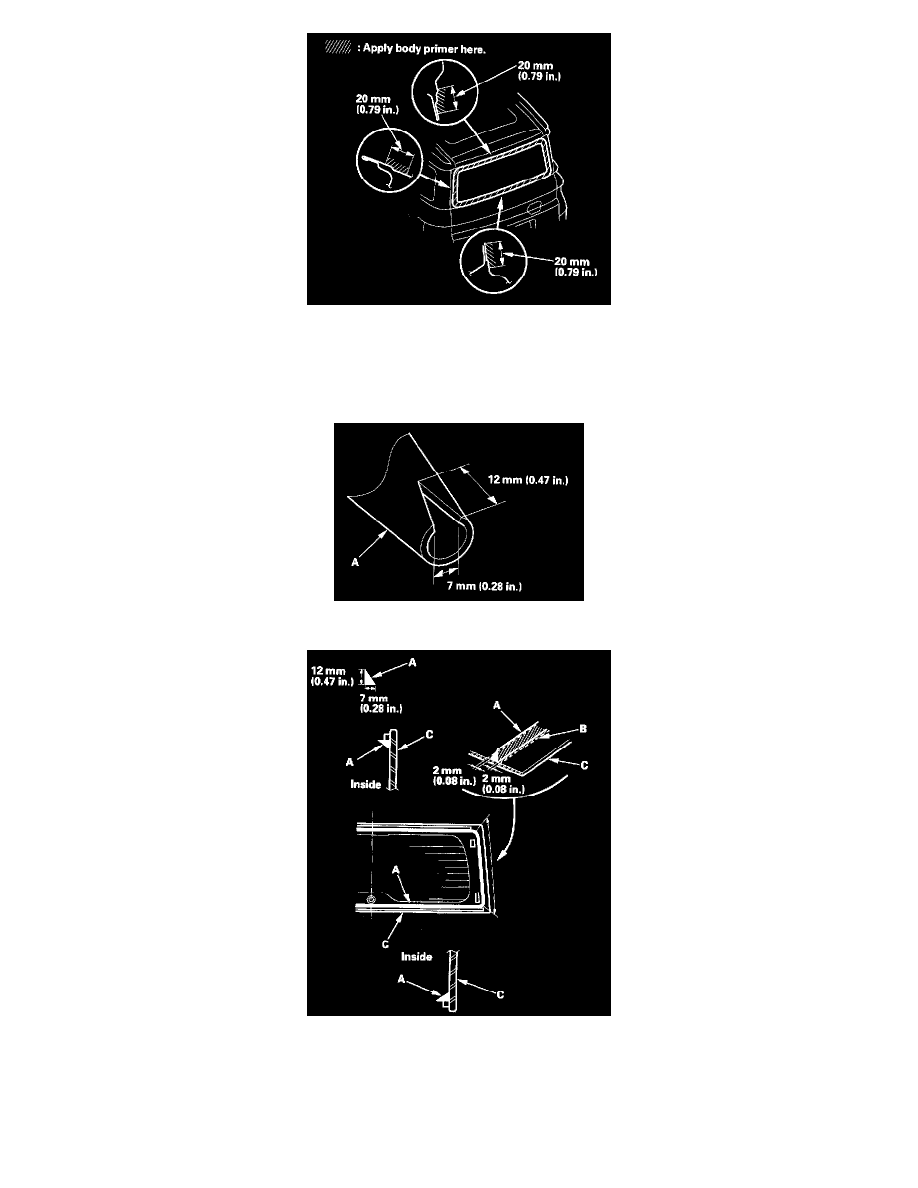
15. With a sponge, carefully apply a light coat of body primer to any exposed paint around the flange where new adhesive will be applied. Let the
primer dry for at least 10 minutes:
-
Do NOT apply body primer to any remaining original adhesive on the flange.
-
Be careful not to mix up the body and glass primer sponges.
-
Never touch the primed surfaces with your hands.
16. Cut a "V" in the end of nozzle (A) on the adhesive cartridge as shown.
17. Put the cartridge in a caulking gun, and run a bead of adhesive (A) on the glass primer trace (B) you applied on step 14, and around the edge of the
rear window (C) as shown.
Apply the adhesive within 30 minutes after applying the glass primer. Make a slightly thicker bead at each corner.
18. Use suction cups to hold the rear window over the opening, align it with the alignment marks you made in step 12, and set it down on the adhesive.
Lightly push on the rear window until its edges are fully seated on the adhesive all the way around. Do not open or close the doors until the
adhesive is dry.