
Element 4WD L4-2.4L (2004)
Disclaimer
Cutting Procedure - By Copying
1.
Press the ON/OFF button in the middle of the setting unit keypad. (This powers up the keypad.)
2.
Turn the clamp unit lock lever to the left to release the clamp unit, and slide it all the way to the left until it stops. Turn the lever to the right to lock
the clamp unit in place.
3.
Use the clamp carriage lever to position the clamp unit so the tracer and cutter bit are centered directly over the base of the center and right jaws.
4.
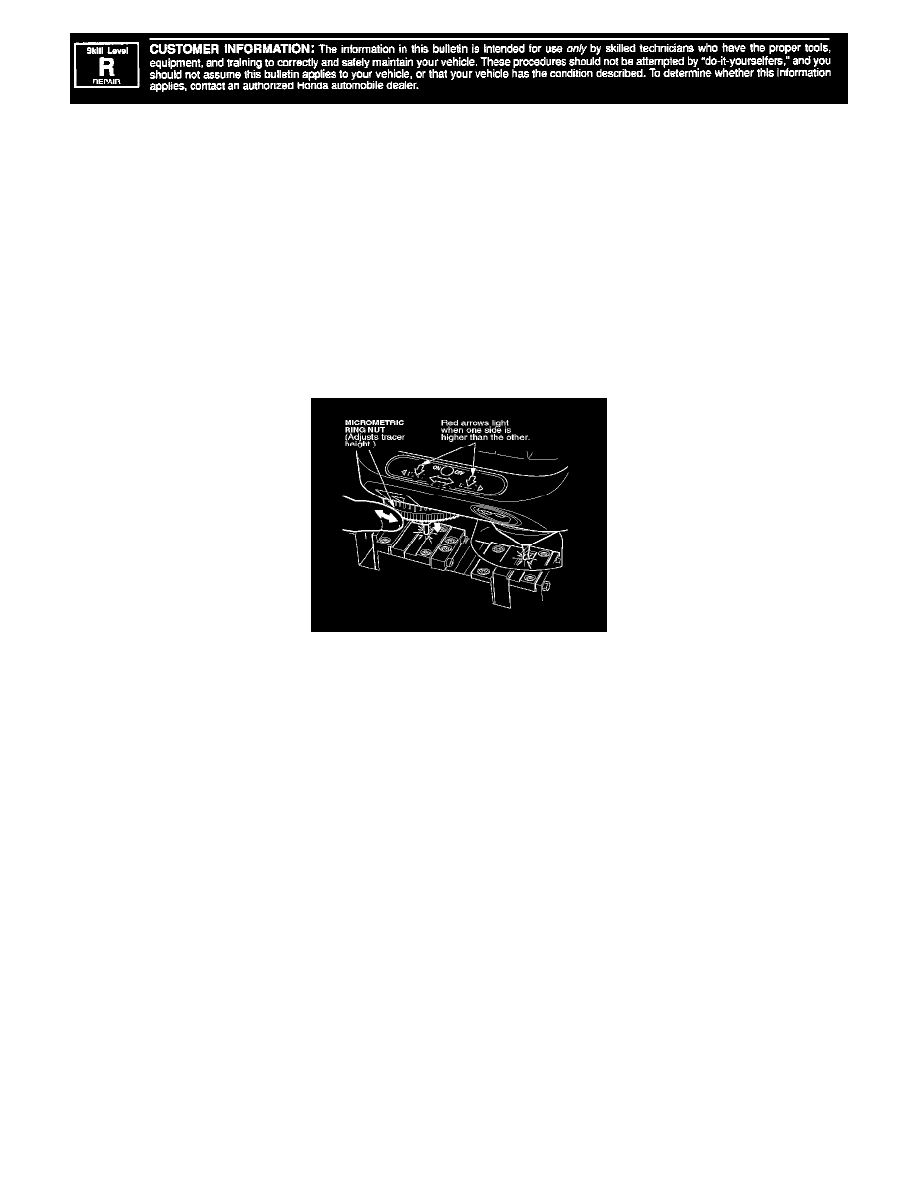
Pull the vertical carriage lever toward you until the tracer and the cutter bit just touch the base of each fixed jaw. Watch the arrows on the keypad:
^
If the double-headed arrow in the middle of the keypad lights green, the tracer and cutter bit are properly aligned.
^
If the arrow on the left of the keypad lights red, the cutter bit is not touching the fixed jaw. Turn the micrometric ring nut above the tracer to
the left until the double-headed arrow lights green.
^
If the arrow on the right of the keypad lights red, the tracer is not touching the fixed jaw. Turn the micrometric ring nut above the tracer to the
right until the double-headed arrow lights green.
*5.
Turn the micrometric ring nut to the right three clicks so the cutter bit is slightly higher than the tracer. The arrow on the left should light red.
Raise the vertical carriage.
NOTE:
Setting the tracer three clicks lower than the cutter bit has the effect of making the cutter bit cut the duplicated key a little shallower. This will
protect the locking jaws from being damaged.*
6.
Optional: Loosen the setscrew, and adjust the hand rest to a comfortable position. Tighten the screw.
7.
Pull the clamp carriage lever toward you until the clamp carriage clicks into its end-of-run position. Tighten both the lateral and spring tension
adjustment knobs.
8.
Make sure the center and right jaws are free of any metal shavings or debris. (A soft-bristle toothbrush is ideal for this purpose.)