
Element 4WD L4-2.4L (2004)
Brake Pad: Service and Repair
Front
Inspection and Replacement
CAUTION: Frequent inhalation of brake pad dust, regardless of material composition, could be hazardous to your health.
^
Avoid breathing dust particles.
^
Never use an air hose or brush to clean brake assemblies. Use an OSHA-approved vacuum cleaner.
Replacement
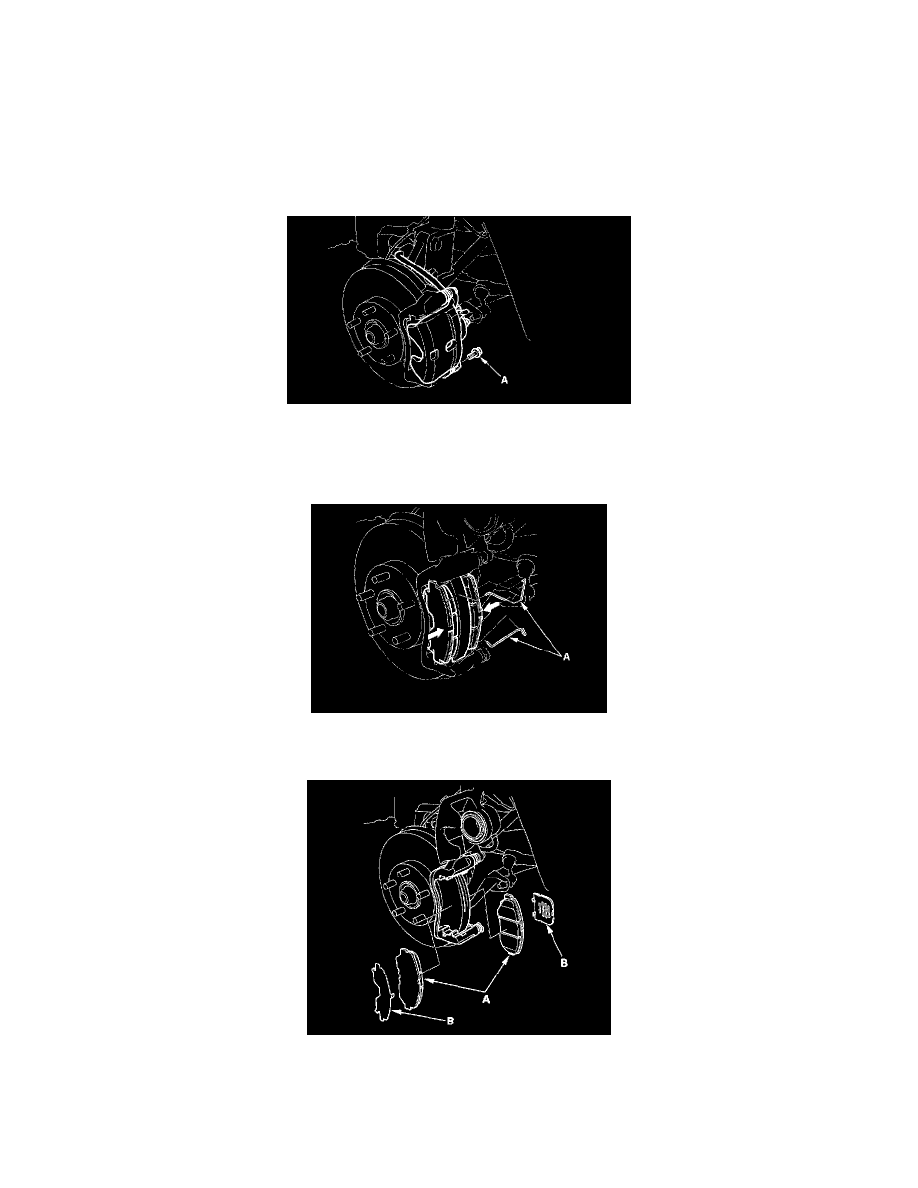
1. Remove the flange bolt (A).
NOTE: The pad springs are installed on the pads to prevent brake drag. Be careful when pivoting up the caliper body fully, or the spring could be
flipped out of position.
2. Pivot the caliper slightly so the pads do not come out of position, and hold the pads on both sides firmly with your fingers. Remove the pad springs
(A) from the pads.
3. Pivot the caliper up out of the way, and remove the pads (A).
4. Remove the pad shims (B).
5. Check the hose and pin boots for damage and deterioration.