
Element 4WD L4-2.4L (2004)
11. Clean the inlet opening (A) of the ATF strainer (B) thoroughly with compressed air, then check that it is in good condition and that the inlet
opening is not clogged.
12. Test the ATF strainer by pouring clean ATF: through the inlet opening, and replace it if it is clogged or damaged.
Valve Body Repair
NOTE: This repair is only necessary if one or more of the valves in a valve body do not slide smoothly in their bores. Use this procedure to free the
valves.
1. Soak a sheet of # 600 abrasive paper in ATF for about 30 minutes.
2. Carefully tap the valve body so the sticking valve drops out of its bore. It may be necessary to use a small screwdriver to pry the valve free. Be
careful not to scratch the bore with the screwdriver.
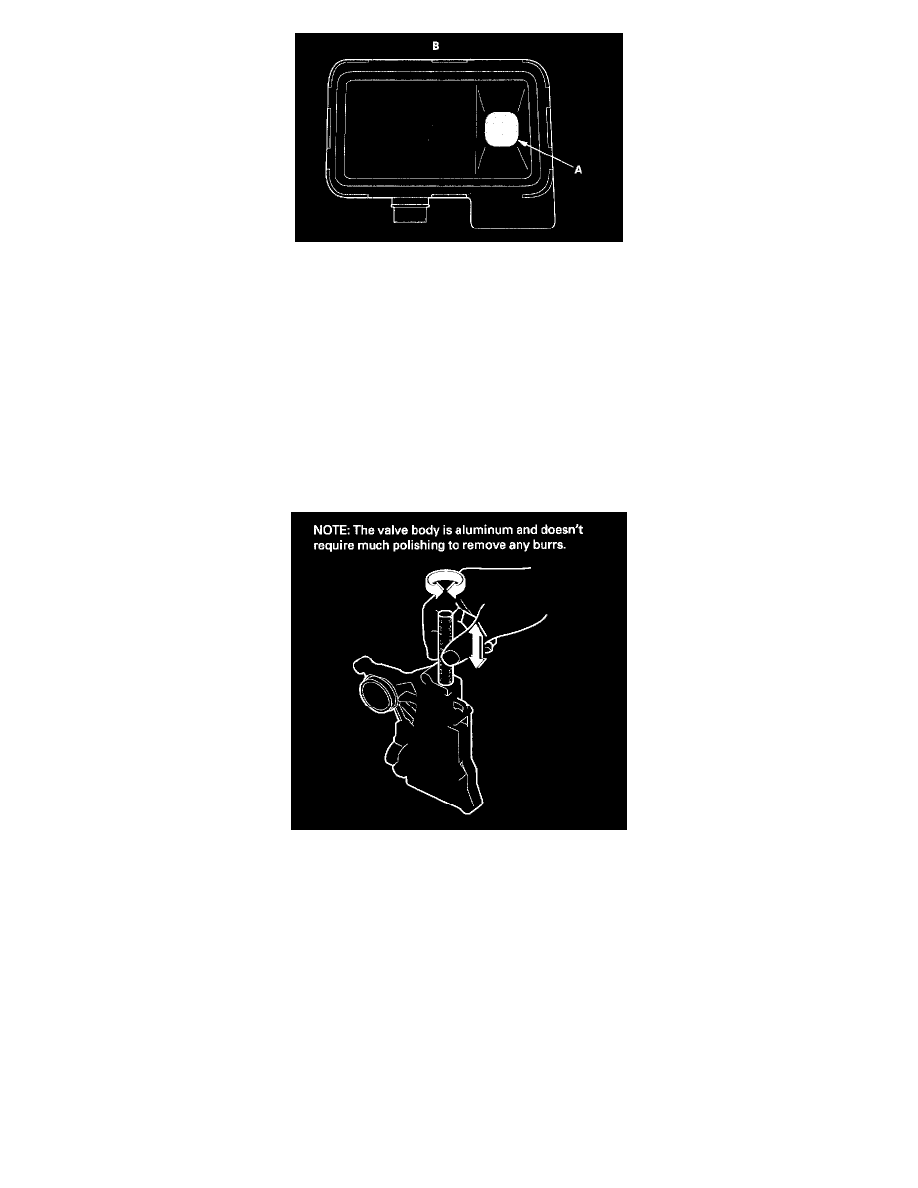
3. Inspect the valve for any scuff marks. Use the ATF soaked # 600 paper to polish off any burrs that are on the valve, then wash the valve in solvent
and dry it with compressed air.
4. Roll up half a sheet of ATF-soaked # 600 paper and insert it in the valve bore of the sticking valve. Twist the paper slightly, so that it unrolls and
fits the bore tightly, then polish the bore by twisting the paper as you push it in and out.
5. Remove the # 600 paper. Thoroughly wash the entire valve body in solvent, then dry it with compressed air.