
Fit L4-1.5L (2008)
Evaporator Core: Service and Repair
Evaporator Core Replacement
1. Recover the refrigerant with a recovery/recycling/charging station.
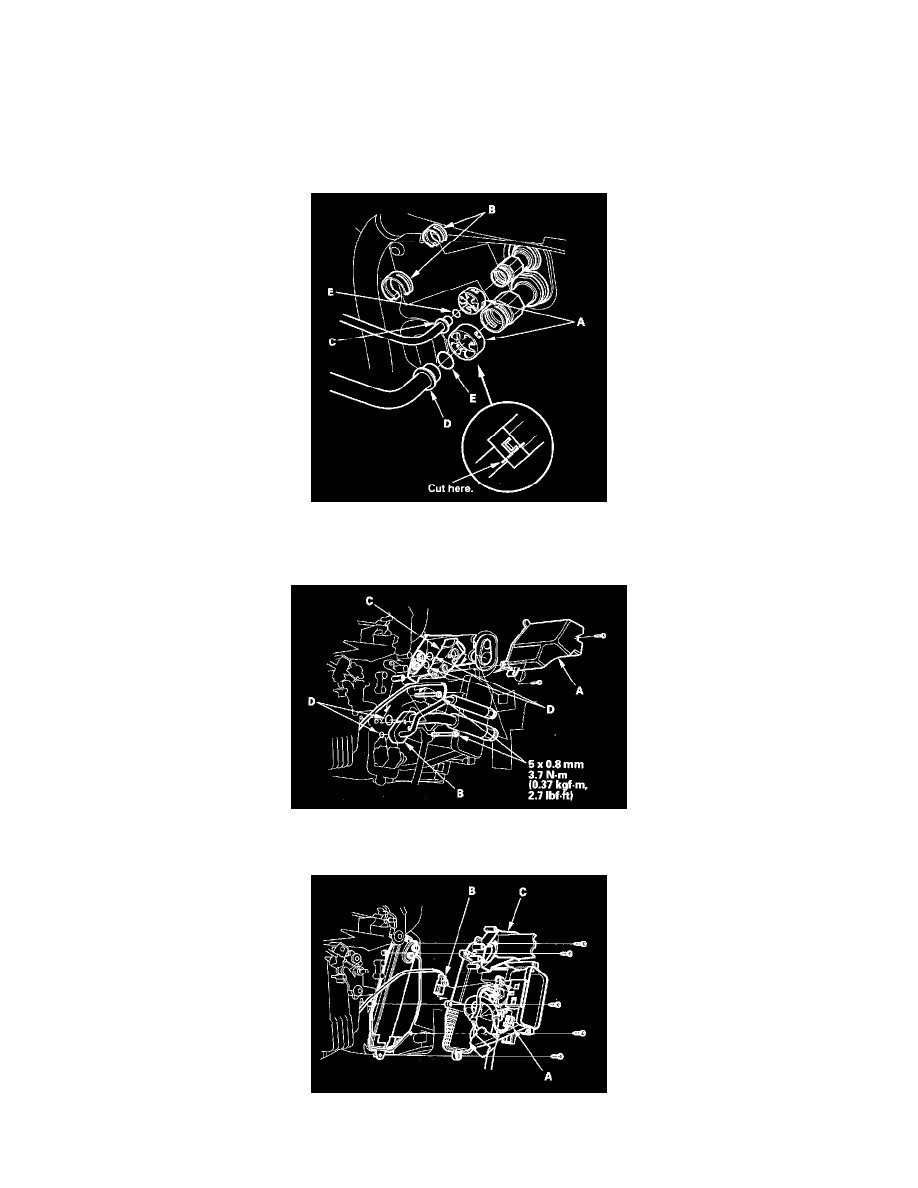
2. Cut the joint caps (A) and thoroughly clean around the joints of dirt and debris by pressurized air or detergent. Remove the stops (B), then
disconnect the receiver line (C) and the suction line (D), and remove the O-rings (E). Clean inside wall of the joints of dirt and debris using a
refrigerant oil (SP-10) applied swab. Do not use compressed air or detergent after disconnecting the joints. Plug or cap the lines immediately after
disconnecting them to avoid moisture and dust contamination.
3. Remove the blower unit.
4. Remove the self-tapping screws and the pipe cover (A), then remove the bolts, the inlet and outlet pipes (B), the expansion valve (C), and the
O-rings (D).
5. Disconnect the connector (A) from the evaporator temperature sensor, then remove the connector clip (B). Remove the self-tapping screws and the
duct (C).
6. Pull out the evaporator core (A) with the plate (B).