
Fit L4-1.5L (2008)
^
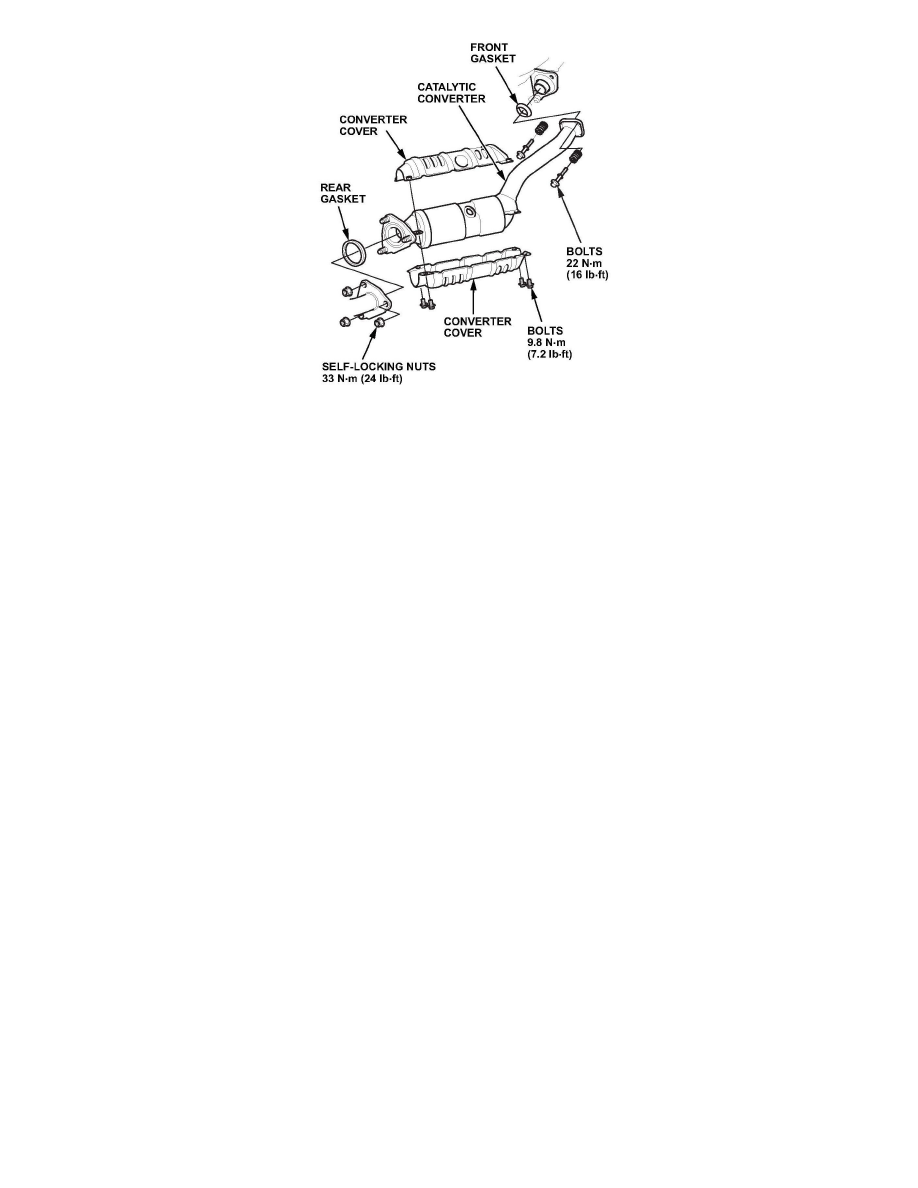
Remove the catalytic converter along with its front gasket (flexible gasket) and its rear gasket (pre-chamber gasket). The gaskets will not be
reused.
7. Transfer the covers from the original catalytic converter to the new one. Torque the cover bolts to 9.8 N.m (7.2 lb-ft).
8. Install the new catalytic converter with new front and rear gaskets, new self-locking nuts, and new flexible joint bolts. Torque the self-locking nuts to
33 N.m (24 lb-ft); torque the flexible joint bolts to 22 N.m (16 lb-ft).
9. Reinstall the secondary H028, and torque it to 44 N.m (33 lb-ft).
10. Reconnect the secondary H028 connector.
11. Reinstall the passenger's heater duct.
12. Reinstall the center console. Make sure that the wire harness is not pinched, all the connectors are reconnected, and the console is properly installed
onto the parking lever bracket. Replace any damaged trim clips.
13. Reinstall the parking brake cover lid and the shift knob (M/T models).
14. Update the PGM-FI software with the HDS. Refer to Service Bulletin 01-023, Updating Control Units/ Modules.