
Fit L4-1.5L (2008)
10. Clean the mating surfaces of the brake disc and the front wheel, then install the front wheel.
11. Turn the front wheel by hand, and make sure there is no interference between the driveshaft and surrounding parts.
12. Refill the transmission with the recommended transmission fluid.
13. Install the splash shield.
14. Lower the vehicle on the lift.
15. Check the front wheel alignment, and adjust it if necessary.
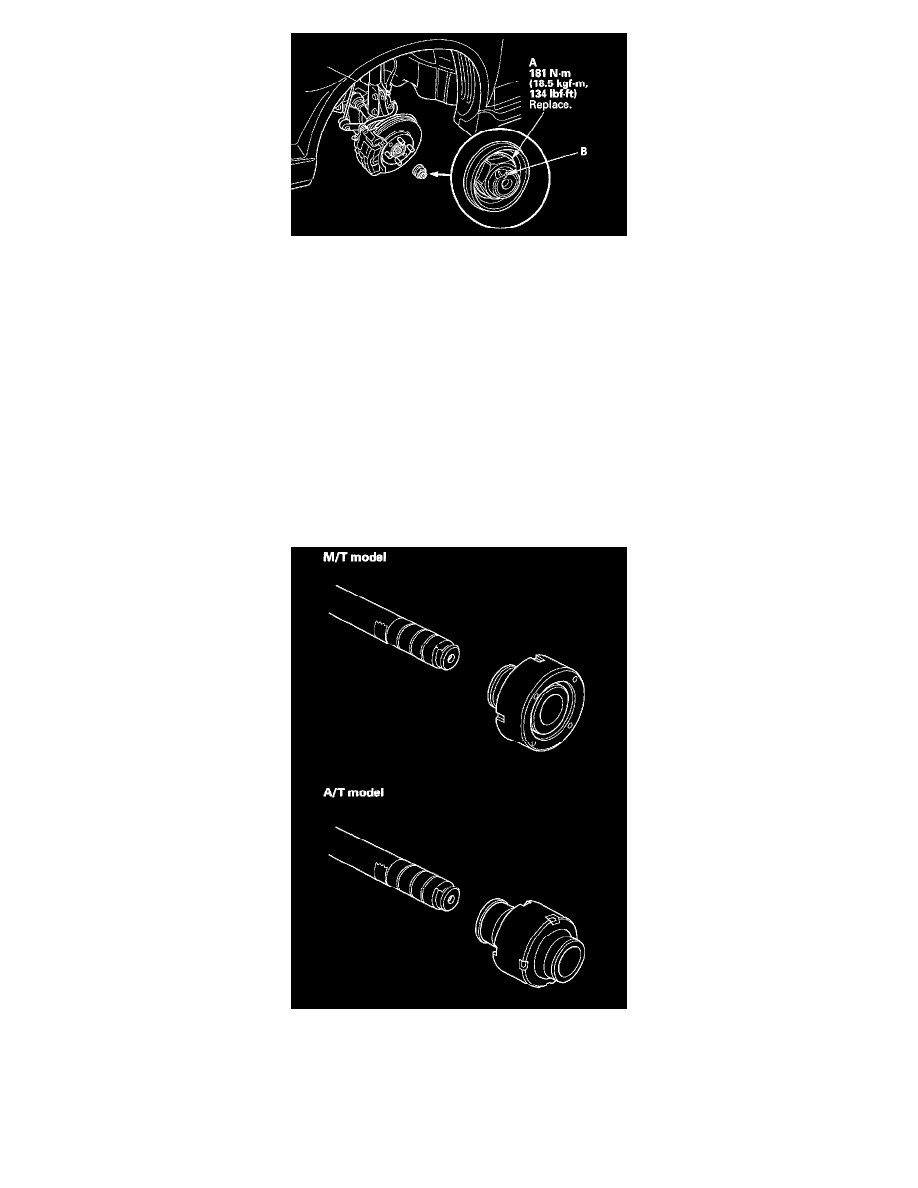
Dynamic Damper Replacement
Dynamic Damper Replacement
1. Remove the inboard joint.
2. Remove the dynamic damper band.
^
If the boot band is a welded type, cut the boot band.
^
If the boot band is a low profile type, pinch the boot band using a commercially available boot band pliers.
3. Remove the dynamic damper.
4. Adjust the position of the new dynamic damper to the figure shown in the illustration.
NOTE: For A/T models, be careful not to mix-up the dynamic dampers. The right and the left dynamic dampers are different.