
Odyssey EX V6-3.5L (1999)
3.
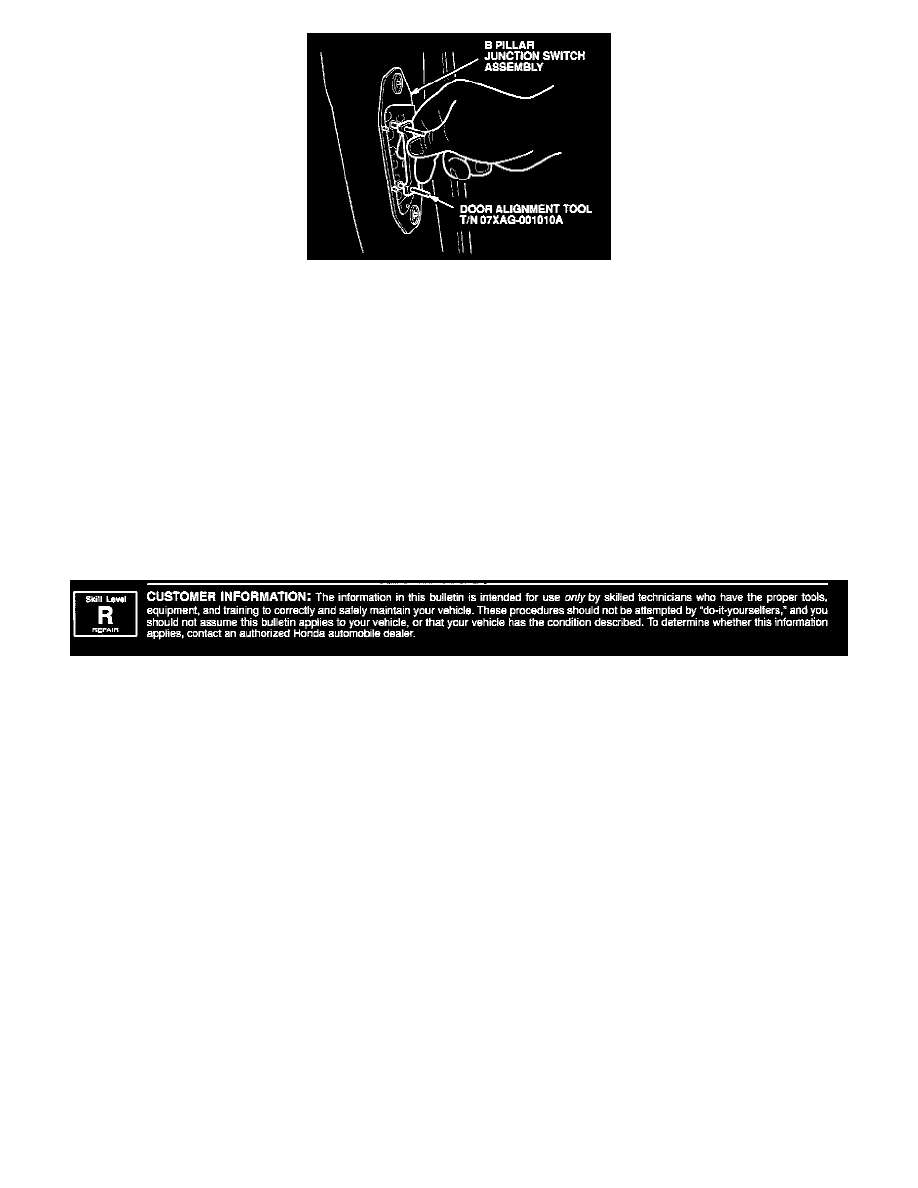
Install the special tool, with the longer pins facing out, into the junction switch assembly on the B pillar.
4.
Loosen the two junction switch assembly mounting screws on the door. Loosen the screws just enough to allow the switch assembly to move
around, but with enough friction to stay in a set position.
5.
Use the power sliding door switch on the dashboard (below the left air vent) to close the sliding door. The contacts in the door junction switch
assembly will align with the pins on the special tool.
6.
Open the door. The special tool will stay attached to the door.
7.
Carefully remove the tool without moving the junction switch assembly.
8.
Tighten the junction switch assembly mounting screws to 11.7 Nm (8.5 lb-ft).
9.
Repeat steps 2 through 8 on the other sliding door.
10.
Verify the repair by driving the vehicle under the same conditions as step 1.
Disclaimer