
Odyssey EX V6-3.5L (1999)
7. Set the new front wheelhouse and damper housing.
-
Apply body paint to both sides of the new front wheelhouse and damper housing.
-
See Paint Repair section.
WARNING:
-
Ventilate when spraying paint. Most paint contains substances that are harmful if inhaled or swallowed. Read the paint label before
opening the paint container.
-
Avoid contact with skin. Wear an approved respirator, gloves, eye protection, and appropriate clothing when painting.
-
Paint is flammable. Store it in a safe place, and keep it away from sparks, flames or cigarettes.
-
Remove the undercoat from both sides of the welding section and expose the steel plate using a disc sander.
WARNING: To prevent eye injury, wear goggles or safety glasses whenever sanding, cutting, or grinding.
-
Clamp the front side frame with vise-grips and squill vises.
NOTE: Apply the spot sealer to the welding surface when spot welding.
-
Clamp the front bulkhead with vise-grips.
-
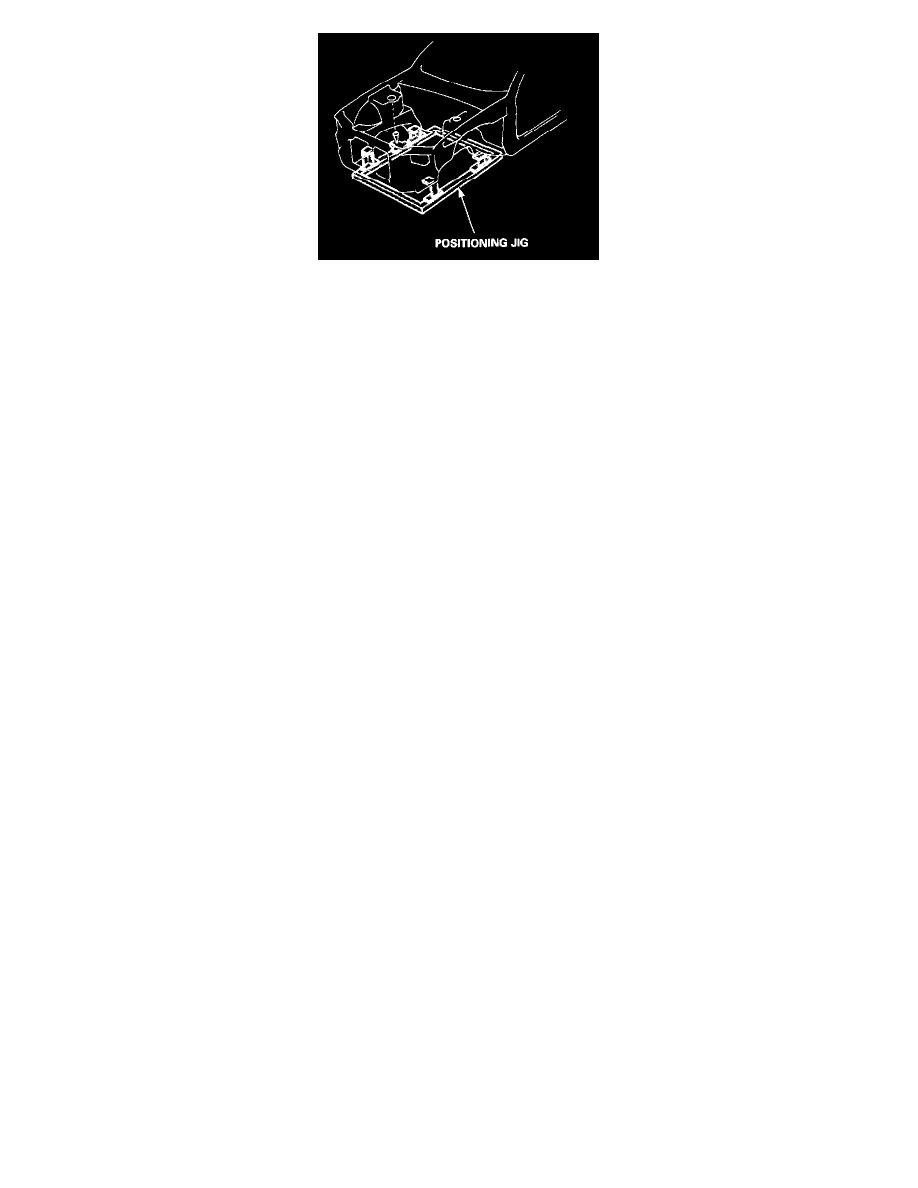
Measure the front compartment diagonally.
NOTE: Use a positioning jig is recommended.
-
Spot weld several points in the clamped sections, and temporarily attach the front wheelhouse and damper housing.
WARNING: To prevent eye injury and burns when welding, wear an approved welding helmet, gloves and safety shoes.
8. Check the dimensions, temporarily install the hood, front fender and headlight, and check for differences in level and clearance.
9. Perform the main welding.
-
Weld as much as possible with the jig still mounted.
WARNING: To prevent eye injury and burns when welding, wear an approved welding helmet, gloves and safety shoes.