
Odyssey EX V6-3.5L (1999)
-
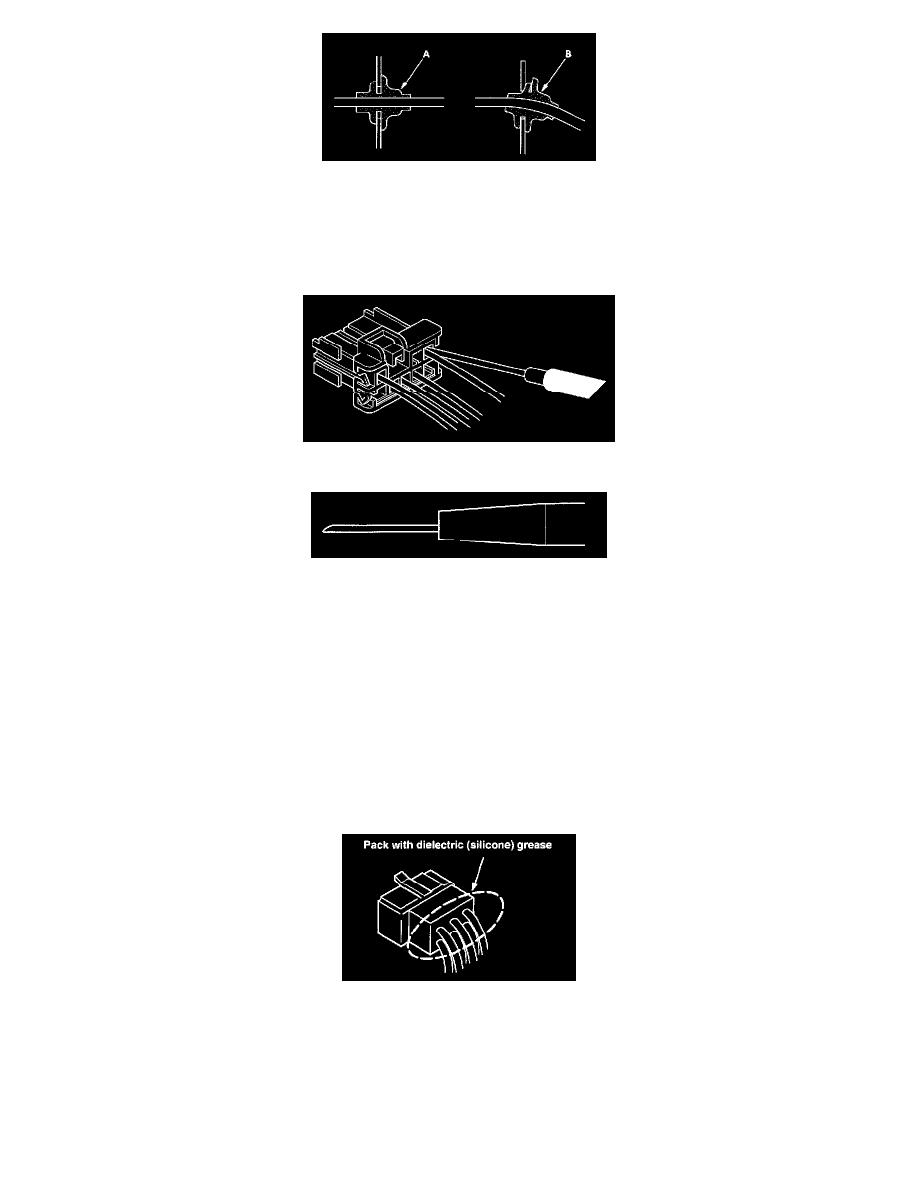
Seat grommets in their grooves properly (A). Do not leave grommets distorted (B).
Testing and Repairs
-
Do not use wires or harnesses with broken insulation. Replace them or repair them by wrapping the break with electrical tape.
-
After installing parts, make sure that no wires are pinched under them.
-
When using electrical test equipment, follow the manufacturer's instructions and those described.
-
If possible, insert the probe of the tester from the wire side (except waterproof connector).
-
Use back probe adaptor 07TAZ-001020A.
-
Refer to the instructions in the Honda Terminal Kit for identification and replacement of connector terminals.
Troubleshooting Precautions
Before Troubleshooting
1. Check the main fuse and the fuse box.
2. Check the battery for damage, state of charge, and clean and tight connections.
CAUTION:
-
Do not quick-charge a battery unless the battery ground cable has been disconnected, or you will damage the alternator diodes.
-
Do not attempt to crank the engine with the ground cable disconnected or you will severely damage the wiring.
While You're Working
1. Make sure connectors are clean, and have no loose terminals or receptacles.
2. Make sure that connectors without wire seals are packed with dielectric (silicone) grease. Part Number: 08798-9001.
3. When connecting a connector, push it until it "clicks" into place.
CAUTION:
-
Do not pull on the wires when disconnecting a connector. Pull only on the connector housings.
-
Most circuits include solid-state devices. Test the voltages in these circuits only with a 10 megaohm or higher impedance digital multimeter.
Never use a test light or analog meter on circuits that contain solid-state devices. Damage to the devices may result.
Testing For a Short With a Short Circuit Locator (Short Finder)