
Odyssey EX V6-3.5L (1999)
PGM-FI Main Relay: Diagnostic Aids
Five-Step Troubleshooting
Five-step Troubleshooting
1. Verify The Complaint
Turn on all the components in the problem circuit to verify the customer complaint. Note the symptoms. Do not begin disassembly or testing until
you have narrowed down the problem area.
2. Analyze The Schematic
Look up the schematic for the problem circuit. Determine how the circuit is supposed to work by tracing the current paths from the power feed
through the circuit components to ground. If several circuits fail at the same time, the fuse or ground is a likely cause.
Based on the symptoms and your understanding of the circuit operation, identify one or more possible causes of the problem.
3. Isolate The Problem By Testing The Circuit
Make circuit tests to check the diagnosis you made in step 2. Keep in mind that a logical, simple procedure is the key to efficient troubleshooting.
Test for the most likely cause of failure first. Try to make tests at points that are easily accessible.
4. Fix The Problem
Once the specific problem is identified, make the repair. Be sure to use proper tools and safe procedures.
5. Make Sure The Circuit Works
Turn on all components in the repaired circuit in all modes to make sure you've fixed the entire problem. If the problem was a blown fuse, be sure
to test all of the circuits on the fuse. Make sure no new problems turn up and the original problem does not recur.
General Troubleshooting Information
General Troubleshooting Information
Tips and Precautions
Before Troubleshooting
1. Check applicable fuses in the appropriate fuse/relay box.
2. Check the battery for damage, state of charge, and clean and tight connections.
NOTE:
-
Do not quick-charge a battery unless the battery ground cable has been disconnected, otherwise you will damage the alternator diodes.
-
Do not attempt to crank the engine with the battery ground cable loosely connected or you will severely damage the wiring.
3. Check the alternator belt tension.
Handling Connectors
-
Make sure the connectors are clean and have no loose wire terminals.
-
Make sure multiple cavity connectors are packed with dielectric grease (except watertight connectors).
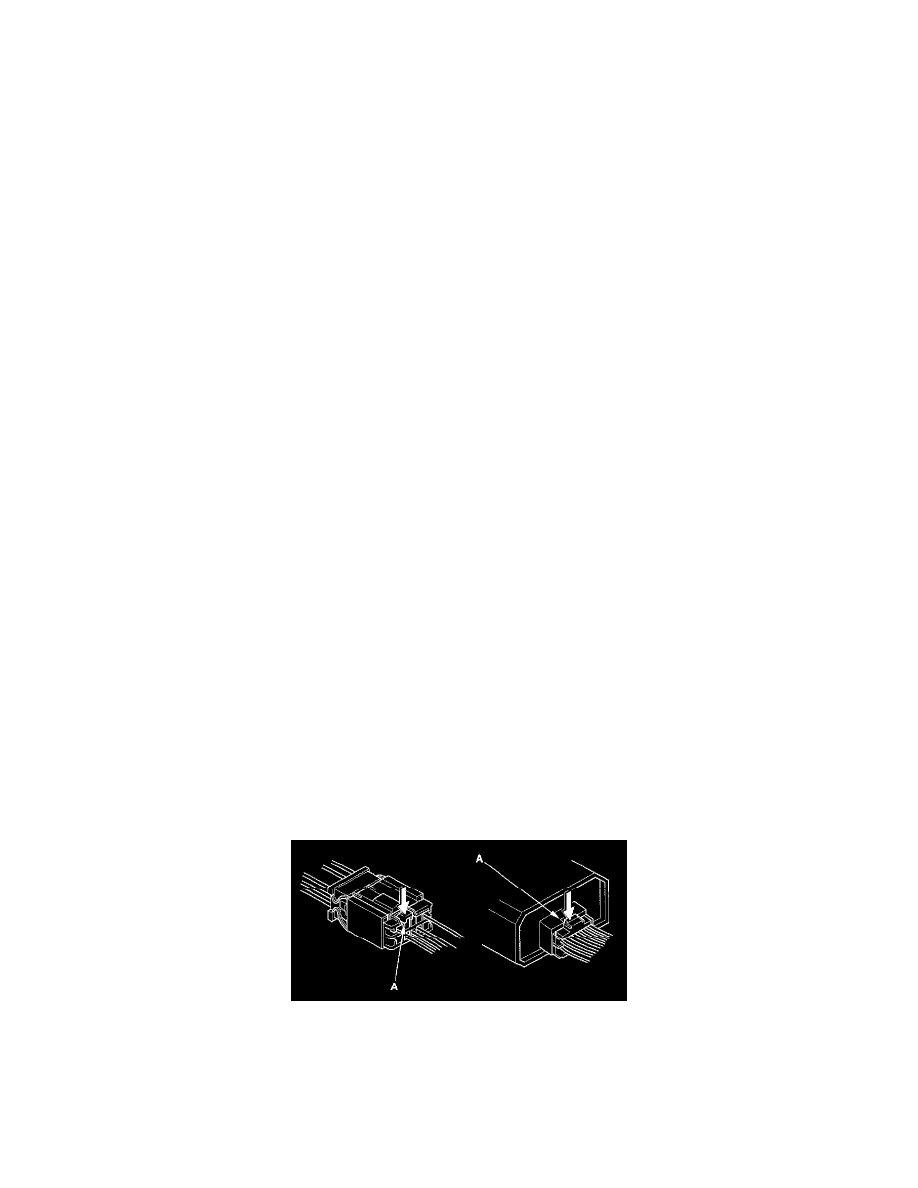
-
All connectors have push-down release type locks (A).
-
Some connectors have a clip on their side used to attach them to a mount bracket on the body or on another component. This clip has a pull type
lock.