
Odyssey EX V6-3.5L (1999)
YES-Go to step 6.
NO-Remove the starter. and diagnose its internal problems.
6. Check the following items in the order listed until you find the open circuit.
-
Check the BLK/WHT wire and connectors between the starter cut relay and the ignition switch, and between the starter cut relay and the
starter.
-
Check the ignition switch.
-
Check the A/T gear position switch and connector.
7. Check engine speed during cranking.
Is engine speed above 100 rpm?
YES-Go to step 8.
NO-Remove and disassemble the starter, and check for the following until you find the cause.
-
Excessively worn Starter brushes
-
Open circuit in commutator brushes
-
Dirty or damaged helical spline or drive gear
-
Faulty drive gear clutch
8. Check the cranking voltage and current draw.
Is cranking voltage 8.5 volts and nigher, and current draw below 380 amps?
YES - Go to step 9.
NO-Remove and disassemble the starter, and check for the following until you find the cause.
-
Open circuit in Starter armature commutator segments
-
Starter armature dragging
-
Shorted armature winding
-
Excessive drag in engine
9. Remove the starter and inspect its drive gear and the torque converter ring gear for damage. Replace any damaged parts.
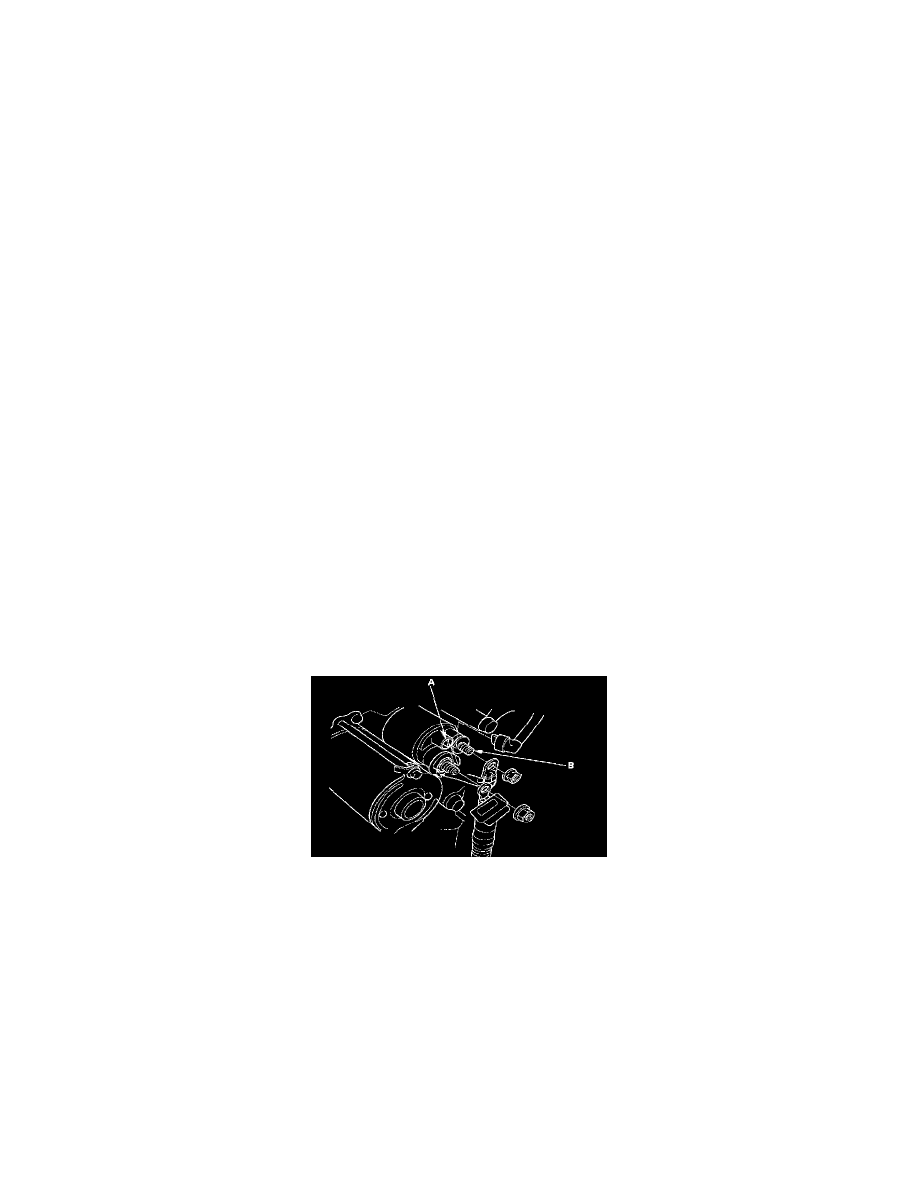
Starter Solenoid Test
1. Check the hold-in coil for continuity between the S terminal (A) end the armature housing (ground). There should be continuity.
-
If there is continuity, go to step 2.
-
If there is no continuity, replace the solenoid.
2. Check the pull-in coil for continuity between the S and M terminals (B). There should be continuity.
-
If there 5 continuity, the solenoid is OK.
-
If there is no continuity. replace the solenoid.
Armature inspection and Test