
Passport LX 4WD V6-3165cc 3.2L DOHC MFI (2001)
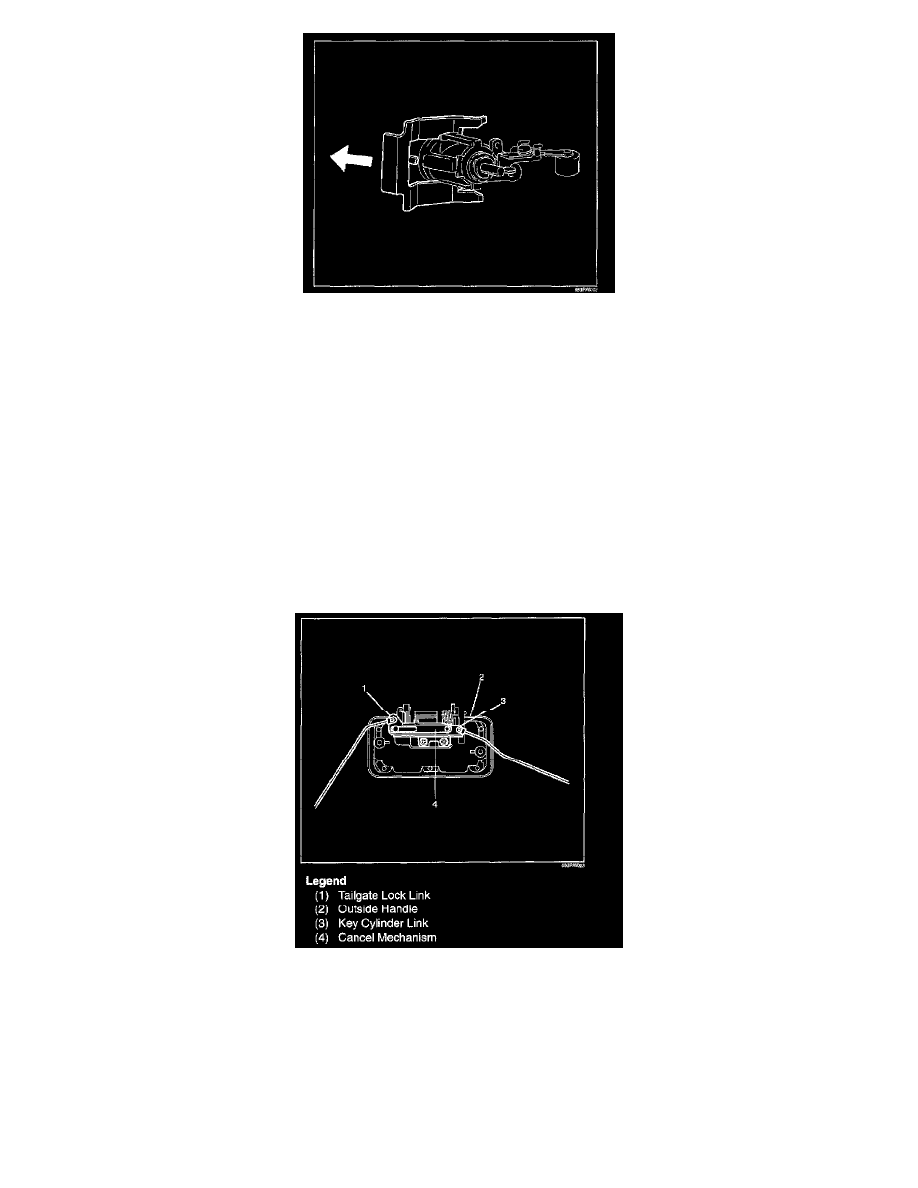
5. Remove the key cylinder.
-
Disconnect the lock links.
-
Remove the key cylinder retaining clip with screw driver to remove the key cylinder.
6. Remove the hatchgate lock actuator assembly.
-
Disconnect the actuator harness connector
-
Remove the 2 bolts holding hatchgate lock actuator assembly from inside.
7. Remove the outside handle.
-
Remove the 2 bolts holding the outside handle from inside.
8. Remove the tailgate lock assembly.
-
Remove the 3 screws holding the lock assembly.
Installation
To install ,follow the removal steps in the reverse order, noting the following points:
1. When setting up links, pay attention to the position and direction of the links.
2. Apply chassis grease to the lock assembly and striker moving surface.
3. Check that the tailgate lock operates correctly after installing it.
4. Tighten the tailgate lock assembly fixing bolts to the specified torque.
Torque: 7 N.m (81 lb in)
5. Tighten the hatchgate lock assembly fixing bolts to the specified torque.
Torque: 9 N.m (78 lb in)