
Passport LX 4WD V6-3165cc 3.2L DOHC MFI (2001)
SURROUNDING AREAS OF THE DRIVER AIR BAG ASSEMBLY WILL BE VERY HOT. DO NOT TOUCH THE METAL AREAS OF
THE DRIVER AIR BAG ASSEMBLY FOR ABOUT TEN MINUTES AFTER DEPLOYMENT. IF THE DEPLOYED DRIVER AIR BAG
ASSEMBLY MUST BE MOVED BEFORE IT IS COOL, WEAR GLOVES AND HANDLE BY THE AIR BAG OR TRIM COVER.
21. Disconnect the pigtail adapter from the driver airbag assembly immediately after deployment. This will prevent damage to the pigtail adapter or
SRS deployment harness due to possible contact with the hot driver air bag assembly canister. The pigtail adapter can be reused. They should,
however, be inspected for damage after each deployment and replaced If necessary.
22. Dispose of the deployed driver air bag assembly through normal refuse channels after it has cooled for at least 30 minutes.
23. Wash your hands with mild soap and water afterward.
NOTE: The remaining steps are to be followed in the unlikely event that the driver air bag assembly did not deploy after following these
procedures.
24. Ensure that the SRS deployment harness has been disconnected from the power source and that its two banana plugs have been shorted together by
fully seating one banana plug into the other.
25. Disconnect the pigtail adapter from the driver air bag assembly.
WARNING: WHEN STORING A LIVE AIR BAG ASSEMBLY OR WHEN LEAVING A LIVE INFLATOR MODULE
UNATTENDED ON A BENCH OR OTHER SURFACE, ALWAYS FACE THE BAG AND TRIM COVER UP AND AWAY FROM
THE SURFACE. THIS IS NECESSARY SO THAT A FREE SPACE IS PROVIDED TO ALLOW THE AIR BAG TO EXPAND IN THE
UNLIKELY EVENT OF ACCIDENTAL DEPLOYMENT. FAILURE TO FOLLOW PROCEDURES MAY RESULT IN PERSONAL
INJURY.
26. Temporarily store the driver air bag assembly with its trim cover facing up.
Deployment Tool Check Procedure
Deployment Tool Check
1. Connect the yellow clips to both switch protector handles on the tool; connect the tool to a battery.
2. Push the operation switch: green means the tool is OK; red means the tool is faulty.
3. Disconnect the battery and the yellow clips.
Disposal of Damaged Components
Disposal of Damaged Components
1. If installed in a vehicle, follow the removal procedure for the driver's airbag, front passenger's airbag, side airbag, seat belt tensioner, and seat belt
buckle tensioner.
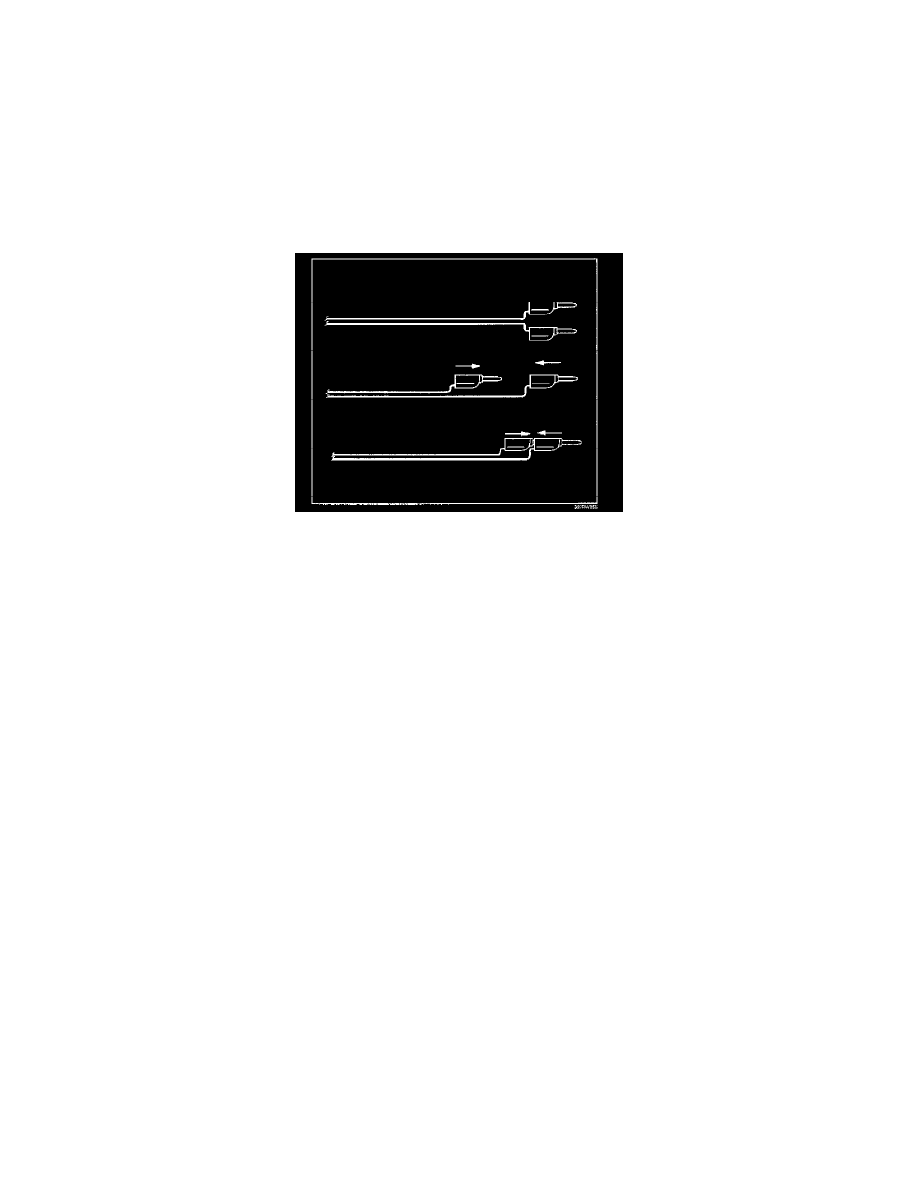
2. In all cases, make a short circuit by cutting, stripping, and twisting together the two inflator wires.
NOTE: The driver's and passenger's airbag each have four wires: twist each pair of like-colored wires together
3. Package the component in the same packaging that the new replacement part came in.
4. Mark the outside of the box "DAMAGED AIRBAG NOT DEPLOYED", "DAMAGED SIDE AIRBAG NOT DEPLOYED", "DAMAGED SEAT
BELT TENSIONER NOT DEPLOYED" or "DAMAGED SEAT BELT BUCKLE TENSIONER NOT DEPLOYED" so it does not get confused
with your parts stock.
5. Contact your Honda District Service Manager for how and where to return it for disposal.