
Passport LX 4WD V6-3165cc 3.2L DOHC MFI (2001)
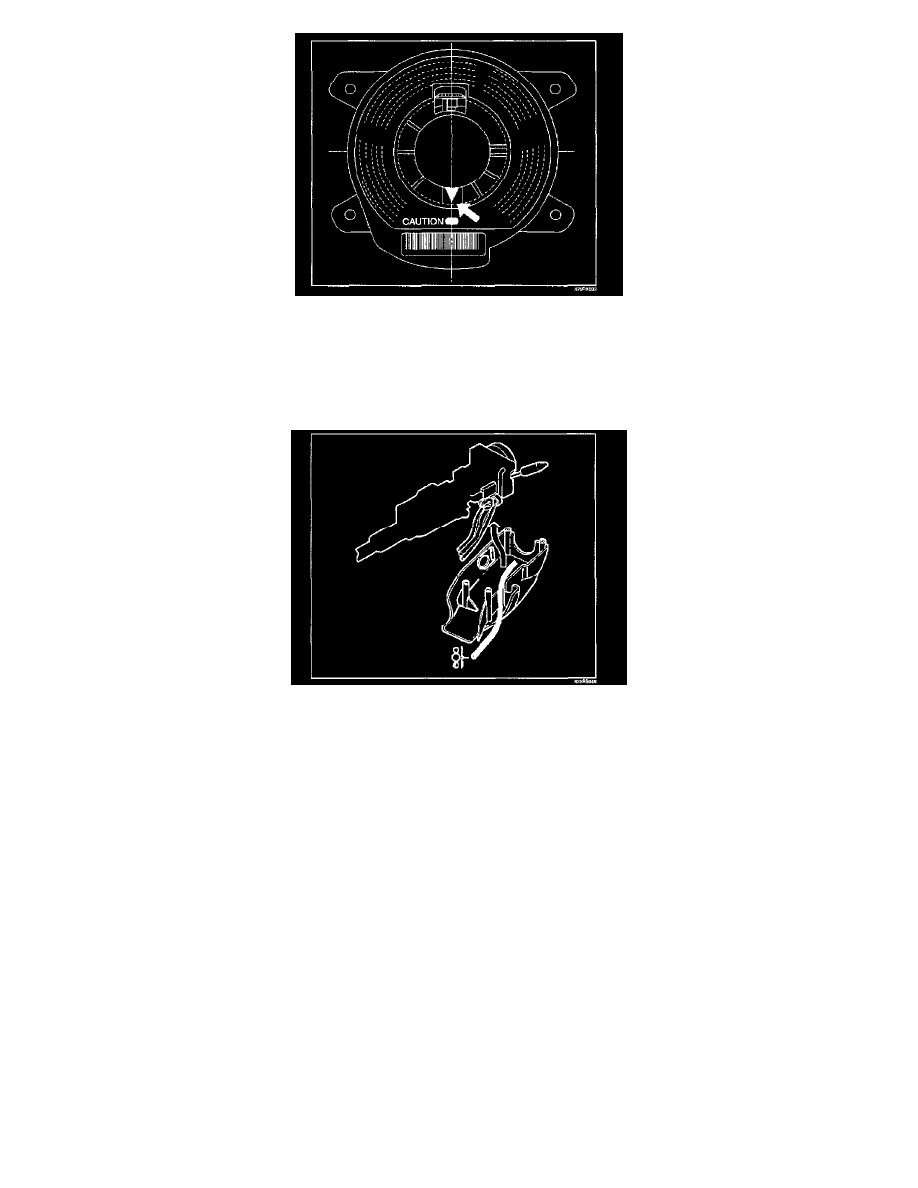
NOTE: Whenever installing the new combination switch with SRS coil, be sure to tear off the lock pin for aligning the neutral position before it
is installed to the base of steering column.
CAUTION: Turn the SRS coil clockwise until a resistance is felt, do not over turn or SRS coil breakage may occur.
6. Install the steering column cover (3).
CAUTION: When installing the steering column cover, be sure that all harnesses (i.e., starter switch, combination switch, and SRS coil) are not
pinched and installed according to the diagram below.
7. Install the driver knee bloster assembly.
8. Install the steering lower cover.
9. Install the steering wheel and align the setting marks (4).
10. Tighten the steering wheel fixing nut (5) to the specified torque.
Torque: 34 N.m (3.5 kg.m / 25 lb.ft)
11. Connect horn lead (1).
12. Concert air bag to wiring harness connector (2).
NOTE: Pass the lead wire through the tabs on the plastic cover (wire protector) of air bag to prevent lead wire from being pinched.